Skip to content

2

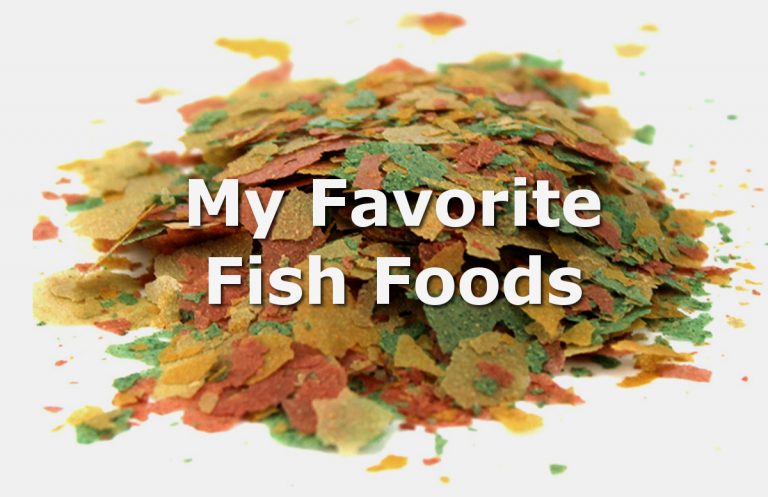
The foods you feed to your fish can affect their health, energy levels, and even their coloration. If your fish are lethargic or not looking their best, you should consider the quality and variety of the food they're receiving. Here I'll share some basics on fish food followed by my favorite fish foods that I always keep on hand in my fish room. I'll start with the most common staple: fish flakes. After that we'll move into other dry foods, then frozen foods, and finally live foods.

Note: This article contains affiliate links to buy many of my favorite fish foods on Amazon, but I recommend you first shop for them at your local fish store.

Fish Food Basics

Prepared fish foods come in many types; flake, pellets, granules, wafers, etc. The form you choose is mostly determined by the size and feeding behavior of the fish you're feeding. Surface feeders do well on flakes, while bottom feeders prefer sinking pellets or algae wafers. Some foods are mostly fish meal (yes, fish eat other fish) and some are mostly algae-based. Its good practice to offer a variety of foods rather than just one to ensure all of your fish are getting a varied diet.

Another thing to keep in mind is that fish foods have a shelf life. Even if the expiration date printed on the container hasn't passed, the food begins to lose its nutritional value over time once exposed to air. If you've been using the same large container of fish flakes for over a year, its likely that the vitamins and nutrients in that food have mostly degraded. At that point, your fish aren't receiving adequate nutrition and therefore likely won't look their best. Although its cheaper to buy in bulk, to keep fish food fresh you should only buy 3-6 months worth at a time.

My Favorite Fish Flakes

When it comes to flake foods, there are two staples that I recommend. The first is Xtreme Aquatic Foods Krill Flake, and the other is spirulina flakes. Krill are small crustaceans that many fish eat in their native habitats. Krill flakes are highly nutritious and can improve coloration in your fish because they contain carotenoids that fish use to produce pigments. Spirulina is a biomass of cyanobacteria, also known as blue-green algae. These green flakes are more than 50% protein and contain fatty acids and B vitamins. Some local fish stores will sell krill and spirulina flakes by the ounce, as both are used in commercial fish farming.

My Favorite Fish Pellets and Wafers

Hikari Vibra Bites
Hikari Vibra Bites

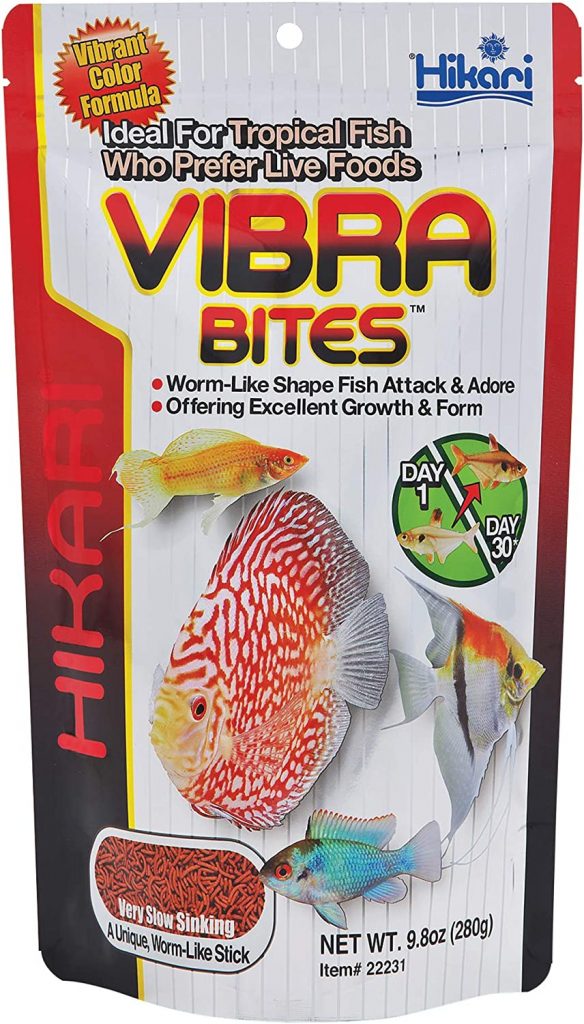
When it comes to wafers, granules, and pellets I use Hikari foods in my fish room. Hikari's line offers a variety of high quality prepared food sizes and ingredients. My rainbowfish eat Vibra Bites as a regular stable. In my experience, fish go nuts for Vibra Bites from the first time they see it. These "worm-like sticks" look very similar to blood worms, which I believe causes fish to go after them aggressively.

I also like Hikari's micro pellets and micro wafers for smaller fish like guppies. I keep several different Hikari dry foods on hand in my fish room so that I can rotate between them and offer my fish a varied diet.

My Favorite Frozen Fish Foods

Hikari Blood Worms

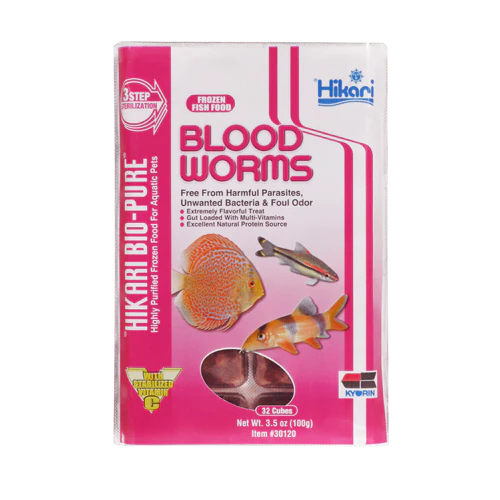
In addition to the dry foods I've listed, I always keep a couple packs of frozen fish food in my freezer. My preferred frozen foods are blood worms and brine shrimp. There is a huge variety of frozen foods out there, and you should try a few to see what your fish like. When it comes to frozen foods, I recommend buying at your local fish store. The cost to ship a box of ice will rarely be worth it, and every fish store I have ever been in has had a freezer full of various frozen foods.

Support your local fish stores!

My Favorite Live Fish Foods

If you've made it this far you're ready to prepare the highest quality sustenance you can offer your fish: live foods! No prepared or processed food can offer the nutritional value that live prey offers. In a stream, river, lake or ocean, fish will feed on a variety of tiny worms, crustaceans and copepods. Two of the easiest live foods to prepare and feed to your fish are baby brine shrimp and microworms. These two foods are good for smaller fish, particularly when raising fry. You can read my post on hatching baby brine shrimp here. And you can read this post for more info on microworms.

There are a variety of other live foods you could offer your fish: vinegar eels, peanut beetle larvae, daphnia, black worms, and many more. The live foods you choose will depend on the size and dietary needs of the fish you're keeping. Hopefully this post will serve as a jumping off point for you to go and do some research on the many live fish food options out there to find what works for you.


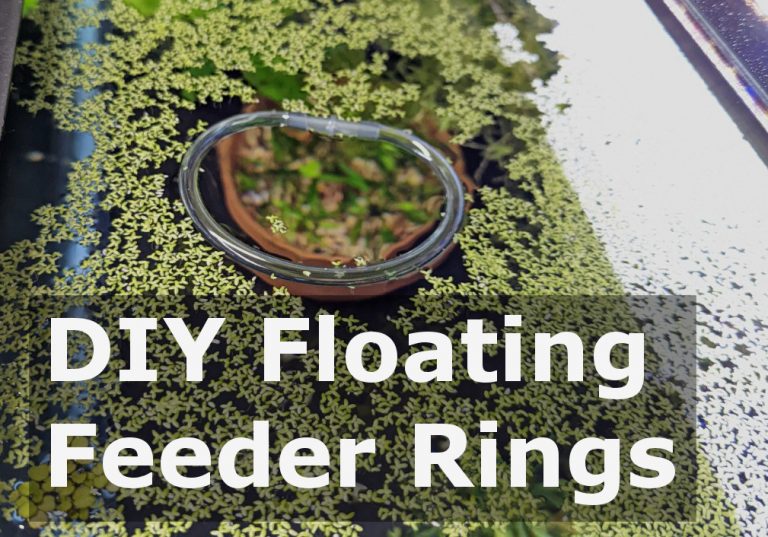
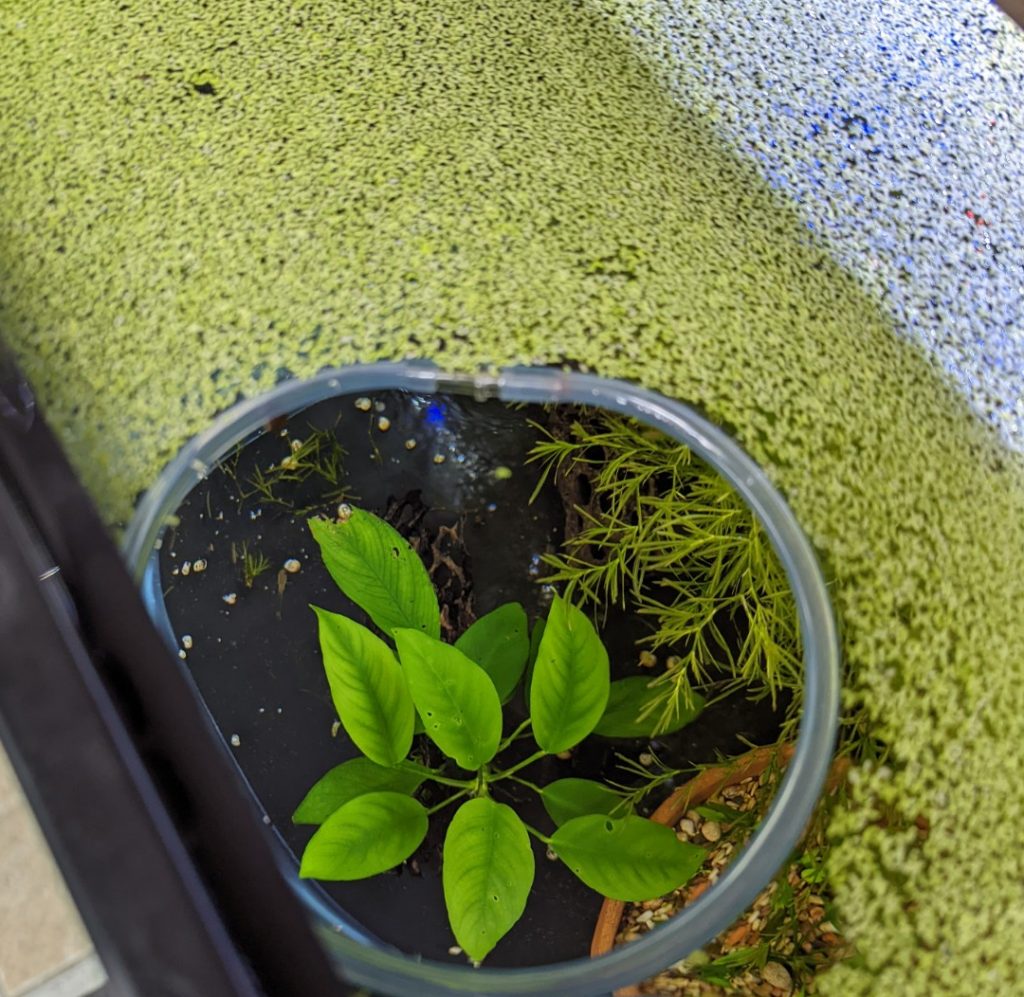
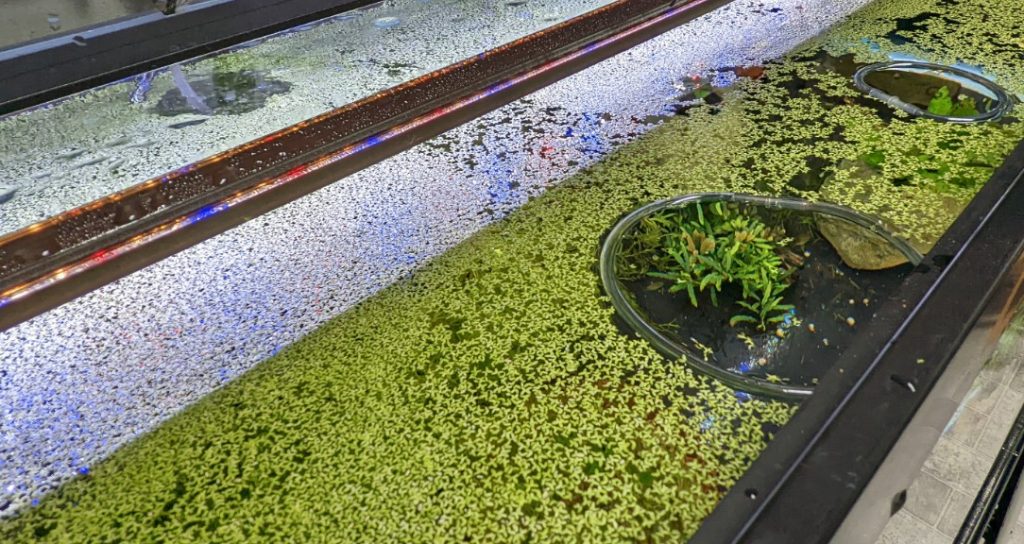
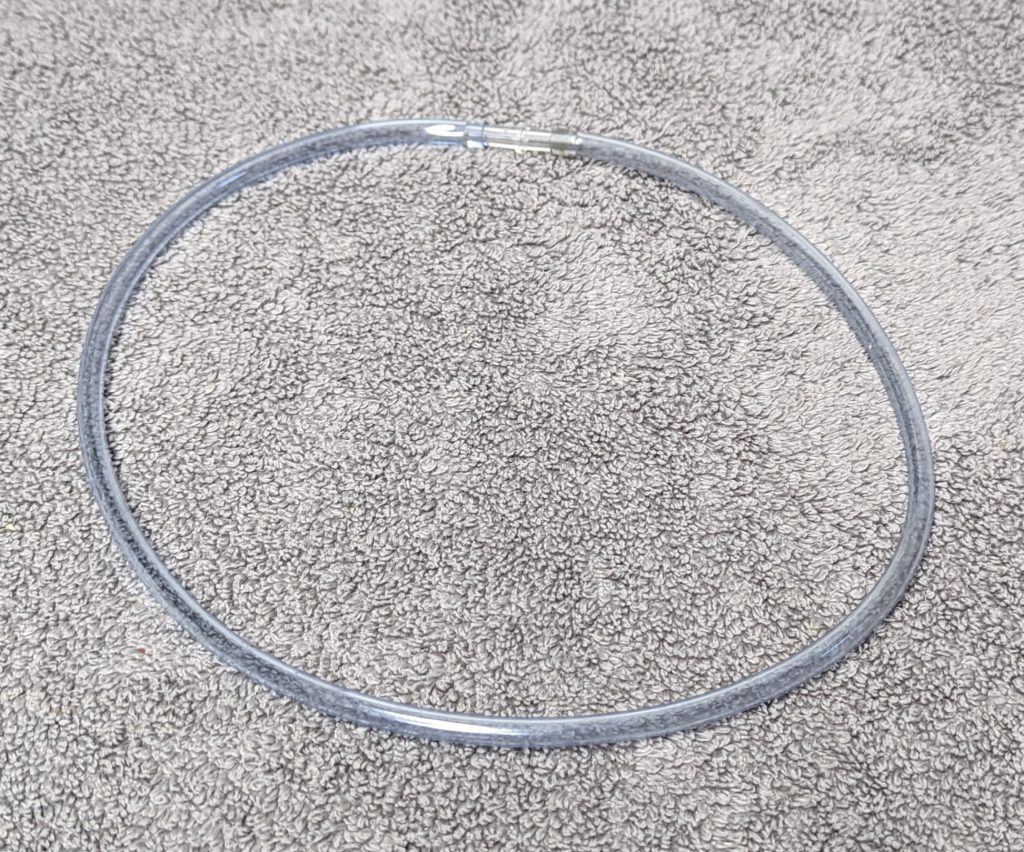
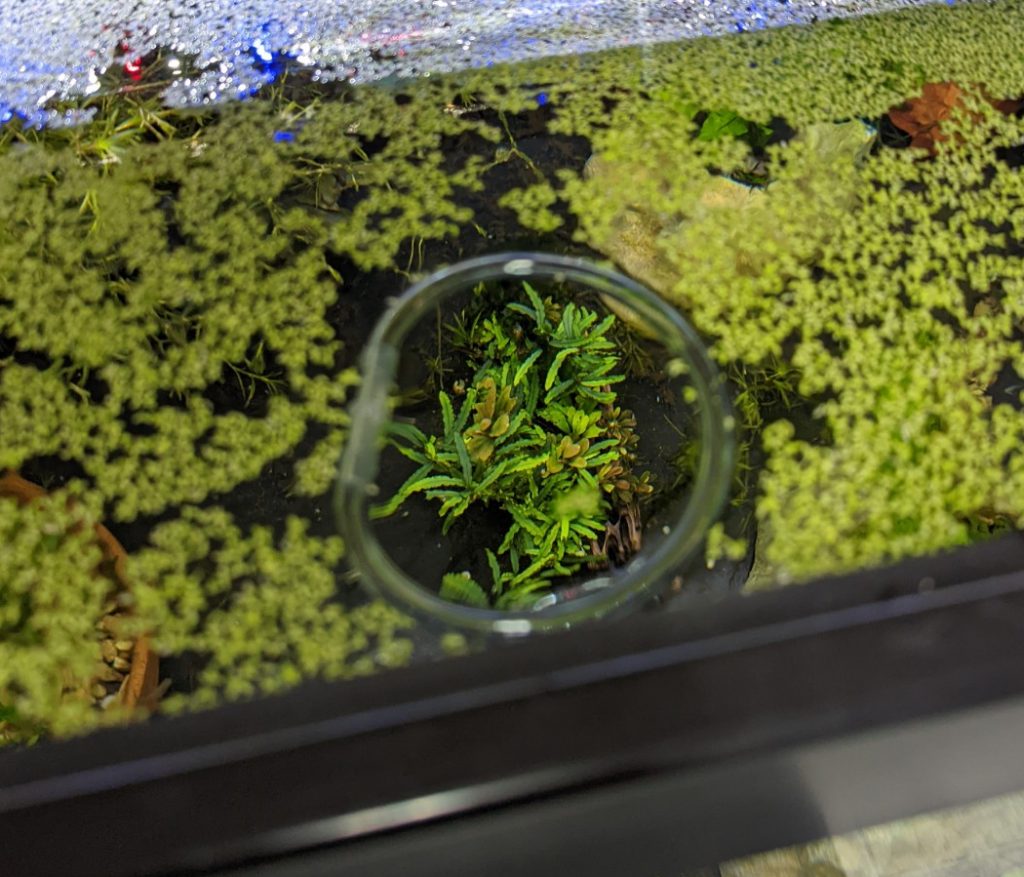
Too many floating plants in your tank? Check out this post on making your own floating feeder ring

1

If you've ever introduced duckweed to your aquarium - intentionally or otherwise - you may have run into this common problem:

Duckweed Covered Aquarium

Floating plants offer a host of benefits for your fish tank, but they can also make feeding your fish a bit difficult. You don't want to dump fish food on top of a raft of floating plants. If the image above looks familiar, DIY floating fish feeder rings are a cheap solution that will help.

What are fish feeder rings?

Fish feeder rings, or floating feeding rings, are a simple device that sits on the surface of your aquarium and acts as a barrier to keep floating plants out of an area. This barrier creates a nice "window" into your tank that can be used for feeding. Floating feeder rings can be a variety of shapes and sizes, some have suction cups to hold them in one spot, and some can be combined with a feeding cone for live or frozen foods. There are a lot of cool feeding rings for sale that you can buy, but if you want to make your own, this DIY design uses components you may already have in your fish room!

DIY Floating Fish Feeder Ring
Floating Feeder Rings
Floating feeder Ring

How to make your own DIY floating fish feeder rings

All you need to make these floating fish feeding rings yourself is a length of aquarium airline tubing and a straight airline tubing connector. I always keep some scrap lengths of airline tubing around for projects like this. You only need about 6 inches of tubing for a small ring. The great thing about DIY feeder rings is that you can make them any size you want, and the only tool you need is a pair of scissors!

Aquarium Airline Parts

So first, dig out your old airline tubing and your airline connectors. I have a container full of fittings, elbows, connectors, and valves in my fish room. You never know when you might need parts for a project like this.

Straight Airline Connector

Once you've got a fitting, cut your piece of tubing to the size you want. Then connect the two ends together with the straight connector. That's it!

DIY Floating Ring
DIY Floating Ring

Once you have a ring, place it in your aquarium and use a net to gently remove any floating plants from the interior. The ring will stay on the surface and hold back your floating plants so you always have a clear area for feeding your fish!

A window into the tank

Interested in adding plants to your tank that won't get in the way or take over? Checkout my post on Adding Potted Plants to Your Aquarium

3

Currently I have 10 aquariums at home plus a handful of outdoor ponds.  I've also cleaned and maintained a lot of aquariums for clients.  When you're keeping up with a lot of tanks, you have to be efficient with your maintenance routine.  Below are three things I do when performing aquarium cleaning that every fishkeeper should pay attention to. I recommend doing each of these tasks on a monthly basis to keep your aquariums looking their best at all times. (Note: These tips assume you are already performing regular water changes: Read my post on why water changes are important)

Perform These 3 Tasks Monthly

Add these three tasks to your monthly aquarium cleaning routine to keep your aquarium pristine.  Its not necessary to do all of these aquarium cleaning tasks on the same day.  If you normally do two water changes per month, you can split these activities up and do a couple with each water change:

#1: Clean the Lid

Dirty Lid
This lid has algae growing on the underside

The lids of aquariums can collect some nasty stuff. I've seen a lot of filthy lids. Rotting piles of fish food, dust, and calcium buildup can collect on the top surface. Fish meal is the primary ingredient in most fish foods. Once wet, a few stray flakes can really stink up a room. Mold, algae, and bacteria can grow underneath the lid where its always wet. In addition to looking gross, this buildup can reduce the amount of light getting into your tank. The result can be your fish and/or plants not looking their best.

Magic Eraser
Magic Eraser

Personally I use a magic eraser to wipe down both sides of my lids every month. If possible I like to take the lid to a sink where I can rinse it off, but a clean wet rag or sponge will work too. If needed, white vinegar will remove a lot of hard water marks and other gunk. Just make sure you rinse any cleaning products off with fresh water before replacing the lid.

#2: Clean the Glass & Rim

This one probably seems obvious but you should clean the (exterior) glass of your aquarium once in a while. A few water marks on the front of an aquarium can make it look dirty, even if you hardly notice them. I apply windex or white vinegar to a rag or paper towel and wipe off the glass. You don't want those chemicals in your aquarium, so don't spray them directly onto the glass.

The rim on the top of your aquarium also needs to be cleaned regularly. This is where water spots will slowly form into big white or yellow sheets of flaky, crusty calcium buildup. I've seen some neglected tanks that had a thick layer of calcium that took a lot of work to remove. This is also another spot fish flakes like to get stuck and start rotting. All of that can be prevented if you wipe the trim clean with a wet rag on a regular basis. If you already have the lid off the tank to perform a water change (and clean the lid), that's a perfect time to go around the perimeter with a rag and remove any gunk.

#3: Clean the Filter

The exact maintenance you perform is going to depend on what filtration you are running. I've summarized below what should happen on a monthly basis with a few of the most popular types of filters.

Sponge Filters:

Sponge Filter

Just squeeze it out. Sponge filters should be squeezed out in a bucket of aquarium water. This is easy to do during a water change. The water should be brown after a few squeezes of the sponge. You can use this dirty water to feed houseplants or your garden. Fish waste is mostly nitrogen, which makes it an excellent fertilizer. You don't need to replace sponge filters unless they start falling apart.

Hang On Back Filters:

Check the flow on your HOB filter, if you have an intake sponge on it, squeeze it out. Clean the filter intake if there is any visible buildup. You don't necessarily have to clean or replace the media inside your HOB filter every month. The filter media should be cleaned or replaced when the flow is being reduced or the filter cartridge is visibly full of gunk. Sponges and ceramic media do not need to be thrown away, they can be rinsed off in aquarium water and re-used for several years. For tips on improving your hang on back filter: read my post on DIY aquarium filter hacks.

Dirty Media Basket

Dirty Media Basket

clean media basket

Clean Media Basket

(My favorite hang on back filter is the Aquaclear line. You can checkout my writeup on why these filters are so great here.)

Canister Filters:

Cleaning a canister filter is very similar to a hang on back, just a little more work. I work with a bucket next to me to load the media baskets into when I open up the canister. Replace disposable mechanical media like poly floss if needed, squeeze out sponges, and gently rinse ceramic media. Biological media baskets usually don't need to be cleaned every month. Consider alternating them so each basket gets cleaned once in a 2-3 month cycle. The frequency at which your biological media needs cleaned will depend on the tanks bioload. Some setups will be able to go 6 months without maintenance, and some will need to be cleaned every month. The goal when cleaning biological media is just to remove buildup, so that the surface of the media is exposed to the water flowing through it.

Keeping your lid, glass, and filter clean by adding them to your monthly aquarium cleaning routine will keep your aquarium looking its best at all times.