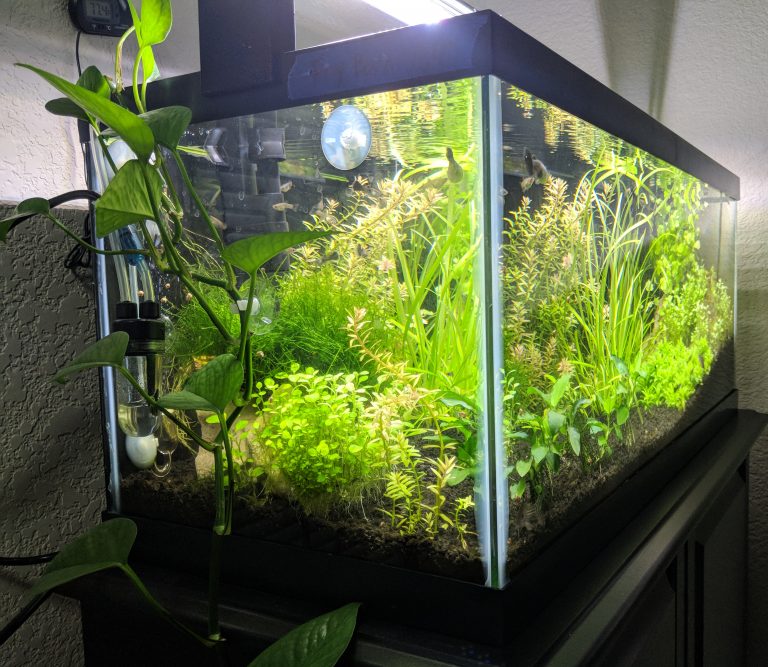
Many people know of pothos as a hardy houseplant, but its also popular among fishkeepers for use in sumps, overflows, hang on back filters, refugiums, and aquariums. Adding a pothos plant to your aquarium is a good way to reduce nitrates and give it a more natural look.
Fish waste (ammonia) is transformed into nitrates by the bacteria in your filter. Nitrates are harmful to fish and need to be removed from the aquarium, typically through water changes. In nature, plants perform this function by absorbing nitrates. While a single pothos plant will not absorb enough waste for you to skip any water changes, it will help to reduce these excess nutrients.
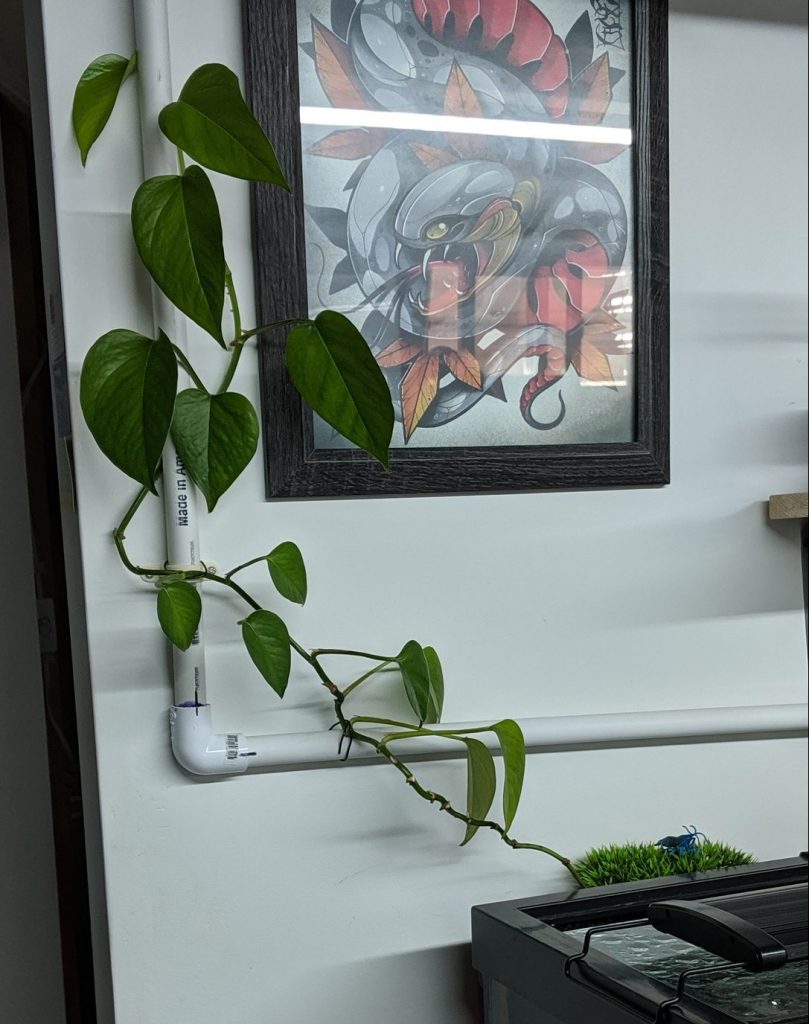
Pothos vine Growing up PVC
How to add Pothos to Your Aquarium
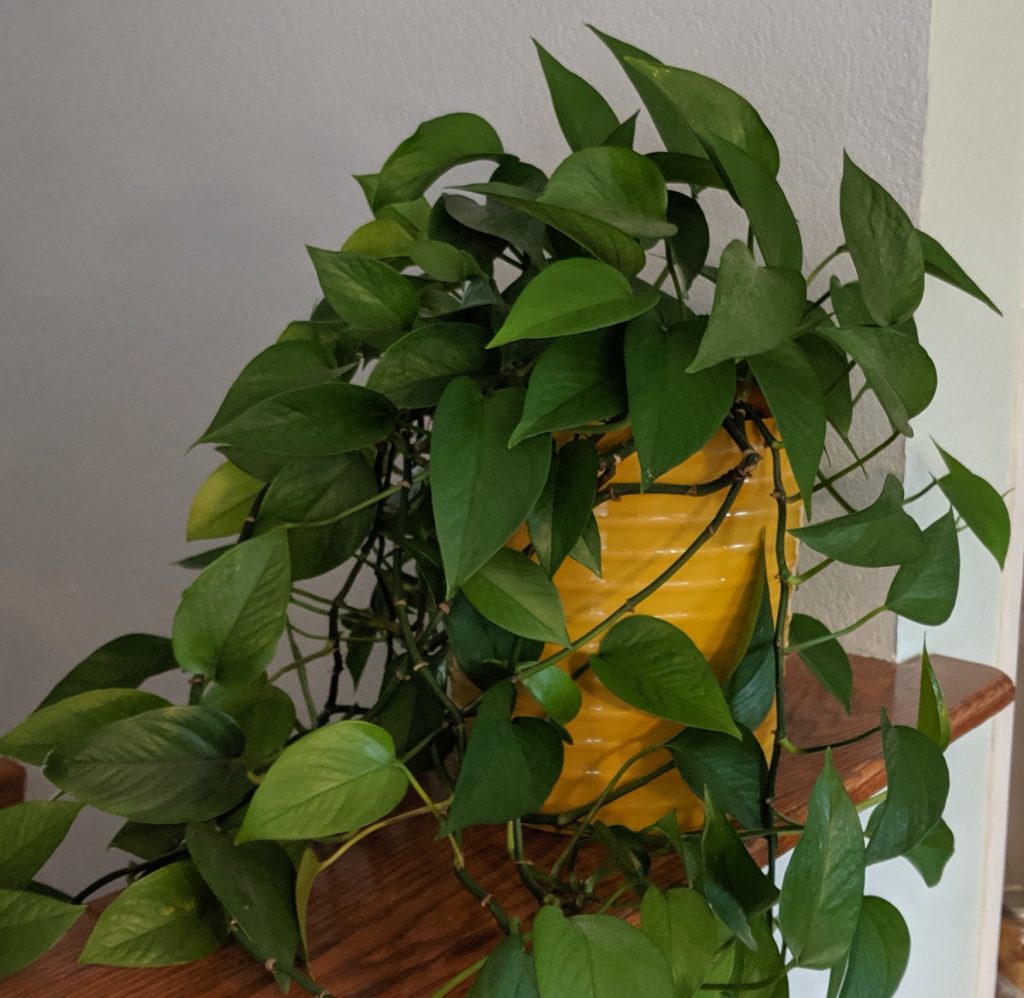
You can find pothos (in the US) for sale at most local garden centers, any store that carries houseplants, or on Amazon. Once you've purchased a plant, you can either add the whole plant to your aquarium - after removing it from the soil - or take cuttings from it. One healthy mother plant can produce dozens of cuttings. I have been taking cuttings from the plant shown below for several years. The vines eventually grow back after being cut.
Pothos Plant
Pothos is also known as devil's ivy because it is so difficult to kill. The stem can be cut and inserted directly into water. After a few days, white roots will sprout from the stem and grow down into the water. This works even in a glass of tap water, but pothos plants grow much quicker in an aquarium where they have access to lots of nutrients.
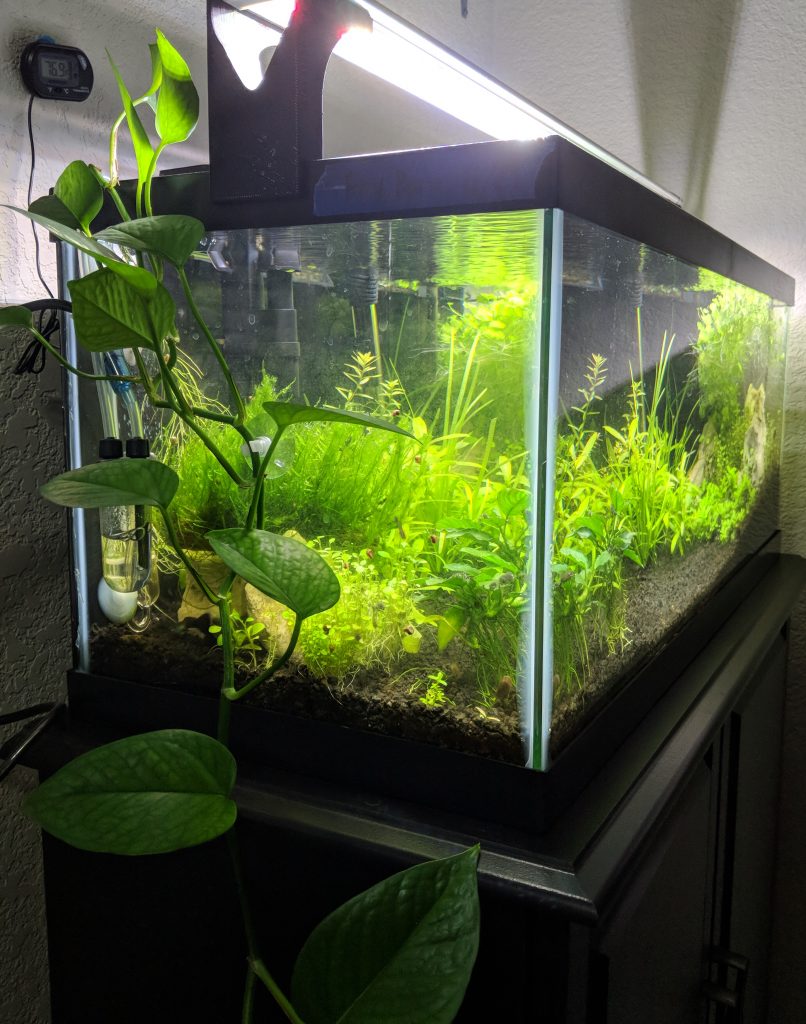
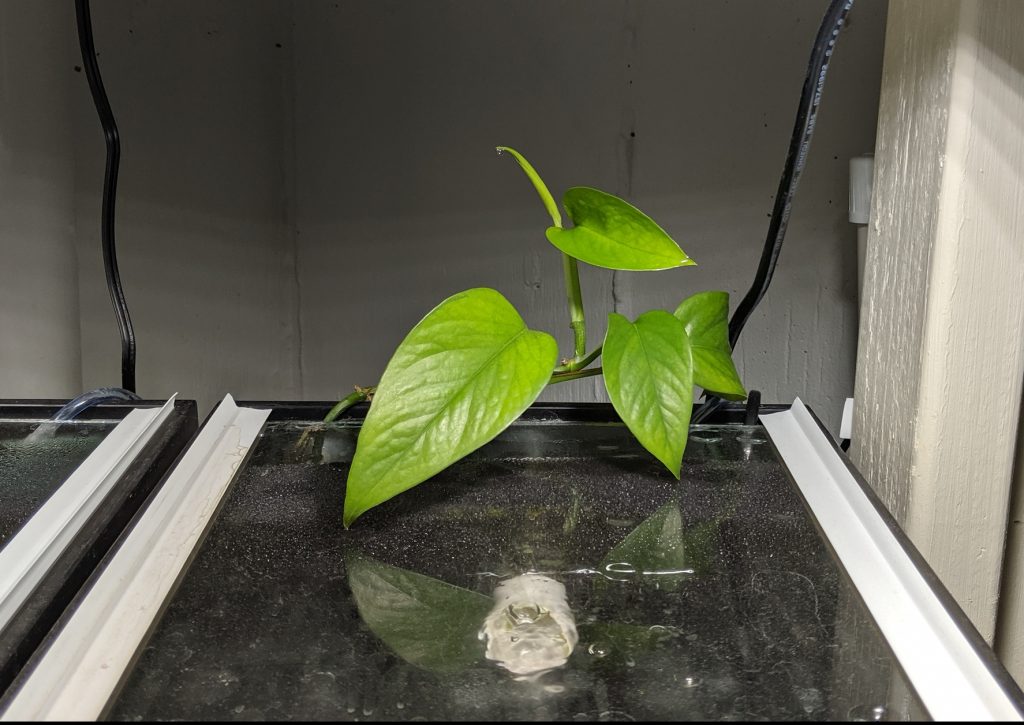
Pothos does not require much light to grow, so you don't need to have a light shining directly on it unless you have it under a cabinet or in some other very dark location. The leaves will turn to face any nearby light sources as the plant gets established.
Pothos growing behind matten filter
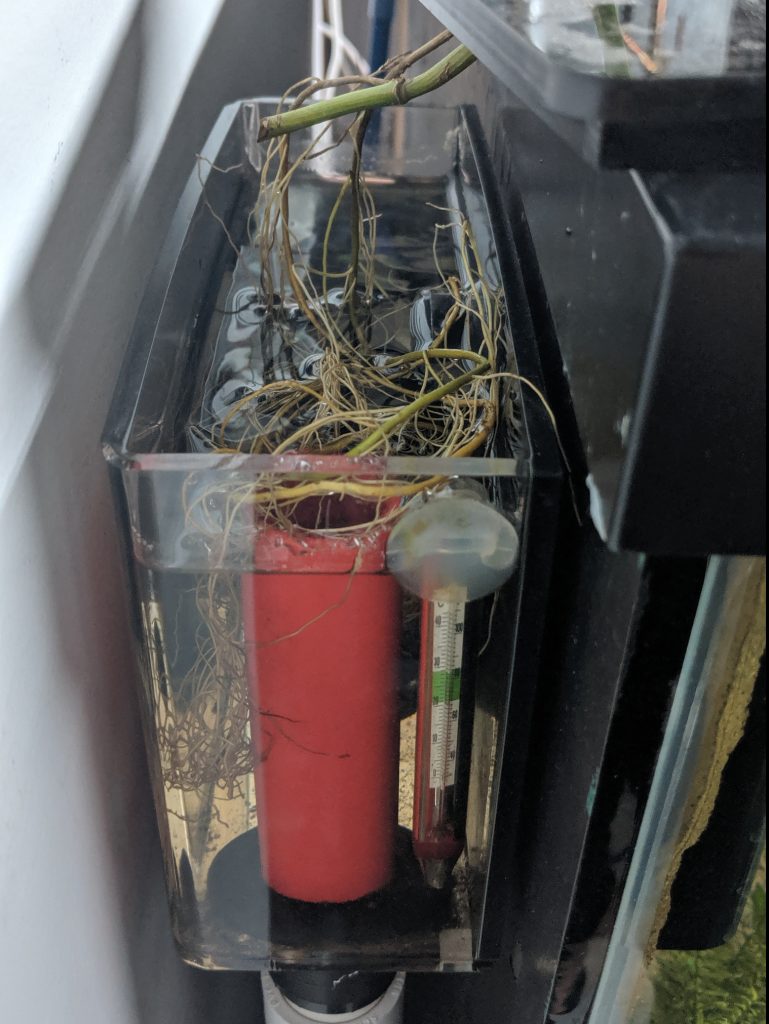
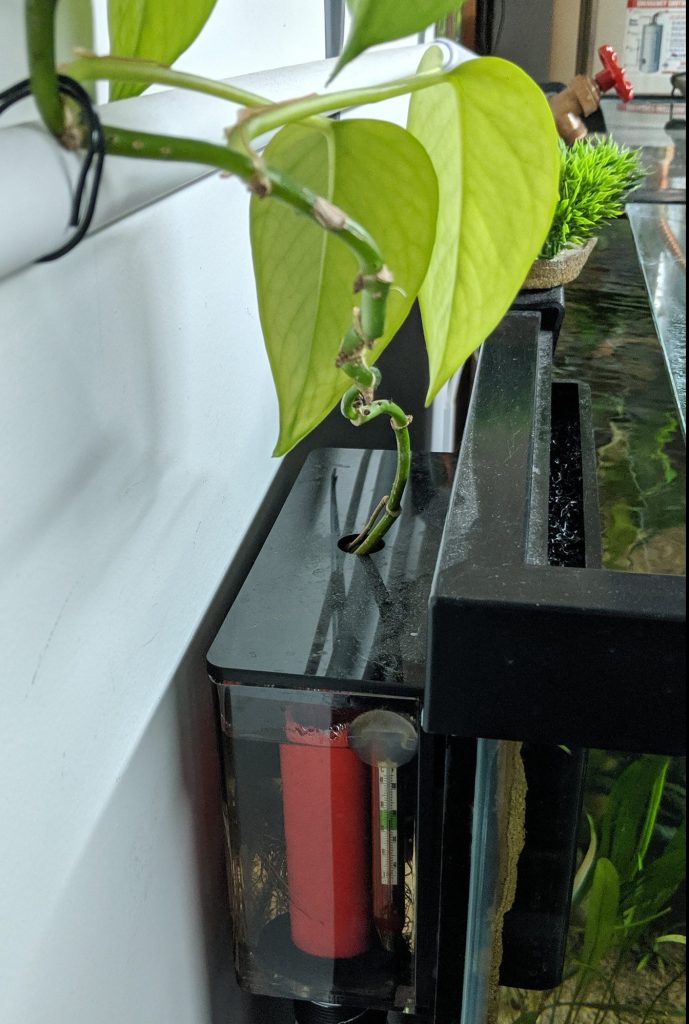
I secured the plant pictured above using a suction cup with a clip for airline tubing. This is a good way to hold the vine in place inside your aquarium. You can also insert a stem into a hang on back filter, an overflow or breeder box, or build your own DIY container to hold pothos plants.
Pothos roots in overflow boxPothos roots in overflow box
More Info on Pothos in Aquariums
There are lots of examples on YouTube of how people are using Pothos in their aquariums. I recommend starting with the one below from Aquarium Co-op.
Odin Aquatics isn't affiliated with any YouTube channels
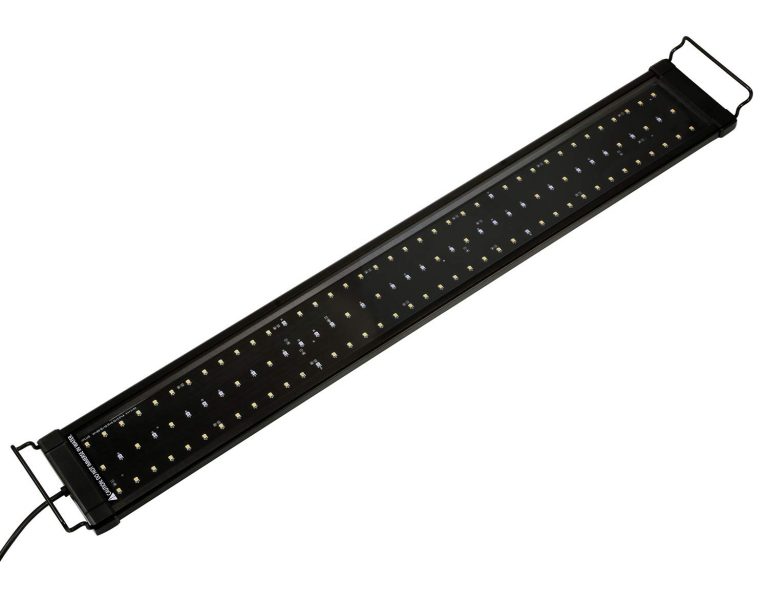
There are a lot of options out there for illuminating your aquarium. The aquarium lighting you choose will depend on your specific aquarium dimensions, budget, and aesthetic preferences. If you're not setting up a "high tech" planted aquarium, you will probably want to save money by choosing a lower cost LED fixture. If you're a fan of DIY projects you can build your own aquarium light. But if you want an affordable, quality fixture that looks a little nicer, Nicrew LED Aquarium Lights are an excellent option.
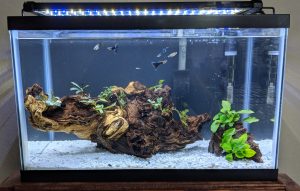
Nicrew ClassicLED on 10g dirted tank
I own four of these light fixtures in a couple different sizes and styles. All of them have been working without issues, running 8-9 hours per day in my fish room for several months. The oldest one has been running consistently for about 2 years at the time of this review. This gave me a pretty long time to evaluate them for quality and performance, and identify some pros and cons.
Note: The ClassicLED pictured on several of my tanks has since been upgraded to the ClassicLED Plus model, at a very similar cost but with a nicer aluminum housing and better light output. Sizes may be slightly different on newer models. Exact specifications are not listed here due to the fact that Nicrew continues to update their product line.
I paid for all of the Nicrew aquarium light fixtures that I own and did not receive any compensation from Nicrew for this review. I have purchased and tested the older ClassicLED, the ClassicLED Plus, and the SKyLED model.
Nicrew LED Aquarium Light - Pros
Nicrew ClassicLED on 10g planted tank
Long LED Lifespan / Efficiency
The best thing about LED aquarium fixtures is that they last for years. A standard T5 light bulb for an older style aquarium light fixture can cost $15-$20, and will need to be replaced eventually. The performance of T5 bulbs also degrades over time, while LEDs maintain their output.
LEDs have a higher lumen output per watt than fluorescent bulbs, which means you can get more light for less electricity. If you have multiple aquariums, this savings adds up. Nicrew LED Aquarium Lights run cooler and use less electricity than T5 fixtures.
Low Cost
If you've looked into different LED aquarium light options, you have seen that some fixtures cost upwards of $300. A high end fixture may be appropriate if you are running a heavily planted display tank with injected CO2, but for the average aquarist that extra output will most likely mean algae issues. Nicrew LEDs are a good option for low light planted tanks, and cost significantly less than many competitors.
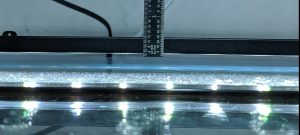
Quality Construction & Slim Profile
Since the "ClassicLED" was upgraded to the "ClassicLED Plus", Nicrew's whole lineup of lights is built using aluminum housings, rather than plastic. I frequently set things on top of them and get them wet while working in my fish room, so I can testify to their water resistance and durability. That doesn't mean they can be submerged in water - just that a little water on the housing is not going to do any damage.
The thickness of all the Nicrew lights I've tried is less than an inch - the SKyLED model is the thinnest at barely 1/2 inch thick. This slim profile makes the lights look very sleek on top of your aquarium.
Nicrew SkyLED
Nicrew ClassicLED
Nicrew LED Aquarium Light - Cons
Limited Output
Although Nicrew LEDs can be used for lower light planted tanks - I grow plants under all of mine - they don't have the power to turn your stem plants bright red, or grow a thick carpet of utricularia graminifolia. If you are a hardcore aquascaper, or plan to run CO2, these lights won't cut it for your application.
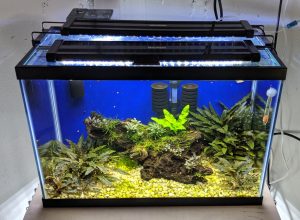
To achieve a higher light level for better growth, I use two Nicrew fixtures on my planted 20 gallon aquarium. A single fixture delivering the same output would be optimal, but this configuration works with good results.
Two 20" CLassicLED Nicrews on a 20g planted tank
Lack of Hanging Hardware*
Nicrew LED aquarium light fixtures are designed to sit on the outside rim of a standard aquarium. The "ClassicLED" models don't have any good mounting points for hanging or include any hardware for this purpose. That may or may not be a problem, depending on your application.
*The Nicrew "SkyLED" fixture does have built-in sliding hooks for hanging, but doesn't include wire or any other hanging hardware.
Summary
For a low cost aquarium light fixture, the Nicrew LED lineup is an amazing value. They won't satisfy the most hardcore aquascapers, but they do a great job of growing lower light plants such as java fern, anubias, mosses, crypts, floating plants, etc.
If you need more information, head over to Amazon.com and check out the reviews there. These lights are popular for a reason.
Microworms - which are actually nematodes, not worms - are a convenient live food because cultures can be maintained almost indefinitely with very little maintenance.
Microworms - which are actually nematodes, not worms - are a convenient live food because cultures can be maintained almost indefinitely with very little maintenance. Unlike live brine shrimp, microworms don't have to be hatched and then immediately fed to your fish. An individual culture will last 4-6 weeks, with live worms being harvested and fed every day.
Microworms are a good food for fry that are too small to consume baby brine shrimp or dry foods. In my fish room I feed them to Melanotaenia Praecox (dwarf neon rainbowfish) fry because their mouths are not big enough to eat baby brine shrimp for their first 1-2 weeks.
I shot the video below using a small microscope to show microworms moving in water. The larger hash marks are 1 mm apart, the largest microworms are about 1 mm in length, however they are only about 0.1 mm wide. This allows very small fish to slurp them up like noodles. You can also see much smaller worms that are only 0.2 - 0.3 mm long. The round objects are pieces of potato flake from the culture.
microworms under a microscope
How to Start a Microworm Culture
The first step to starting your own mircoworm farm is to obtain a starter culture. These can be found for sale on eBay, Amazon.com, or through local fish shops and aquarium clubs. A starter culture will be relatively inexpensive (usually around $10 for a good culture) and the best part is you will only have to pay this one time. Some people out there are selling cultures for as low as $3-$4*, but I strongly recommend paying slightly more for a culture that comes with worms, yeast, a container, and some instructions to get you started.
*I tried buying a culture for less than $4, and when it arrived it was a tiny bag in a standard letter envelope containing about a teaspoon of worms that smelled like death. It was a waste of money & time.
Once you have a starter culture and you begin setting up your own cultures, you should be able to keep live microworms available for your fish for as long as you want. The video below by Aquarium Co-op has a lot of good information on how and why you should set up a microworm culture.
Selecting a Container for your Microworm Culture
You can use just about any plastic container for a microworm culture, as long as it has a lid and a flat bottom to spread the culture media on. I like to use plastic containers from salad mix or packaged lunch meat that have been washed out.
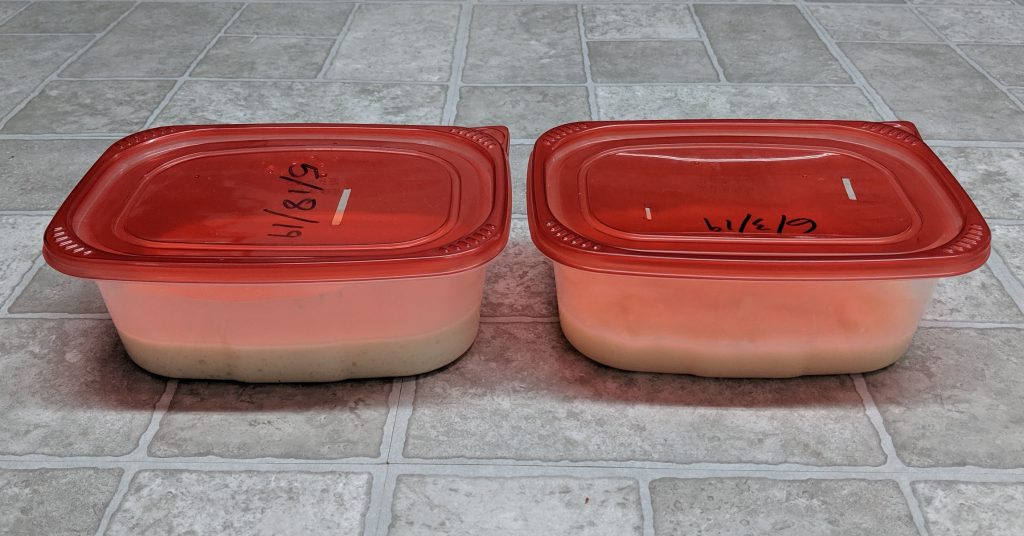
Microworm Cultures
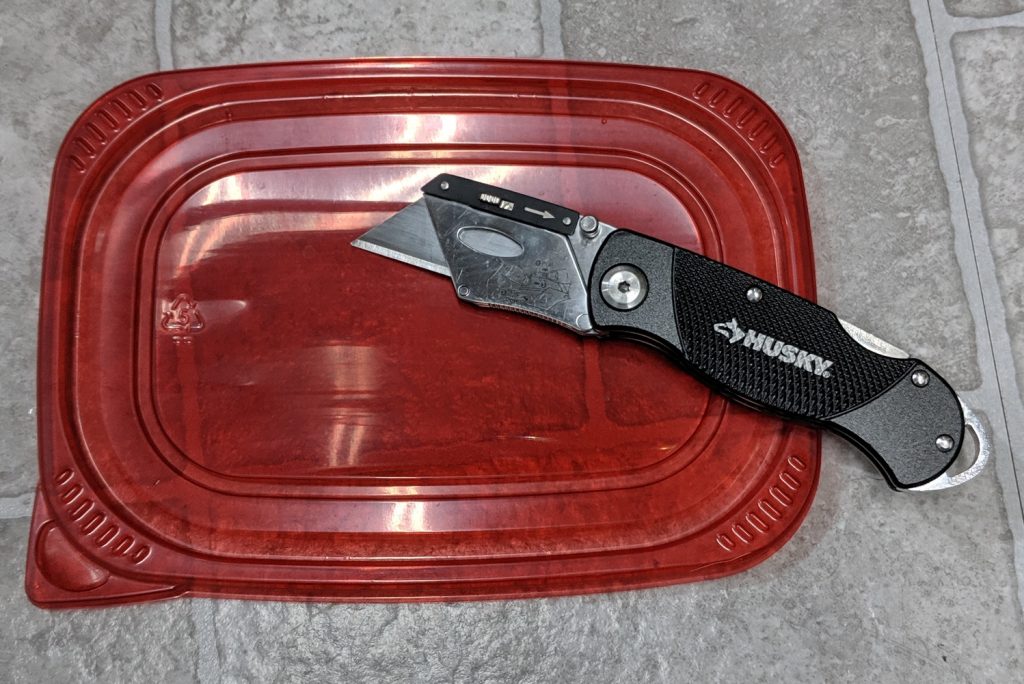
Nematodes need oxygen to live. I use a utility knife to cut small air holes in the lid of the container. These holes don't need to be very big, just enough to allow some air to reach the culture.
Utility Knife
Selecting a Medium for your Microworm Culture
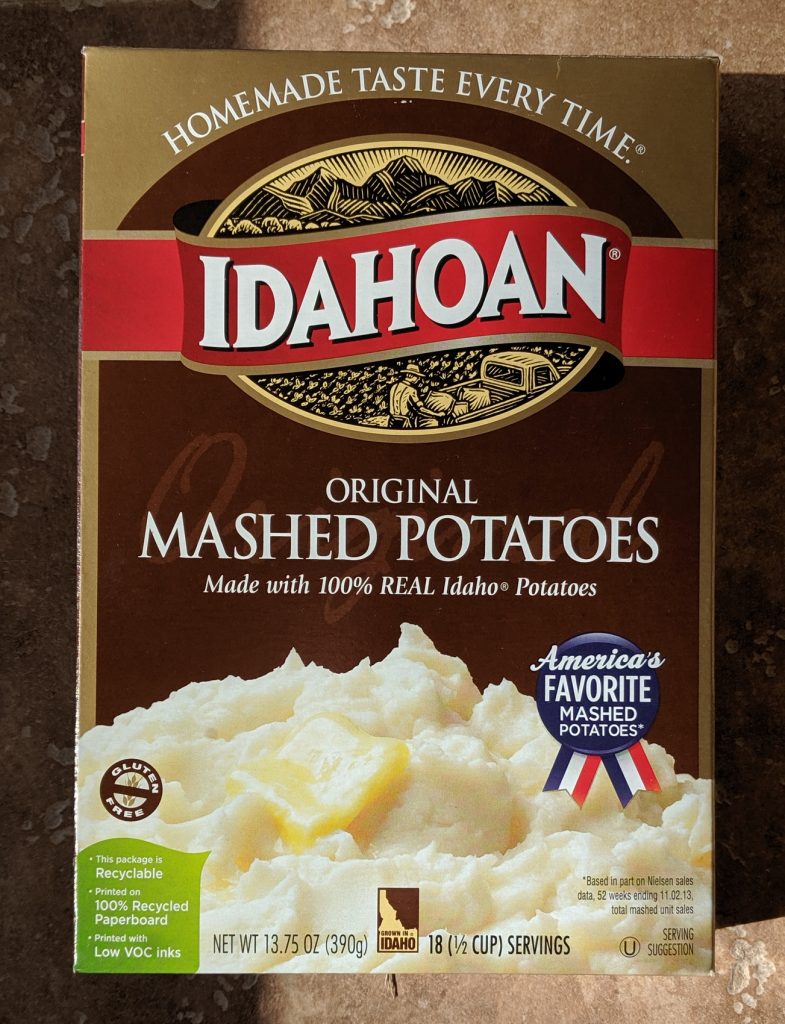
I use an instant potato mix as the base for my microworm cultures, as recommended by Aquarium Co-op. Other options include oatmeal, cornmeal, and baby cereal. Any of these soft grain mixes will work, but I've found the potato mix to be very cheap and easy to use. Just make sure whatever you buy has no additives.
Potato Mix
Starting a Microworm Culture
Once you have starter worms, a container, potatoes, and some bakers yeast, you can mix up a new culture.
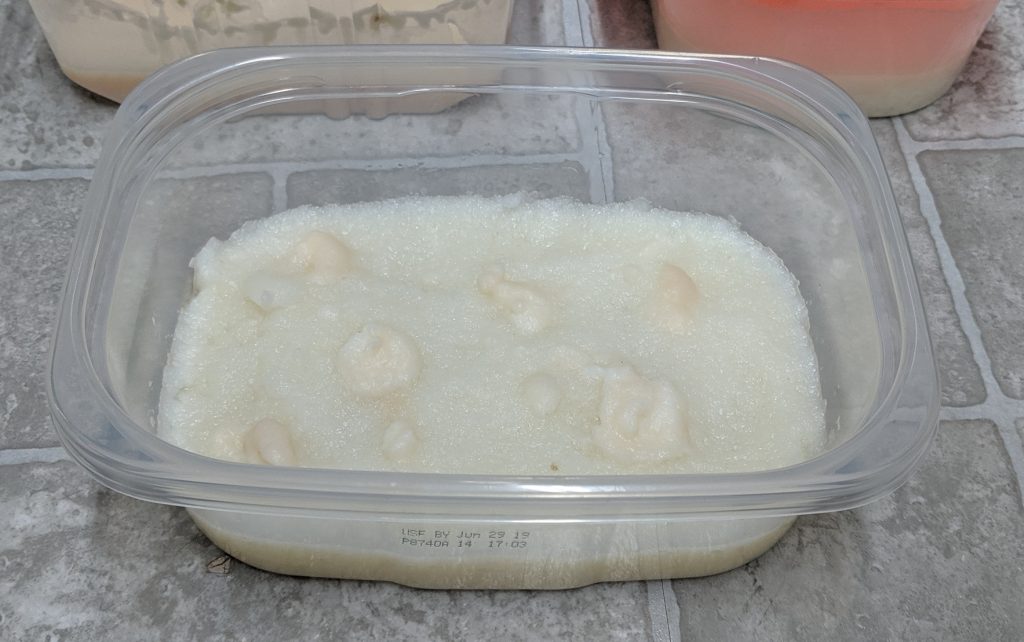
Pour enough mashed potato mix into the container to cover the bottom with about a half inch layer. This will expand when water is added.
Add water from an aquarium and stir until the mixture is similar to mashed potatoes. You don't want it too runny or too dry, it should look like the photo on the box.
Smooth out the mixture in the container
Add a little bit of baker's yeast, and gently stir it into the top layer of the mix
Smooth out the mixture and add two spoonfuls of aquarium water to wet the top
Add the worms from your starter culture to the top of the mix, put the lid on the container (make sure you date it!) and wait a few days (3-5 days on average)
Once you can see the top of the mixture shimmering or wiggling, you know the worms are multiplying. They can now be harvested using your finger or a spoon, paintbrush, etc. Just dunk them into the aquarium!
New Microworm Culture
Keeping Your Microworms Going
To make sure you never run out of microworms, its a good idea to always have 2 active cultures. I start a new culture every 3-4 weeks. Make sure you write the date you started the culture on the container!
Your existing cultures should be stirred gently about once a week to keep them thriving. They will have a vinegar-like smell to them, which is normal. If you can see live worms and don't see any mold, it is probably still good. Eventually the culture will start to stink badly or grow mold, and it should be discarded. This will happen after several weeks.