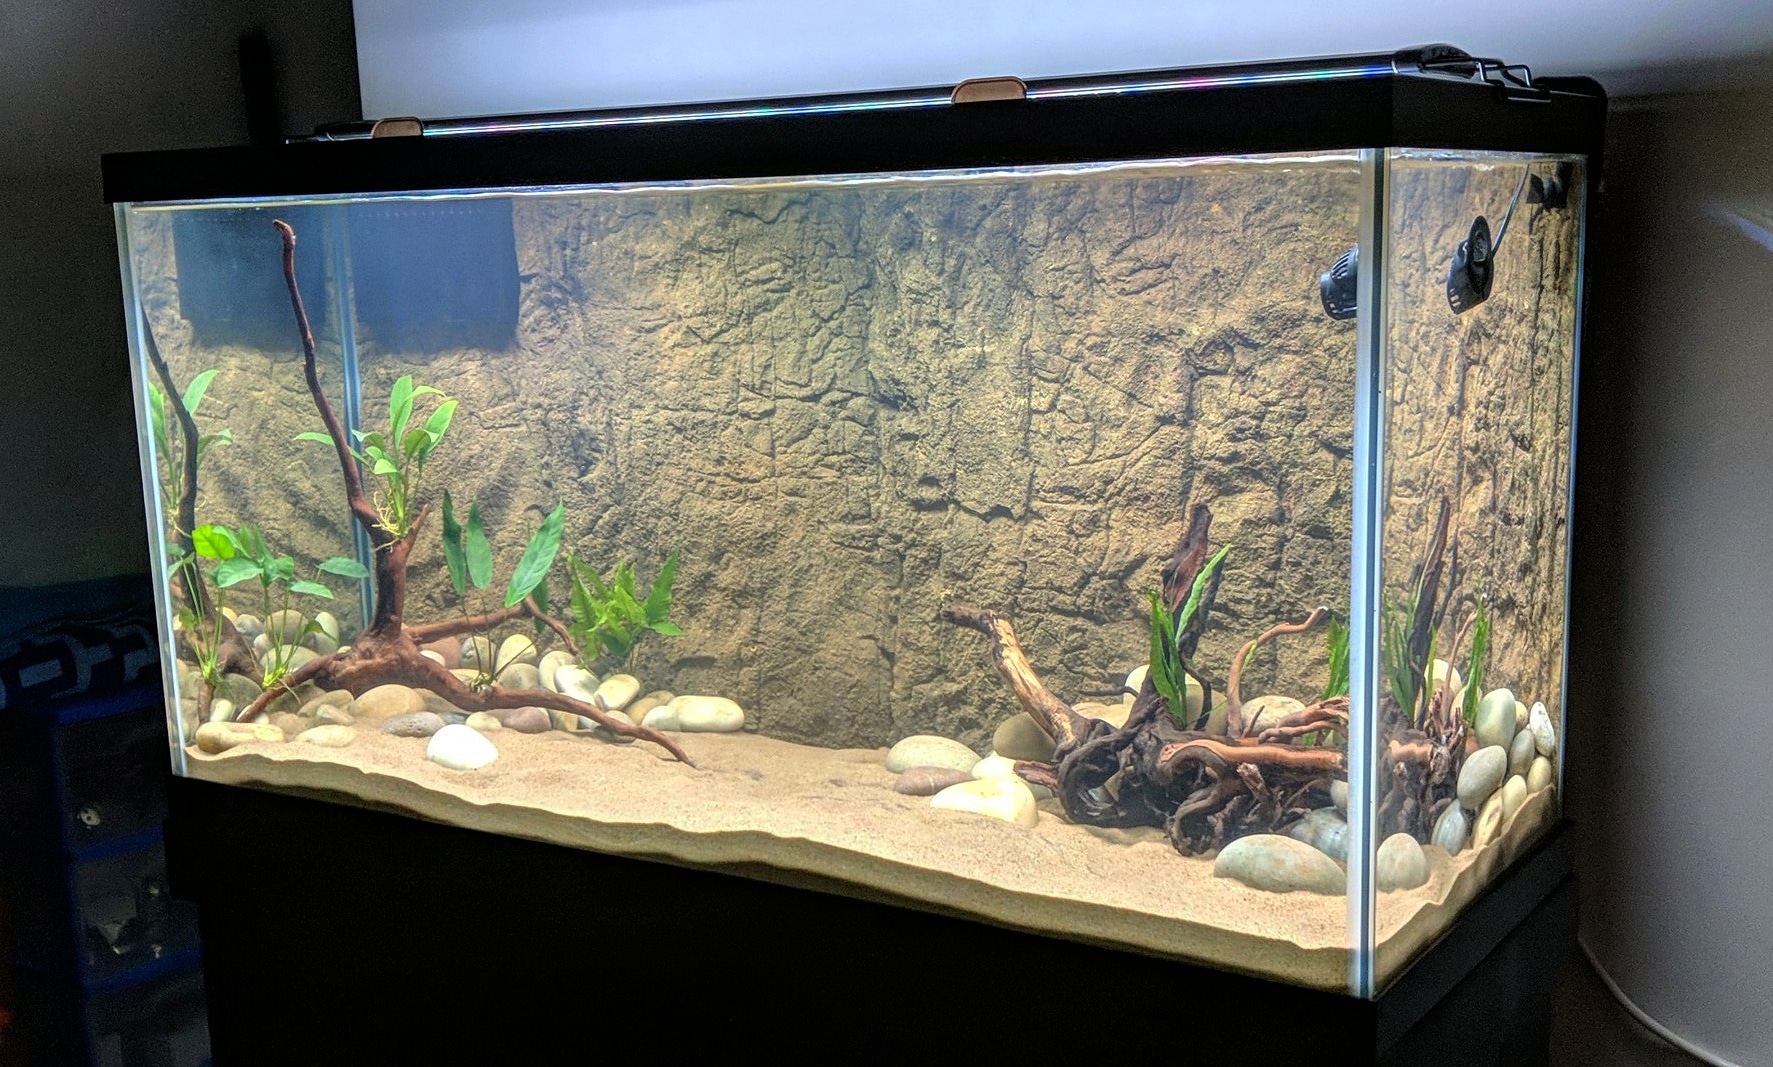
This 90 gallon aquarium has been in the works for a couple months now between other fish room projects. I posted about the sump I built for it last week as well as how I drilled the overflow. I finally have the background, substrate and hardscape in place and I'm getting ready to add fish.
The 3d background in this aquarium is from YourFishStuff. Its a thick silicone material that is coated in crushed rock, so it has a realistic texture and real depth to it. I cut it to fit around my overflow box, and it is held in place by the substrate and a couple of clips at the top of the tank. I'm really impressed with this background and very glad I went for it instead of painting the back of the aquarium black like I usually would. YourFishStuff sells these in a variety of standard tank sizes and the price is very competitive, especially for the quality of the product.
Hardscape in place
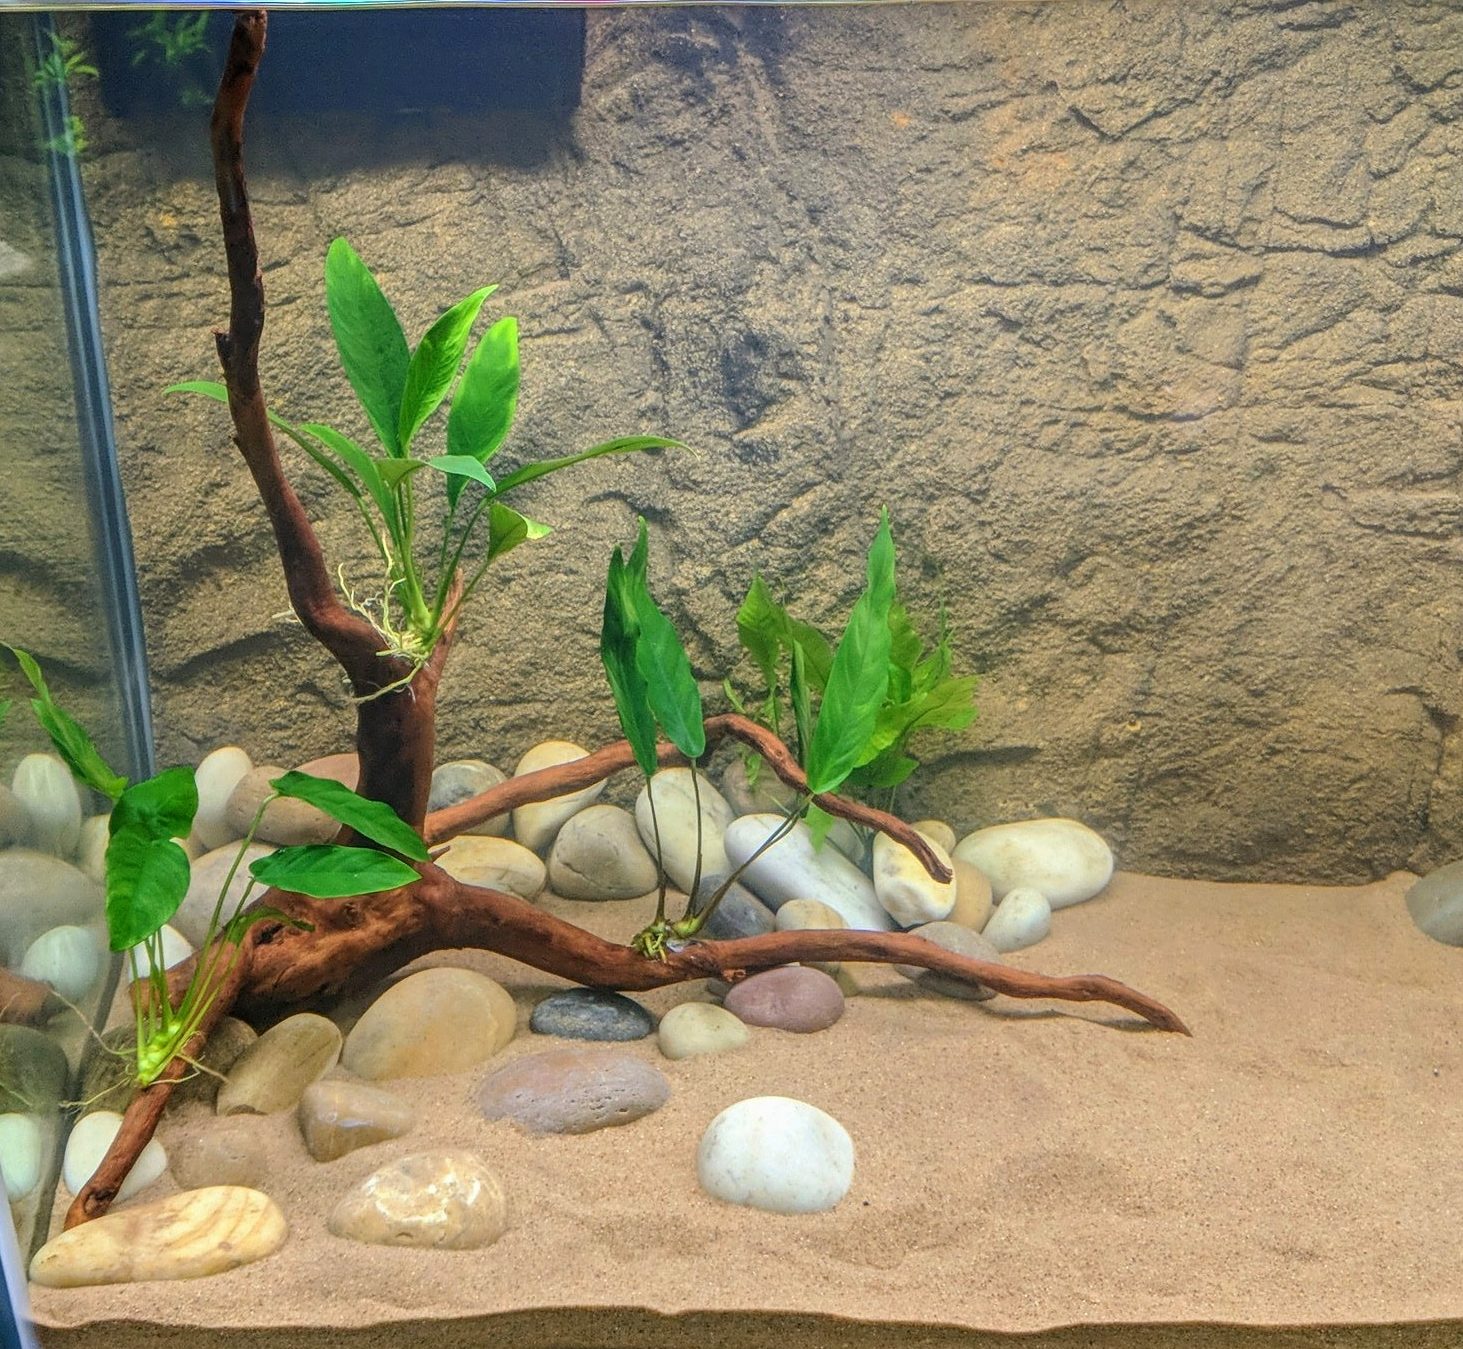
The sand substrate is Caribsea Super Naturals Sunset Gold. I got both the substrate and the spider wood on amazon. My first choice is always to support local aquarium stores but none in my area carried this particular sand or large pieces of spider wood.
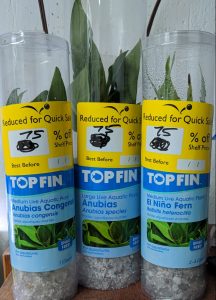
marked down aquarium plants
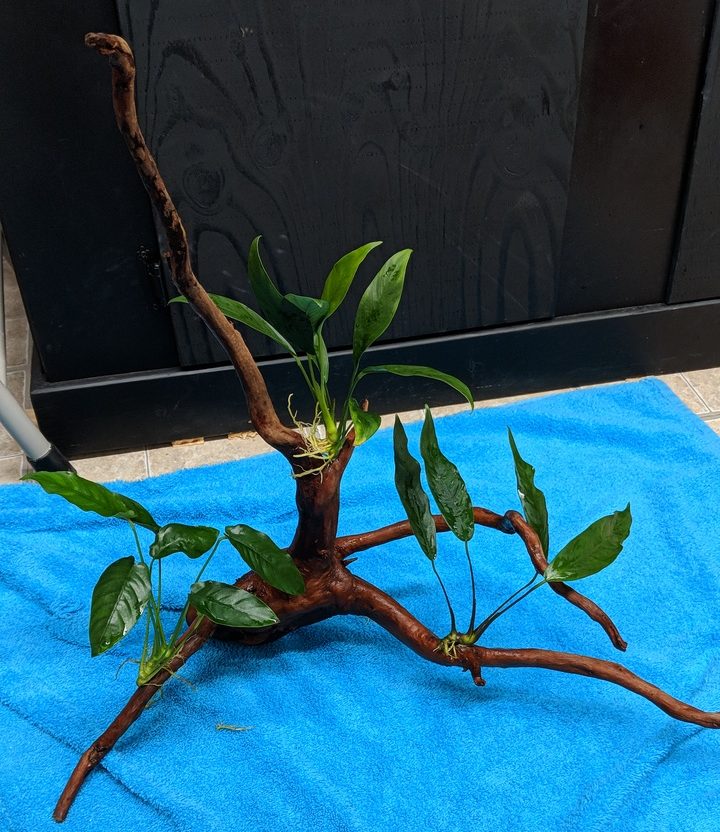
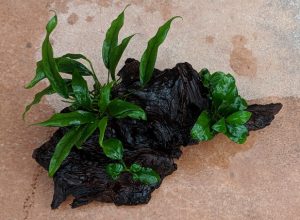
I scored some nice big anubias and an El Nino Fern at a 75% discount. I covered how I find cheap aquarium plants in a little more detail in this post. I used super glue gel to attach the anubias to a piece of spider wood. Eventually I plan to have this tank heavily planted, so I'll add more plants over time.
Spider wood with anubias
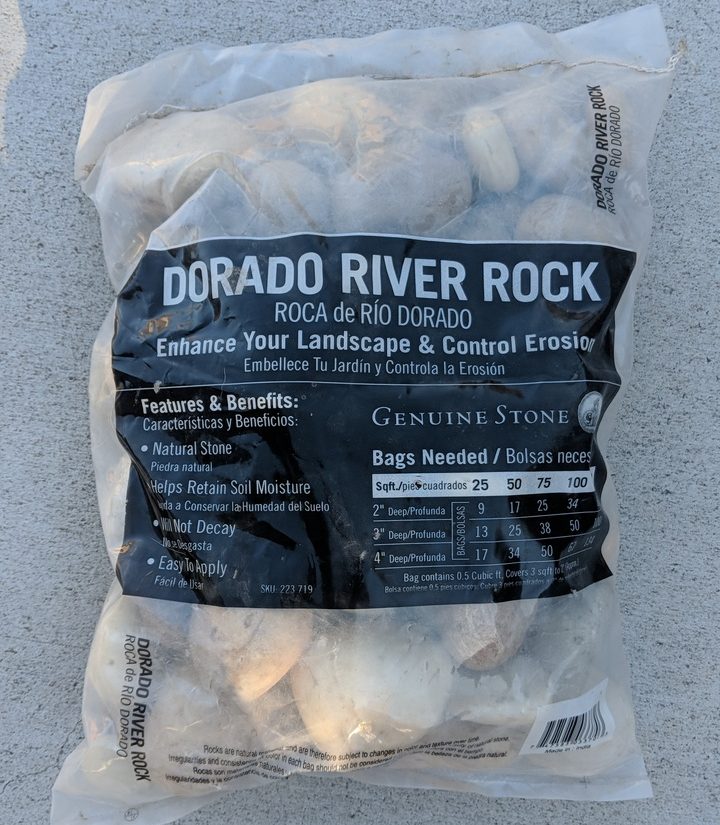
The rock I used is 40 lbs of landscaping river rock that I got at Home Depot for $12. Its a little more colorful than I had envisioned but once it grows some algae and the tank is densely planted it should look more natural.
river rock
I'll post further updates on this aquarium when it's fully planted and stocked with fish. If you want to see more of my fish room on a regular basis follow me on Instagram.
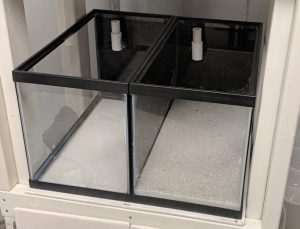
These two tanks sit on the bottom shelf of my DIY aquarium rack. They are standard aqueon 10 gallon aquariums, but they are positioned with the short sides in the front and back. I've never set up aquariums in this configuration, but I knew it would work really well with how I wanted to drill them. It's also an interesting layout to try to aquascape.
Plumbing
These tanks are drilled with an overflow in the back, which flows out to the main drain stack for the room. See this post for info on how I drilled the glass and this post for the drain system build.
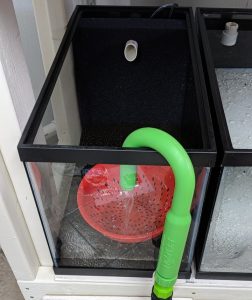
The overflow allows water changes to be done by just adding new water to the tank. Eventually this will be accomplished through an automated drip system operating on a timer. For now I'm doing water changes using my python hook, which makes filling tanks really easy.
filling with python hook
Filtration
hamburg matten filter
I used hamburg matten filters in these aquariums to hide the overflows and heater at the back of the tank. Matten filters provide a ton of surface area for biological filtration and are excellent for keeping shrimp and small fish away from an overflow. The filter is a thick foam sponge cut to the dimensions of the aquarium, with a hole for a PVC lift tube to fit through.
matten filter installed
The lift tube uses air to pull water up from the bottom of the tank behind the sponge and out the tube in the front. This pulls water through the sponge to the back, trapping debris in the sponge and feeding the beneficial bacteria. The foam sponge also provides a great surface for shrimp to graze on biofilm. I got these matten filters from Flip Aquatics.
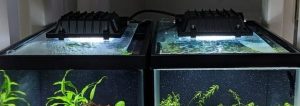
Lighting
The lights for these aquariums are 20 watt LED floodlights. I am keeping mostly anubias in these tanks so I went with a cheap lighting option since I only need low light. The lights currently sit directly on top of my DIY glass lids. Two of these LED lights only cost me $22.
LED flood lights
Stocking
Shrimp Tank
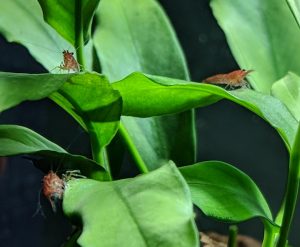
cherry shrimp on anubias
The tank on the left is home to a colony of red cherry shrimp I've had breeding for a long time. I may add a small group of nano fish like celestial pearl danios or white cloud mountain minnows later, probably after the auto water change system is complete.
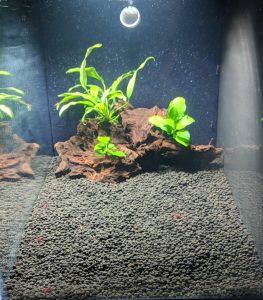
cherry shrimp tank
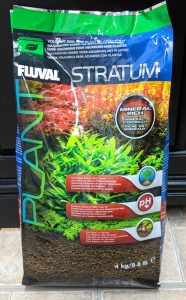
I set this tank up with Fluval Stratum because it is marketed as a shrimp friendly substrate. So far I have been happy with it, although it does require a thorough rinse before you dump into an aquarium. I do like that it has a nice uniform grain size and shape. The substrate is larger than sand but smaller and lighter than most types of gravel.
fluval stratum
Betta Tank
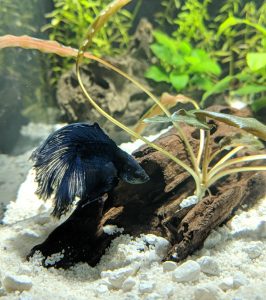
The other tank is home to my male betta. He is alone except for some ramshorn snails. I tried adding some cherry shrimp to his tank, but he hunted them all down and ate them within a day. In the betta tank I used a combination of white sand and white gravel. I like the combination better than using either sand or gravel alone.
betta tank
Plants
Both tanks were scaped with easy low light plants.
Shrimp Tank
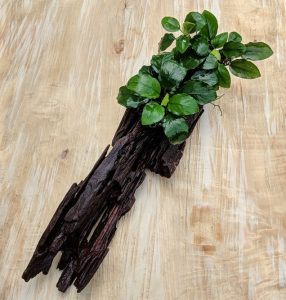
driftwood with anubias
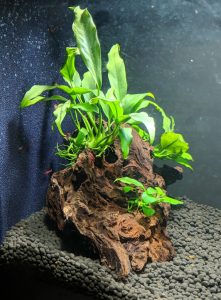
In the shrimp tank I used a single large piece of malaysian driftwood as the only hardscape. I attached to that two anubias nana rhyzomes and another large anubias that I've had for a long time. I used zipties for the larger two rhyzomes, and the smallest one is tucked into an opening in the driftwood. Once the roots attach themselves to the wood, the ties can be removed.
driftwood in shrimp tank
Betta Tank
betta tank layout
In the back of the betta's tank there's a wall of rotala rotundifolia, which is a stem plant that should grow thick if its trimmed regularly. This plant will grow quickly under high light, especially with CO2, but it does fine in a low tech setup.
large anubias rhyzome
I also included two large anubias rhizomes attached to pieces of malaysian driftwood. The anubias plant in the back has been growing on the same piece of wood for several months. The one toward the front is over a year old, and was ziptied to the driftwood. Zip ties were easier than super glue and can be easily snipped off later if I want to make a change.
Finally I have a small cryptocoryne wendtii in the foreground. This plant has some nice red shades in its leaves and grows differently under different lighting conditions. If it does well here I will probably add more crypts to both of these 10 gallon tanks.
I'm installing an automatic water change system on two 10 gallon aquariums. This post will cover how I set up the overflow drain system. See this post about drilling the tanks for more on installing the bulkheads. You can see the overflows installed on the tanks below.
drilled ten gallons on rack
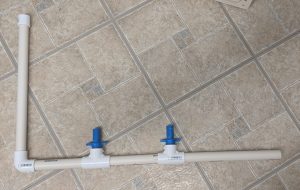
Once the bulkheads and overflows were installed in the aquariums I assembled a drain manifold to mount on the back of the rack. The manifold is built from 3/4" PVC, and connected to the overflows using 3/4" braided PVC tubing. It is mounted to the back of the stand so none of the components are visible from the front.
drain manifold
The manifold has two slip x thread tees that allowed me to thread in hose barb attachments. It also has a vented standpipe at the end to allow air into the system so that water can drain without creating a siphon. The cap on the standpipe has a 3/8" hole drilled into it for air flow. After dry fitting everything, I glued all of the connections except the cap. The threaded connections were made using plumbers tape.
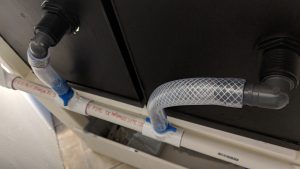
overflow tubing connections
The PVC drain assembly runs into another section of braided PVC tubing, again using a thread x hose barb connection. Plastic pipe hanging straps suspend the line at the right height for each section so that it has a consistent slope. The end point of this line is about 17" inches off the ground, and the bottom of the aquariums is at about 21". The total length of the line is 12 feet. So I have a consistent 1/3" drop per foot, which meets the local plumbing code minimum of 1/4" per foot.
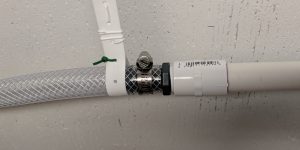
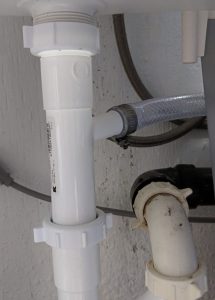
drain hose connection
The drain line then runs across the room and connects to the drain of my utility sink. I used this branch tailpiece to make that connection. This allows the aquarium overflow drain to use the sink's P-trap. The branch tailpiece has a hose barb for 3/4" tubing, I just slid the tubing over it and used a hose clamp to keep it in place.
Now I'm in the process of setting up the two tanks attached to this drain system. So far I've run quite a bit of water through the overflows and haven't seen any leaks at all. There shouldn't be any failures because the system is a passive vented drain, so its not under any pressure.
I'll be posting a complete walk through of both 10 gallon setups as soon as they're ready. Currently the plan is for one to be a new home for my cherry shrimp colony, and one to house my male betta. Bothwill be planted tanks running a setup I've never used before, so the results will be interesting.