Skip to content

2

Outdoor Guppy Tub
Outdoor Guppy Tub

Outdoor Fish "Tubbing"

Keeping fish in small, temporary outdoor ponds or tubs is often referred to as "tubbing" among fishkeepers. The most popular fish to keep in tubs are probably live-bearers. This includes guppies, Endlers, mollies, platys, and many other species. These tubs are unfiltered and in many cases go an entire season without a water change. This summer I'm keeping guppies in a 100 gallon container in my back yard.

What Temperatures Can Guppies Survive Outside?

Unlike goldfish and koi, guppies can't survive outdoors in cold weather. While most sources will list the minimum acceptable temperature for guppies anywhere from 65°F - 72°F, they can tolerate water as cold as 60°F for short periods of time.

Where I live in Colorado, there is only about a 3 month window every year when temperatures are consistently warm enough for a guppy tub. The chart below shows daily average high and low temperatures specific to my area.

Colorado Average Monthly Temp

Water doesn't heat or cool as quickly as the surrounding air. This means the water in an outdoor tub usually won't reach the daily high or low temperature on a given day, it will drift gradually between them. The average water temperature should be near the center of the daily range. There will also be a temperature gradient between the water's surface and the bottom of the tub, assuming it is sufficiently large.

Actual Guppy Tub Temperature Observations

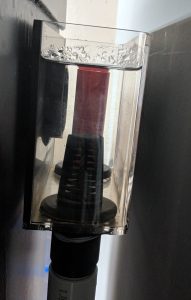
During the month of June I took temperature readings of my guppy tub at least once every day, up to 3 observations per day, for a total of 55 observations. The data I collected is shown in the chart below. You can see that on very hot days the water temperature (measured using a floating thermometer at the surface) reached as high as 86 degrees. This only lasted a few hours until the sun set, but I am planning on setting up some afternoon shade for the tub going into the hottest part of the year. As you might expect from historical weather data, the average water temp observed in June was 71.5°F.

Note: All of these temperature observations were made at various times throughout the day between 7:00 AM and 7:30 PM.  The highest temperatures were observed in the late afternoon after several hours of direct sun.
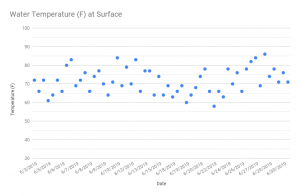
Water Temperature of the Guppy Tub Throughout June 2019
High 86
Low 58
Average 71.5

I kept the guppies in an unheated aquarium indoors at 68°F - 70°F for several months in preparation for this project, during which time they continued to breed and grow. I did not observe any deaths during the month shown here, and saw new fry after about 3 weeks of the guppies being in the tub. Based on my observations, guppies are able to tolerate relatively large daily swings in temperature, as long as the extremes are not too hot (above 90ºF) or too cold (below 60ºF).

Outdoor Guppy Tub Container

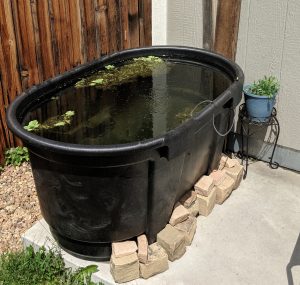
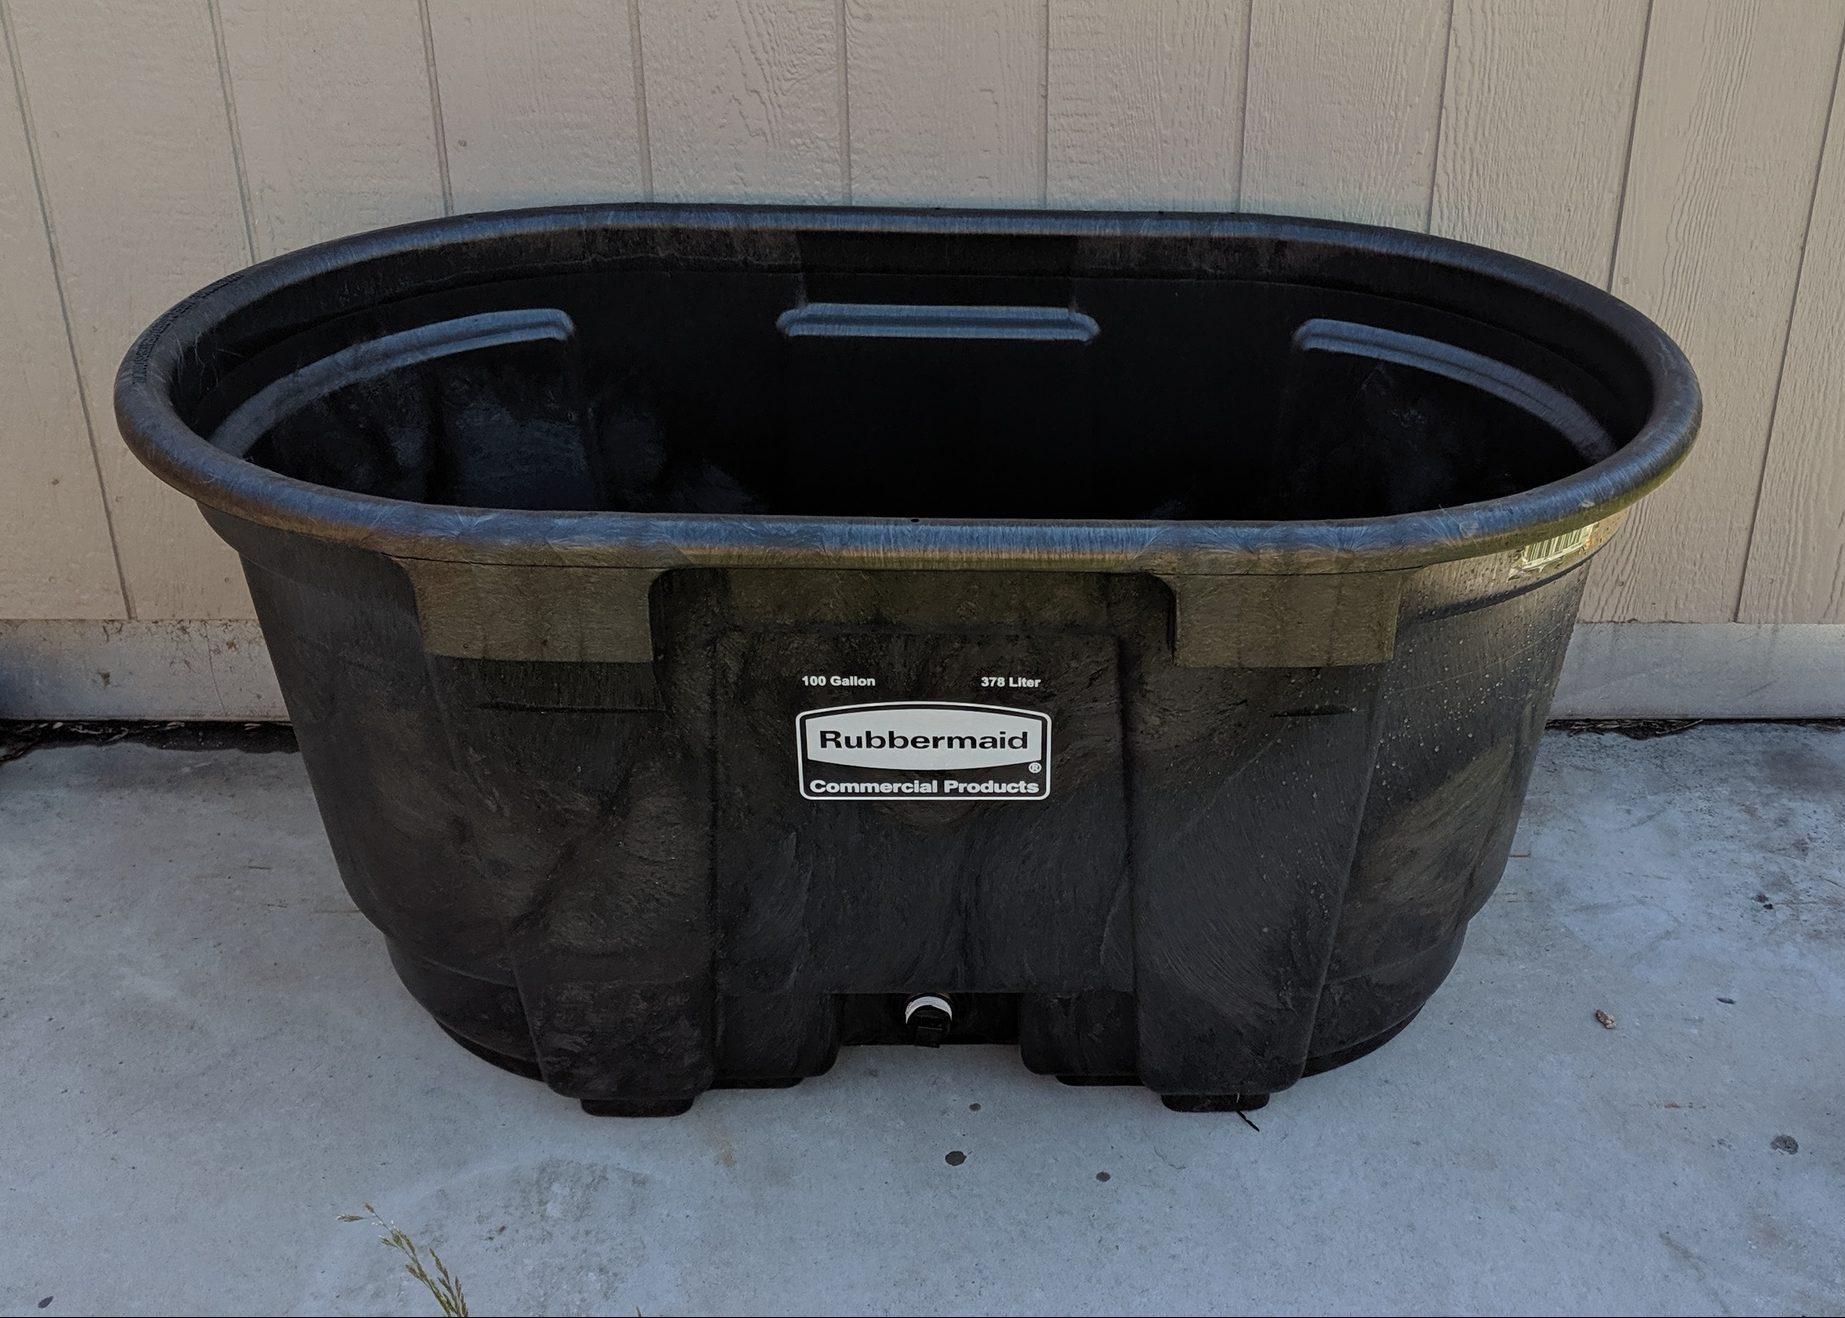
I chose a 100 gallon Rubbermaid stock tank for this guppy tub project.

100 Gallon Rubbermaid Stock Tank

I've seen others use rain barrels, kiddie pools, pond liners, etc. I wouldn't use anything that holds less than 40-50 gallons, because water parameters are going to be more stable in a larger volume of water. You should also avoid any container that is too tall and skinny, as this will make viewing and catching the fish difficult. Stock tanks (horse troughs) are the ideal shape for a garden pond.

Guppy Tub on Day 1
Guppy Tub on Day 1

Outdoor Guppy Tub Plants

Floating Plants
Floating Plants

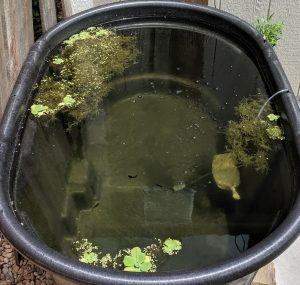
Plants are an essential requirement for outdoor fish tubbing. Since you won't be performing many water changes, plants will help to remove excess nitrogen. They also compete with algae for nutrients. A pond without any plants will quickly turn green after a few days of sunlight. Any aquatic or marginal plant could be used in an outdoor guppy tub project. Some common pond plants include water lilies and water lettuce.

Shop Pond Plants on Amazon

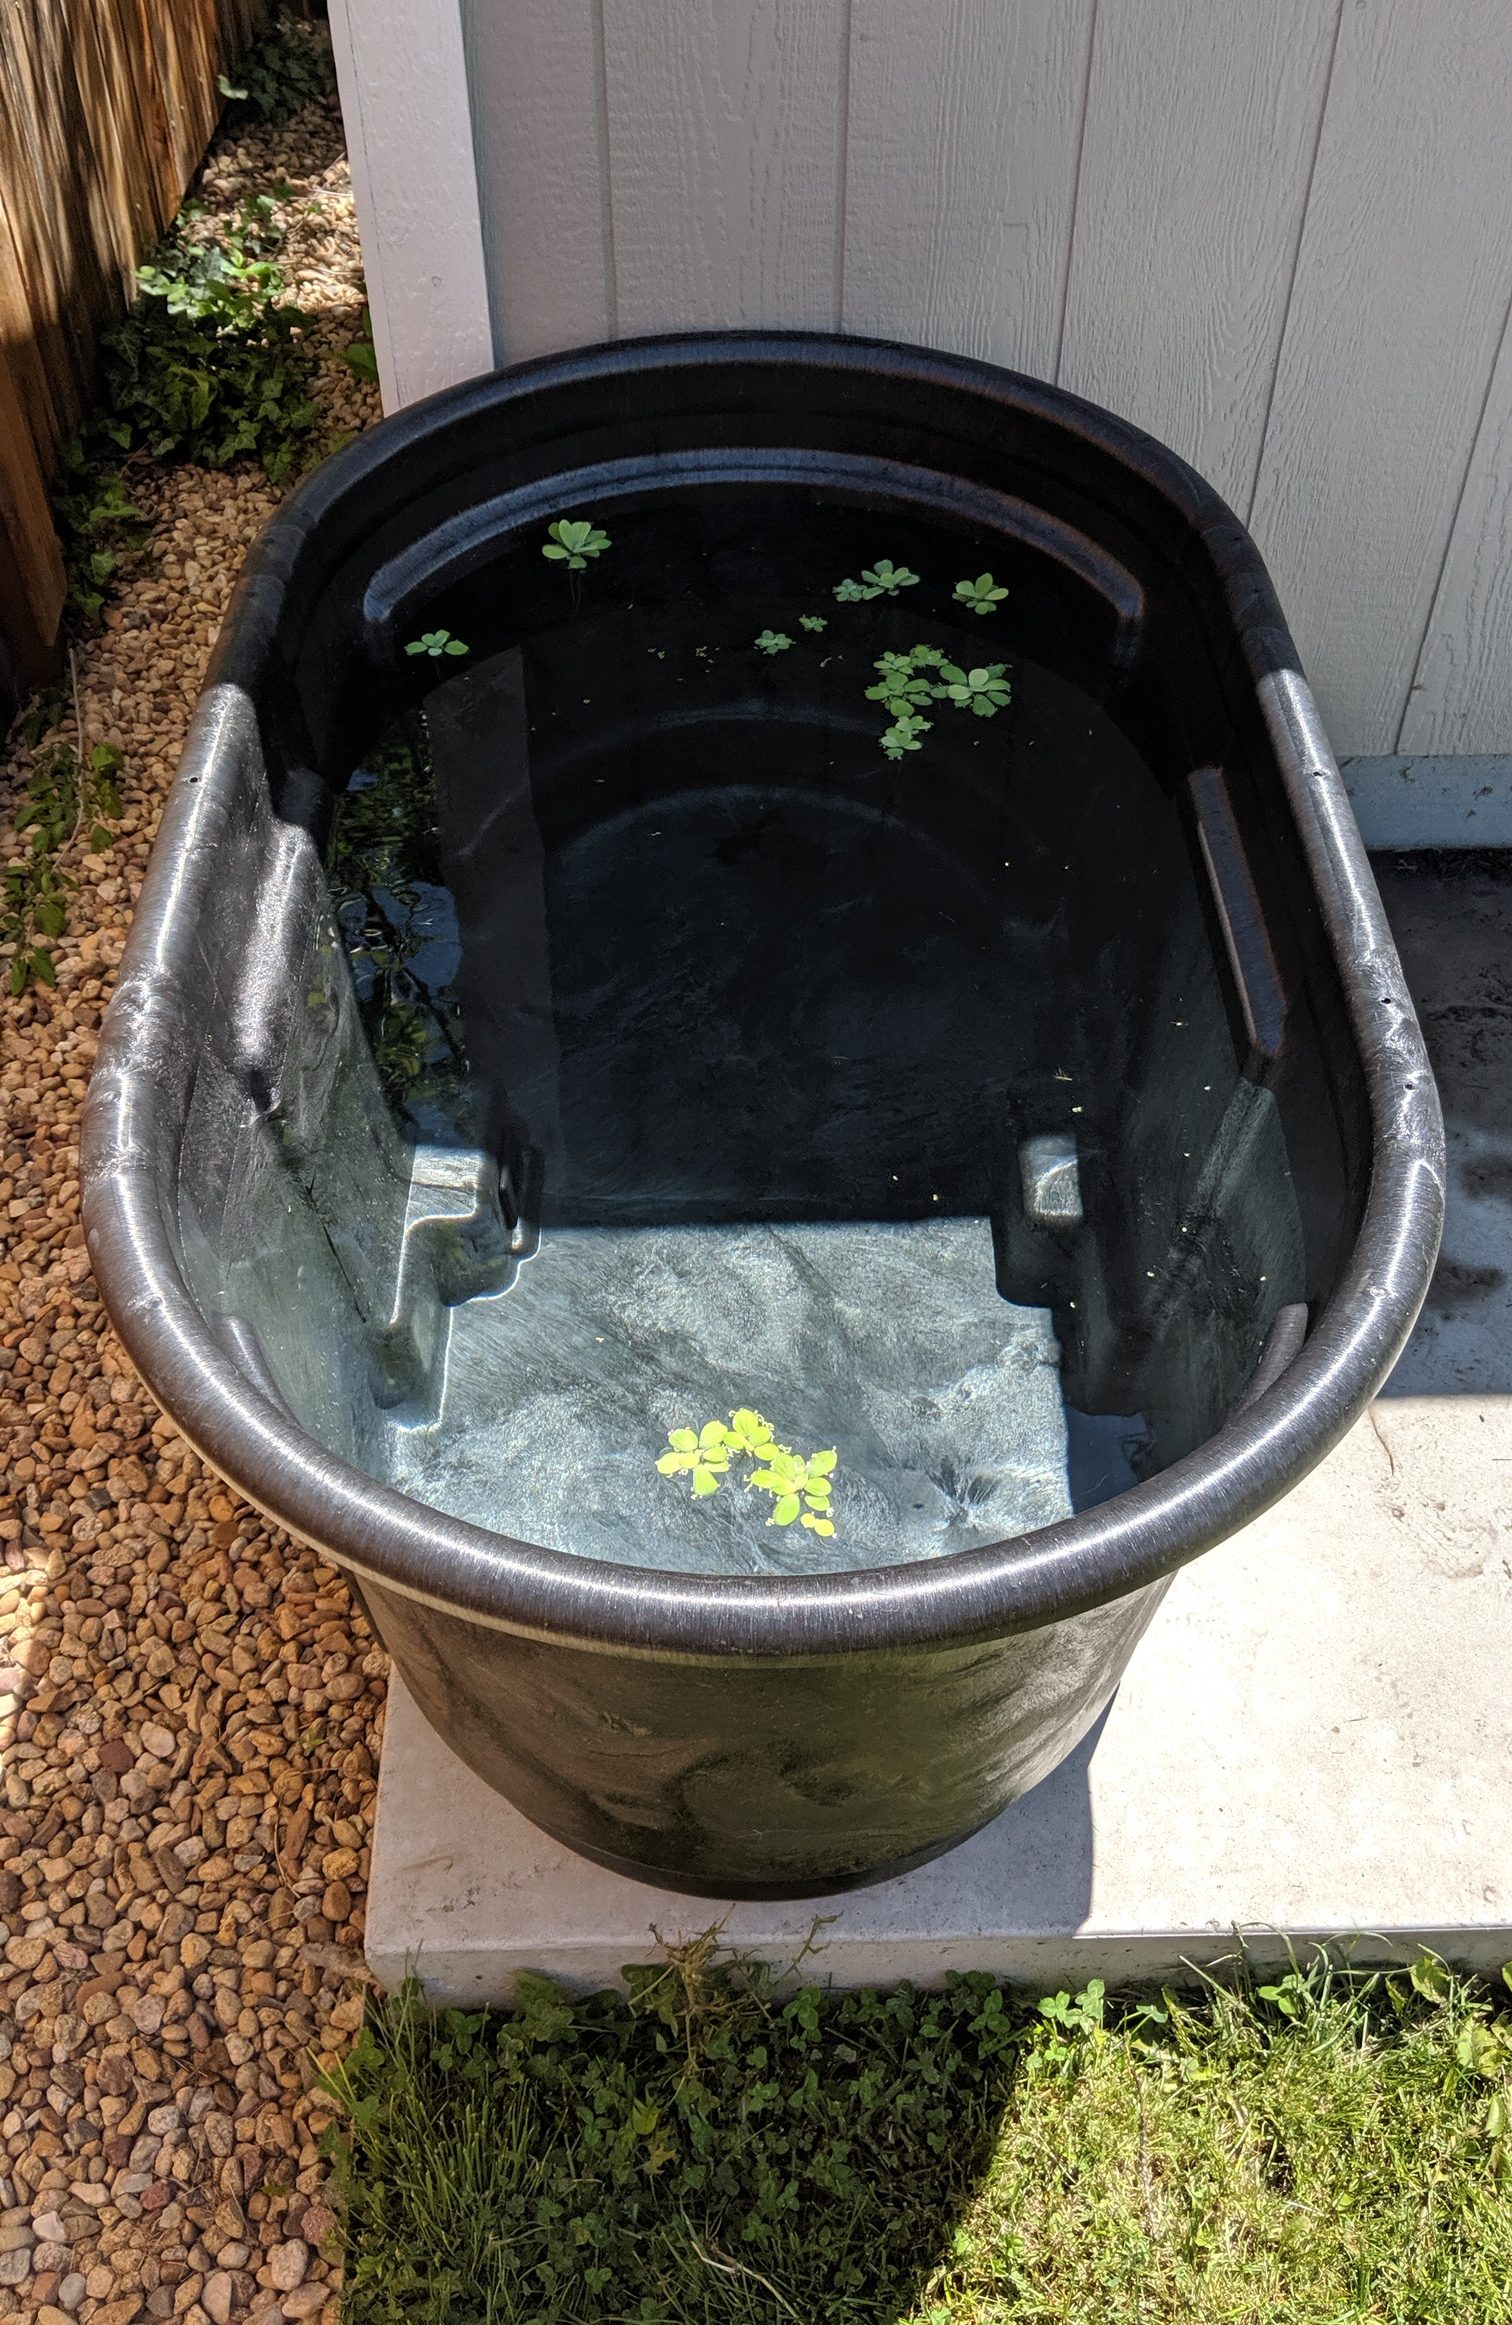
I set up this pond with some duckweed & water lettuce from my Endler breeding aquarium.  I also added a large portion of najas/guppy grass. Guppy grass can be grown either rooted or as a floater, and is often used in breeding live-bearers. Floating plants are a good choice for an outdoor tub because the roots provide shade and cover for the fish, and they don't require any substrate.

Adding Fish to an Outdoor Tub

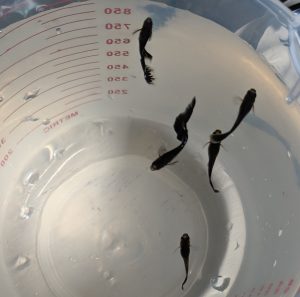
Ideally you'd want to have an outdoor tub filled and planted for several days before introducing fish. This gives the water an opportunity to age in the sun, as algae grows and infusoria begin to develop. I added water from established aquariums to my 100 gallon stock tank, and let it sit for 3 days before adding any fish. As mentioned above, I also prepared my guppies by keeping them in an unheated aquarium all spring before they moved into the tub.

Guppies
Guppies

Maintaining Water Quality in an Outdoor Tub

Water Changes

In a perfect world, all water that evaporated out of a tub would be replaced by rainwater, and all wastes would be absorbed by the plants. Of course that's not the world we live in. You should check the nitrates in an outdoor tub just like you would with an aquarium, and do a water change if they rise over 20 ppm. I've found that a 30% water change every 2 weeks is adequate in my pond. This probably wouldn't be necessary if I had enough plants to entirely cover the surface.

Aeration

I use a solar powered air pump to oxygenate the water. More on that in this post, but you can get the solar panel I'm using here on Amazon. You'll also need an air pump that can run off USB power, which I got from Aquarium Coop (https://www.aquariumcoop.com/). You can also buy them on Amazon. This pump runs about 10-11 hours per day (you know, solar) and does a good job keeping the water from getting stagnant.

3

Completed DIY Rack
Completed DIY Rack

This rack is designed to hold two 29 gallon aquariums. It was built using 2x4 pine studs, wood screws, and steel corner brackets. The total cost was less than $50, and the only tools required are a saw and a drill.

Design

I created a 3D model of this rack using SketchUp before I started building so I could check all of the dimensions. A 29 gallon tank measures 30 1/4" Long x 12 1/2" Wide x 18 3/4" High. Note that 20 gallon "long" tanks have the same footprint, but are 6" shorter in height, therefore this rack design also works for 20 longs. Its important to make sure you will have adequate space between tanks when designing a multi-level aquarium rack. This design allows roughly 7" of space between the lower tank and the top shelf.

Building

I cut the 2x4 studs to size using a Dewalt miter saw. The only lengths needed for this rack are 53", 31", and 11". The sketch above shows how they all fit together. I sanded all of the pieces at this stage so that every surface was smooth.

2x4 Cuts
2x4 Cuts

I assembled the shelves by placing the 11" sections on the inside edges of the 31" sections, and securing with 2.5" wood screws. I always drill pilot holes before driving a screw into a stud.

Assembled Shelf
Assembled Shelf

I  stained the shelves and the uprights before connecting them all together. Then I assembled the rack in its designated position in my fish room starting from the floor.

Testing the New Rack

To prevent the weight of the aquariums from putting too much stress on the wood screws, I added steel brackets under all 4 corners of both shelves. This design would probably not support a larger aquarium, but a filled 29 gallon weighs only 330-350 pounds. Each #8 wood screw has a shear strength of about 100 pounds. I used 8 to secure each shelf to the uprights, plus the additional supporting brackets, just to be safe.

**Disclaimer: Do your own math - I'm not responsible for any damage caused by this design failing in your application**

Steel Corner Support Brackets

These brackets were less than $2 a piece at a home improvement store. They are secured with 3/4" metal-to-wood lath screws.

Final Setup

Currently this rack holds a 20 gallon long fry tank and a 29 gallon planted tank. Although it was designed to hold two 29's, I already had the 20 and decided it would make a good growout for my Endler fry.

Filled Tanks on the Finished Rack

See my other DIY rack design here.


8

DIY Sump for 90 Gallon Aquarium

I built a DIY sump filter for my 90 gallon freshwater aquarium using a standard Aqueon 20 long tank. There are a lot of great advantages to using a sump filter, especially on larger systems. A sump can hold several times more filter media than a hang on back or canister filter. Sumps also allow you to remove equipment, like heaters, from the display tank so that it is out of sight. Finally, since a sump can technically be any container that holds water, there is a lot of room for customization.

Overflow Plumbing

Gluing the Overflow Plumbing

This system is using an Eshopps Eclipse (Medium) overflow, which requires drilling a hole for a 1.5" bulkhead. The overflow has two 1 inch bulkheads, which allows for a Herbie style overflow setup. With this configuration, the primary overflow valve is set partially closed, so that the water level in the overflow box rises to the top of the red secondary, or emergency, standpipe.

Herbie Drain
Herbie Drain

The partially closed ball valve limits the flow through the strainer, maintaining a siphon that runs quietly. A small amount of water flows down the open emergency standpipe. This configuration is popular in reef tanks for its quiet operation and ability to handle a lot of flow without worrying about a clogged strainer causing the display tank to overfill.

Sump Design

This sump is built from a standard size Aqueon 20-long, with three glass baffles siliconed in place to create the different sections. The first two baffles force water flowing into the sump down through the mechanical media and then up into the second section. The third baffle sets the minimum water level in the sump at about 6", or half the height of the tank. This leaves room for roughly 9 gallons of water to overflow from the display tank into the sump in the event of a power failure or pump failure.

Empty 20 Gallon Sump

Egg crate style lighting diffuser creates dividers that hold the media in place and keep it off the heaters. I cut sections of the lighting diffuser down using wire snips, and attached the pieces to each other with zip ties. The first section has a platform that holds the media up above the bottom of the first baffle.

Lighting Diffuser Platform

The second section of the sump holds the bio media and heaters. Here I made a platform for the media to sit on, as well as a divider for the heaters. I also made an air driven circulation device using an old sponge filter housing without the sponges. The two intake tubes sit on the glass bottom of the sump below the diffuser, pulling water from the bottom up to the top of the media. The idea was to create more movement across the media and oxygenate the water before it gets returned to the aquarium.

Circulation Lift Tube Installed

Filtration Media

This sump is using a combination of polyester quilt batting, thick sponges, bio rings, and lava rock for filtration. Water flows from the overflow pipes into a basket that holds a layer of polyester batting, which catches most debris and fine particles before they get into the rest of the sump. I covered how cheap and awesome quilt batting is as a filter media in my post about DIY filter hacks.

Polyester Batting
Polyester Batting

The bottom of the filter basket is lined with a 1 inch think coarse sponge. This traps debris the batting didn't catch and allows the water to drain evenly through the sides and bottom into the 3 inch layer of sponges below.

Mechanical Filtration Basket

In the second chamber is 7 pounds of lava rock, with 4 one-pound bags of bio rings on top. Lava rock is highly porous and often used in pond filters because it is cheap to buy in bulk. I picked up a 7 lb bag for less than $10 at a home improvement store. I got the bags of bio rings, as well as the coarse sponge for the filter basket, from aquariumcoop.com.

Biological Filtration

The heaters are positioned in front of the bio media so they are easily visible and accessible if I need to make an adjustment. The final chamber houses the pump, which sends the water back up to the display. This section has extra space I can use to add activated carbon, purigen, or any extra media I may want to cycle.

DIY Sump in Service
DIY Sump in Service

The entire build for this DIY sump cost me under $100, not including the submersible pump ($20) and overflow ($110). Compare that to canister filters like the Fluval FX4 that, while effective, run well over $250 and provide virtually none of the advantages of a DIY sump.