Skip to content

4

How to make cheap custom DIY aquarium lids using twinwall polycarbonate greenhouse panels.
DIY Polycarbonate Aquarium Lid

Why Use Polycarbonate for DIY Aquarium Lids

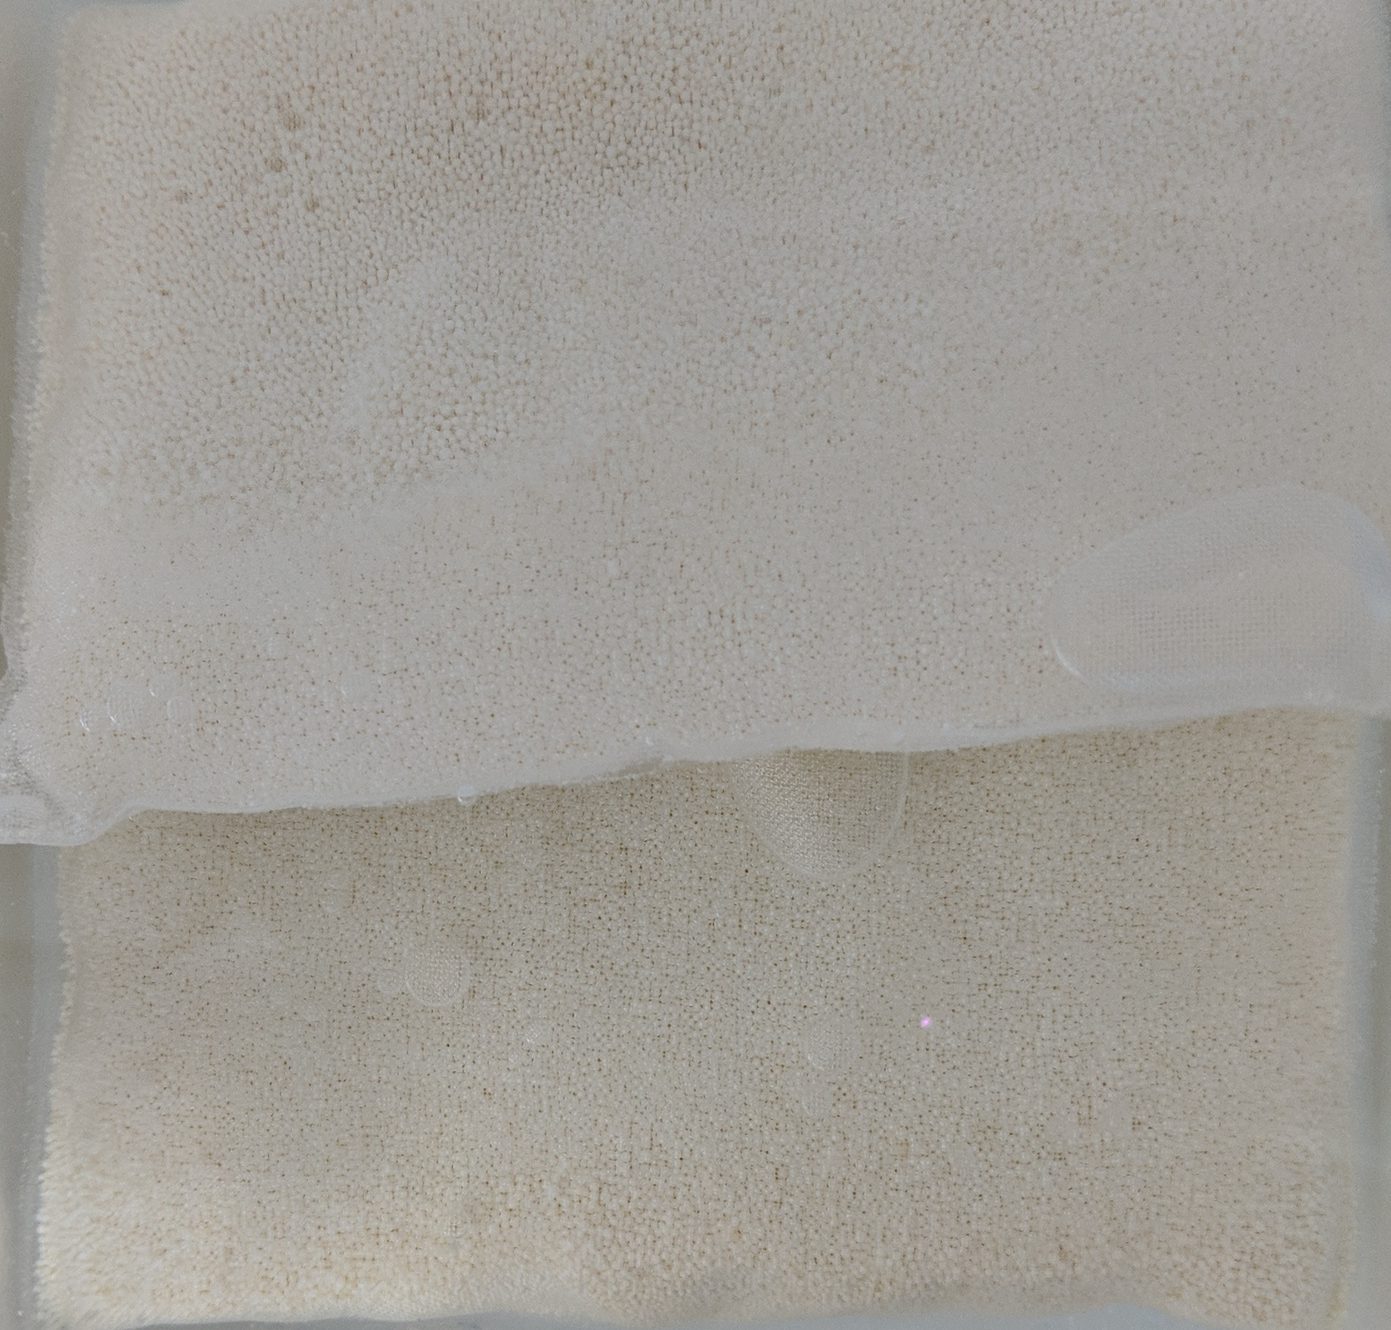
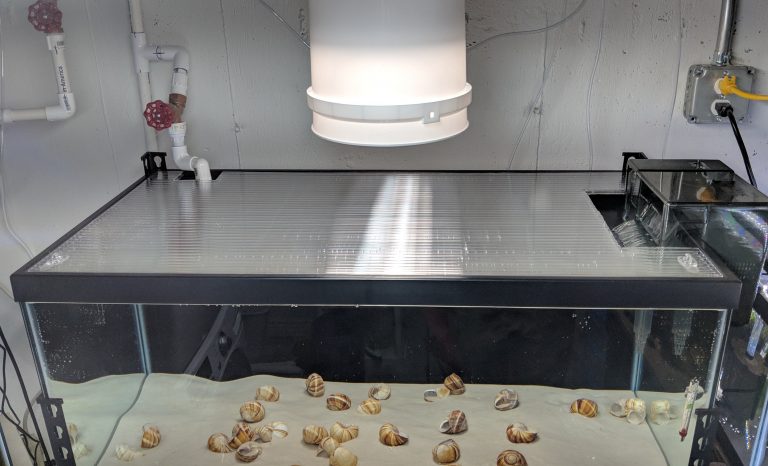
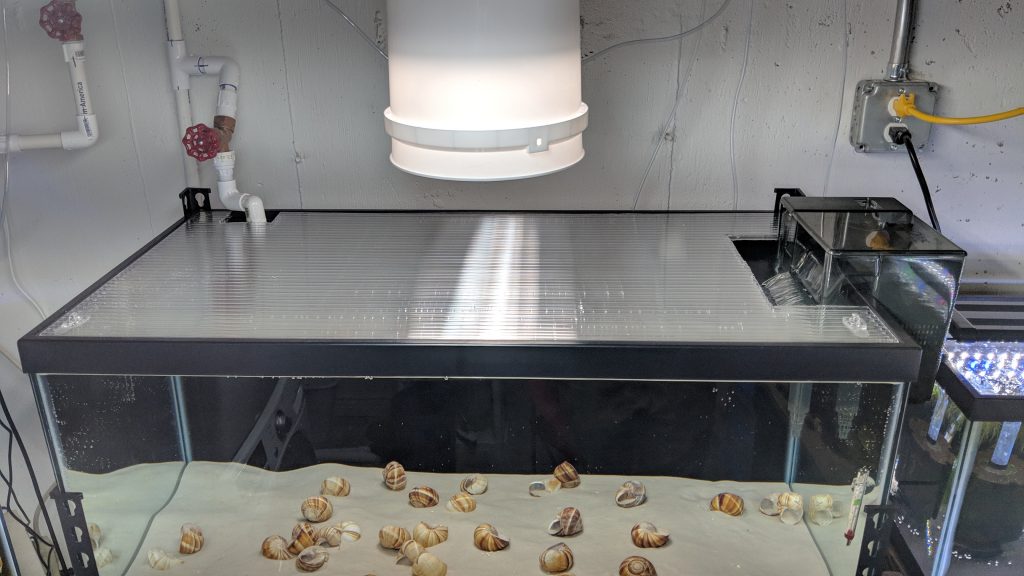
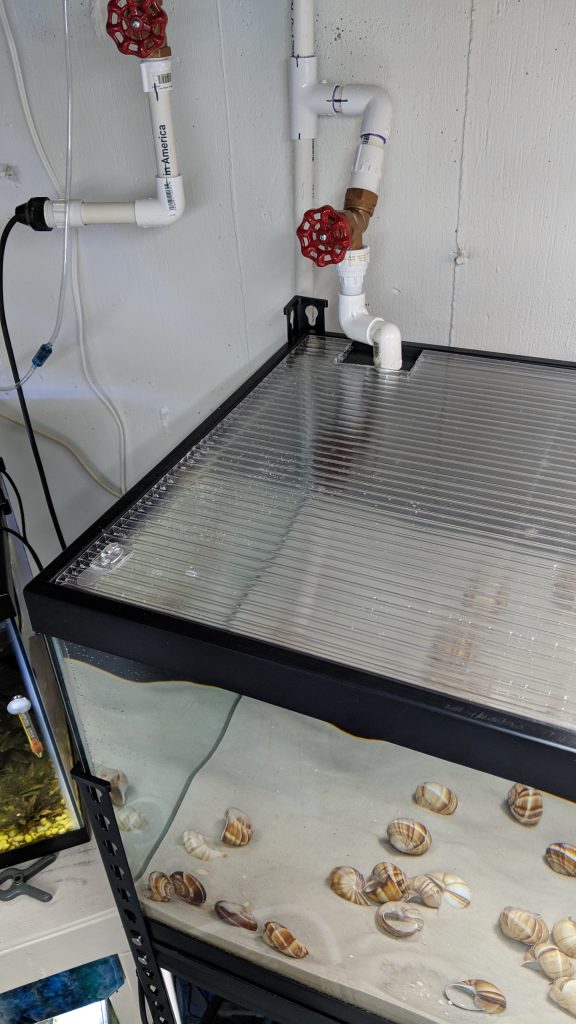
I've previously covered how to make DIY Aquarium Lids out of glass, but glass lids are less practical for larger tanks or configurations where you want a lid that has multiple cutouts for your equipment. I used a panel of twin-wall polycarbonate to make a custom lid for my 40 gallon breeder aquarium (shown above).

Twin-wall polycarbonate is used for roofing panels on greenhouses, so it is designed to allow good light penetration. It is also far more durable than glass. Polycarbonate sheets won't crack or shatter if they are dropped or bumped. They also will not bow or bend like sheets of acrylic, which makes them an ideal material for covering larger aquariums.

Constructing the DIY Aquarium Lids

Hacksaw
Hacksaw

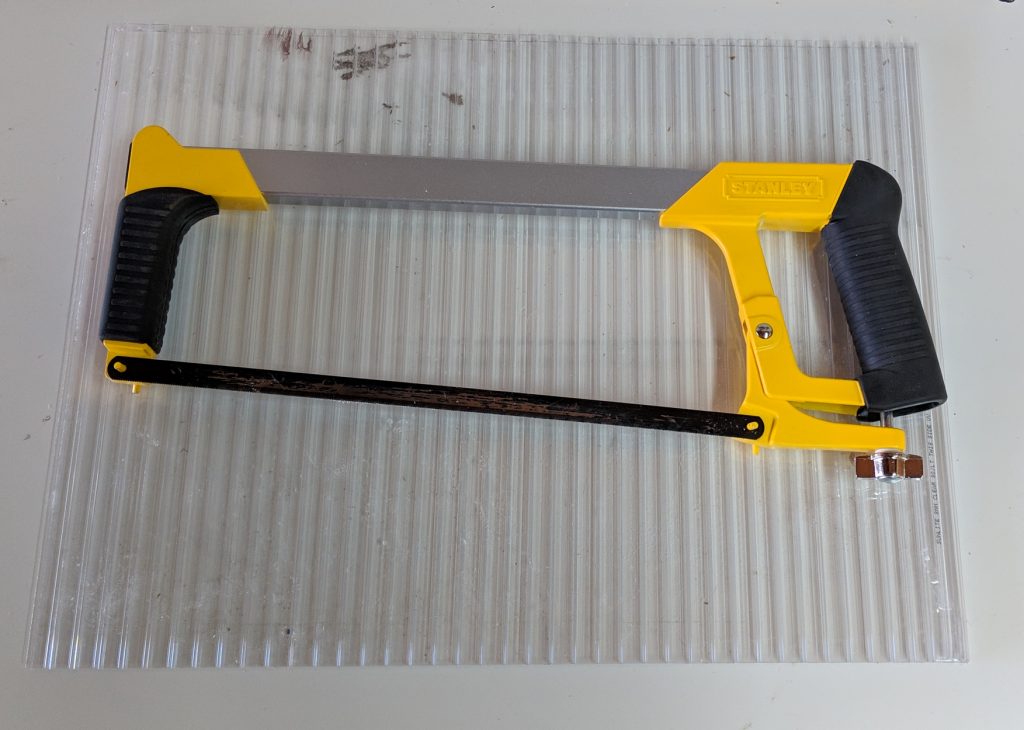
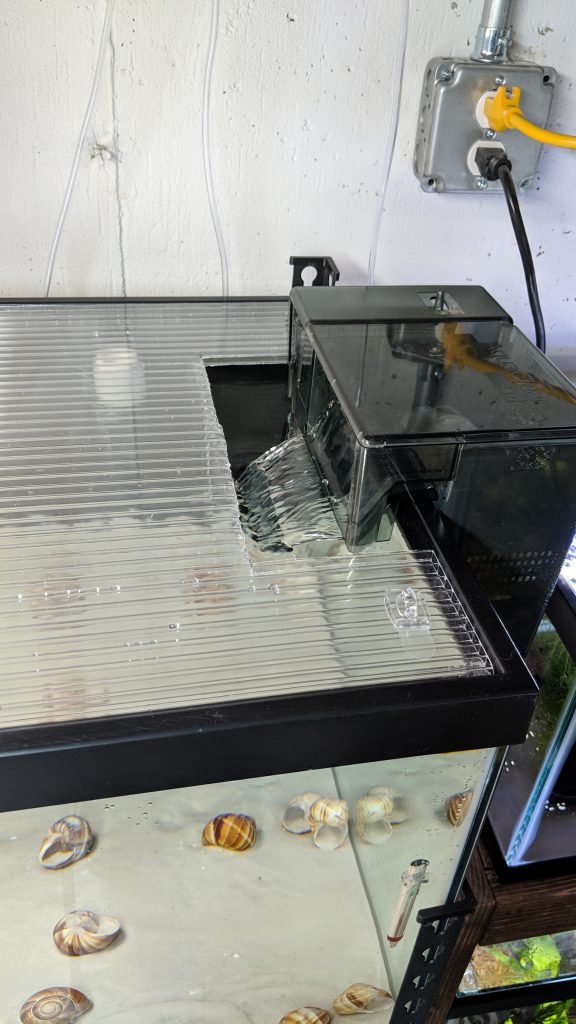
I started with a 2' x 4' sheet of polycarbonate, and used a table saw to cut it down to the dimensions of the top lip of my 40 breeder aquarium: 35" x 17". Then I used a handheld hacksaw to make the cutouts for my incoming water line and my Aquaclear 70 HOB filter. Finally, I added "handles" to the front edge using clear Command hooks. The hooks allow the lid to be lifted off the tank easily for maintenance.

This video by Jadren Aquatics has more good information about making DIY aquarium lids out of polycarbonate panels:

Seachem Purigen is a synthetic absorbent that captures organic waste in the water column. It can absorb and trap nitrogenous organic wastes that would otherwise release ammonia, nitrite, and nitrate. Tannins from driftwood and other natural decor in the aquarium are also captured. Eventually, Purigen will turn dark brown to black, as shown in the photos below. But you don't have to discard it and buy more at this point, because Purigen can be regenerated and reused!

Used Purigen Bags
Used Purigen Bags

The Purigen packet on the left in the above photo was used for just a few weeks in an aquarium with some large pieces of driftwood. The brown color is due to it absorbing tannins from the wood in the water. The packet on the right was used in a different aquarium for several months.

Recharging Seachem Purigen

Basic directions for re-charging Purigen are available on Seachem's website. A screenshot of their instructions is included below:

Seachem Purigen Regeneration Instructions

Bleaching Purigen

I recharged two 100 ml bags of purigen using a solution of 2 cups Clorox bleach and 2 cups water in a plastic container. The bleach burns off organic material that has been captured by the Purigen. You can see the brown and green coloration was completely removed from these two bags after 24 hours.

Bleached Purigen Bags

Dechlorinating Purigen

After soaking for 24 hours in the bleach solution, I mix a solution of 2 cups tap water and 1 TSP of Seachem Safe. Safe is the same thing as Prime, but it comes in a dry powder form and 250 grams treats up to 60,000 gallons. Compare that to a 500ml bottle of Prime, which treats only 5,000 gallons. Per Seachem's instructions, you can use any equivalent dechlorinator, just be sure to use a large enough dose to remove all chlorine.

"<yoastmark

This is the first time the packets shown have been regenerated. After multiple uses, Purigen will begin to show staining or discoloration. I don't recommend re-using it more than 3 or 4 times.

Buy Seachem Purigen on Amazon

3

Completed DIY Rack
Completed DIY Rack

This rack is designed to hold two 29 gallon aquariums. It was built using 2x4 pine studs, wood screws, and steel corner brackets. The total cost was less than $50, and the only tools required are a saw and a drill.

Design

I created a 3D model of this rack using SketchUp before I started building so I could check all of the dimensions. A 29 gallon tank measures 30 1/4" Long x 12 1/2" Wide x 18 3/4" High. Note that 20 gallon "long" tanks have the same footprint, but are 6" shorter in height, therefore this rack design also works for 20 longs. Its important to make sure you will have adequate space between tanks when designing a multi-level aquarium rack. This design allows roughly 7" of space between the lower tank and the top shelf.

Building

I cut the 2x4 studs to size using a Dewalt miter saw. The only lengths needed for this rack are 53", 31", and 11". The sketch above shows how they all fit together. I sanded all of the pieces at this stage so that every surface was smooth.

2x4 Cuts
2x4 Cuts

I assembled the shelves by placing the 11" sections on the inside edges of the 31" sections, and securing with 2.5" wood screws. I always drill pilot holes before driving a screw into a stud.

Assembled Shelf
Assembled Shelf

I  stained the shelves and the uprights before connecting them all together. Then I assembled the rack in its designated position in my fish room starting from the floor.

Testing the New Rack

To prevent the weight of the aquariums from putting too much stress on the wood screws, I added steel brackets under all 4 corners of both shelves. This design would probably not support a larger aquarium, but a filled 29 gallon weighs only 330-350 pounds. Each #8 wood screw has a shear strength of about 100 pounds. I used 8 to secure each shelf to the uprights, plus the additional supporting brackets, just to be safe.

**Disclaimer: Do your own math - I'm not responsible for any damage caused by this design failing in your application**

Steel Corner Support Brackets

These brackets were less than $2 a piece at a home improvement store. They are secured with 3/4" metal-to-wood lath screws.

Final Setup

Currently this rack holds a 20 gallon long fry tank and a 29 gallon planted tank. Although it was designed to hold two 29's, I already had the 20 and decided it would make a good growout for my Endler fry.

Filled Tanks on the Finished Rack

See my other DIY rack design here.