Skip to content

1

Design

Plumbing the Water Change System

There are a few different ways that fishkeepers with many tanks choose to setup their water change systems. The optimal design for any particular fish room depends on the incoming water source, space available, and volume of water that will need to be regularly changed.

If you are on a well, you probably don't have to worry about paying a water bill or treating your water for chlorine or chloramine. Many people who have well water choose to run a continuous drip system, where new water is constantly being added. Since I have city supplied water that needs to be dechlorinated, I have to treat all water going into my tanks. So a continuous drip was not an option in my case.

Another common design is to use a large reservoir to store treated water. I didn't want to go that route because my space is somewhat limited. I needed a system that could give me filtered, tempered water on demand. And I wanted to be able to control flow to each tank using manual valves, and have drilled overflows to prevent flooding in case I forget I'm filling a tank (this happens a lot).

Fill System

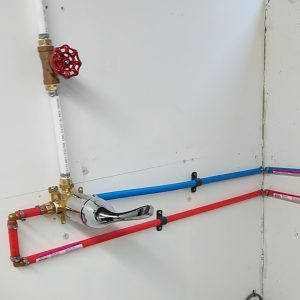
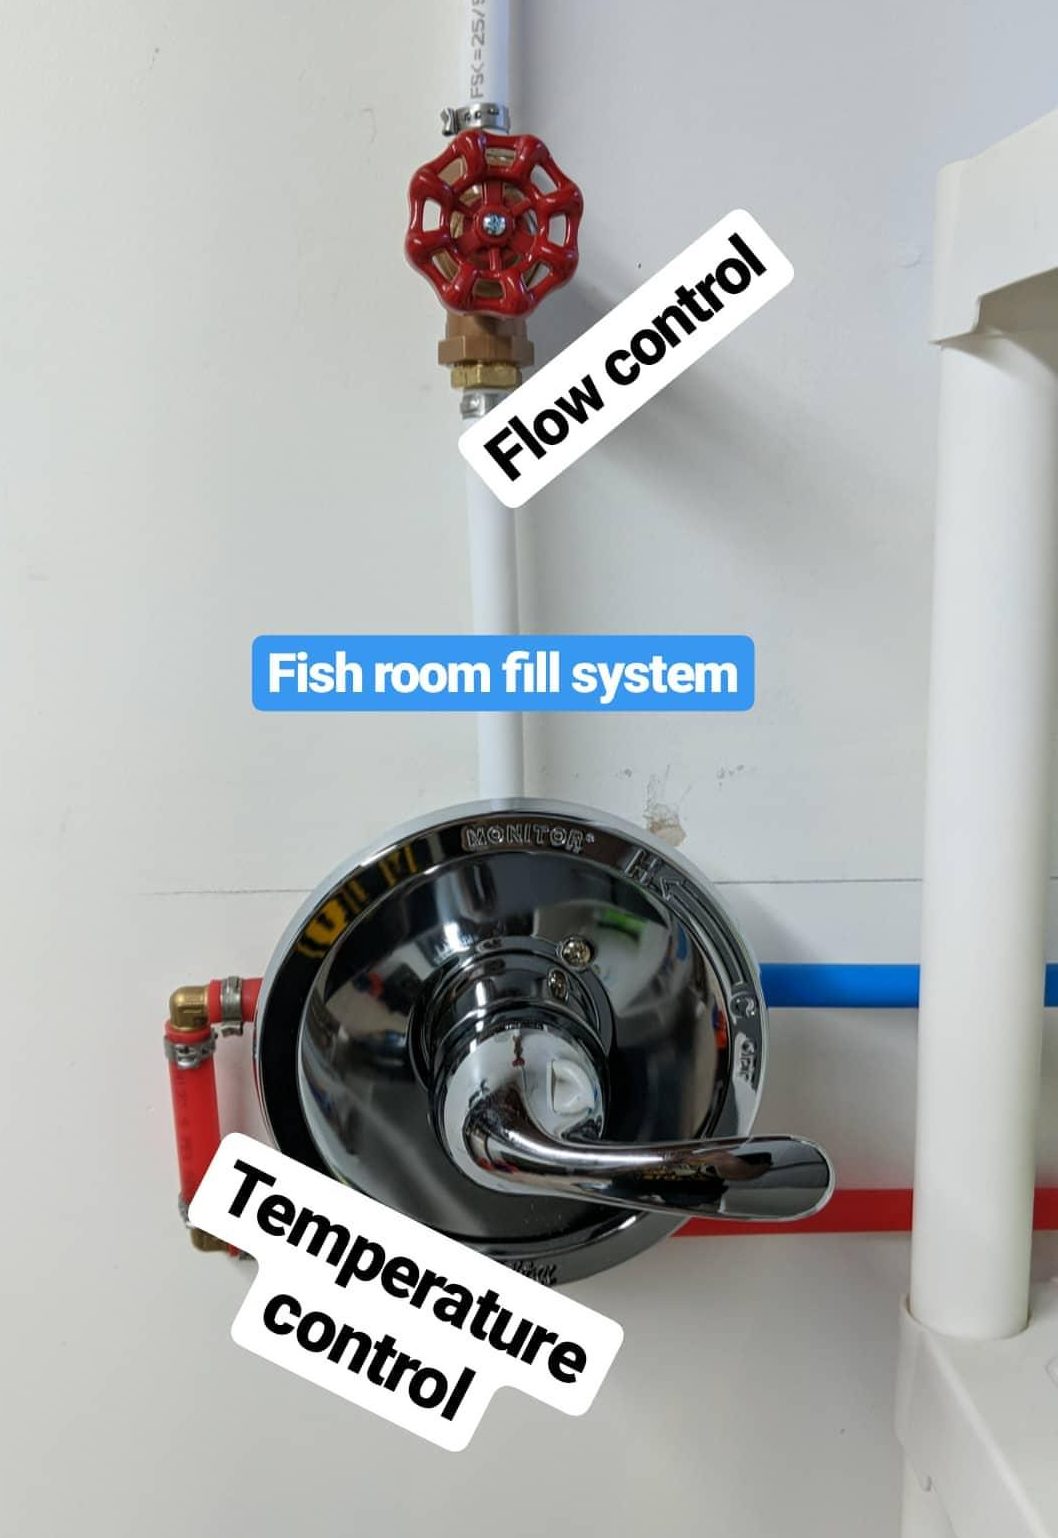
Water coming into my fish room first runs through a dual-stage whole house filter system. The temperature of the water going to the tanks is controlled by a Delta shower valve , and the flow is controlled by a Pentair gate valve. The first section of the system is plumbed with PEX, because it was easy to tap into my existing plumbing.
I added a threaded 25 psi pressure regulator made for sprinkler systems to reduce the pressure in the line going to the tanks. This prevents pressure from building up at the individual tank valves and allows me to use irrigation compression tubing in some sections.
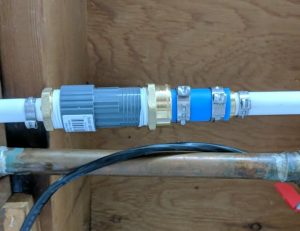
25 psi pressure regulator

Each tank has its own fill line controlled by a Pentair gate valve with hose threading on the output side. I can screw on any hose attachment, including a Python hose adapter. My smaller tanks have a drip irrigation faucet fitting with irrigation tubing so I can do gradual water changes.
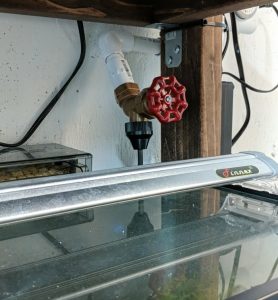
Fill Line Above 29 Gallon

My larger tanks are fed directly from the faucets, with flow controlled using a combination of the valve at the tank and the system's main gate valve.
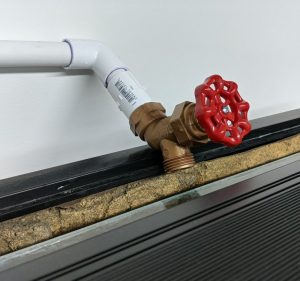
Hose Valve Above 90 Gal

I can run slow, simultaneous water changes on several tanks at once with this system, or I can change out a lot of water on one tank very quickly. But the best feature is that I never have to fill and carry a bucket of water across the room! To quote the great rainbowfish keeper Gary Lange: "Gary don't carry", and neither do I.

Drain System

When it comes to draining water out of aquariums, there are obviously a few ways to go about it. You can use the old hose and bucket method. Or you can make the upgrade to a Python Clean and Fill System (which I use to perform water changes on my client's tanks). Or you can plumb the tank with a drain, either permanently by drilling a hole for a bulkhead, or temporarily using PVC. I prefer to drill aquariums whenever possible. A drilled overflow will never lose siphon the way an over-the-top PVC built one could. I wrote this post and this other post about drilling tanks if you are planning to try it.
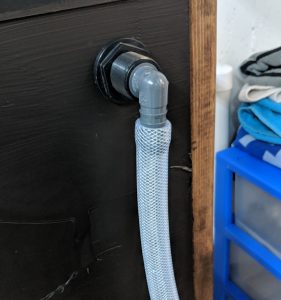
3/4" Overflow Drain
3/4" Overflow Drain

Each drilled tank feeds a flexible braided hose that connects to a 1.5" PVC drain line which runs around the perimeter of the room. Below, you can see the PVC drain manifold underneath my 29 gallon rack.
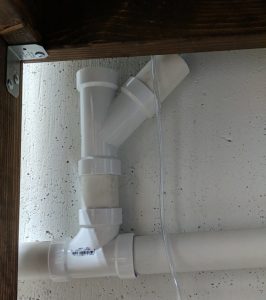
1.5" Drain Manifold
1.5" Drain Manifold

There are a total of 4 sanitary tees spaced out along the drain line, and each can be expanded to handle multiple drains. The pipe starts about 12" off the floor, and runs about 20 feet around the room with a gradual decline to the floor drain.
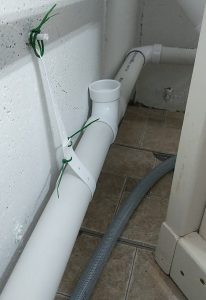
1.5" Drain Line
1.5" Drain Line

You can see the 90 gallon sump overflow hose alongside the main drain pipe in these two photos .
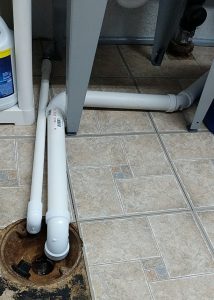
Floor Drain
Floor Drain

This system took a couple months of planning and tinkering to implement, and I learned a lot about plumbing a fish room in the process. During that time I was constantly looking at examples of other people's systems to help influence my own. Hopefully seeing my design is helpful to someone else in the process of setting up a water change system.

Mechanical Filter Media Basket

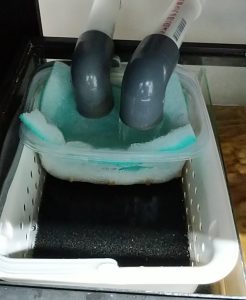
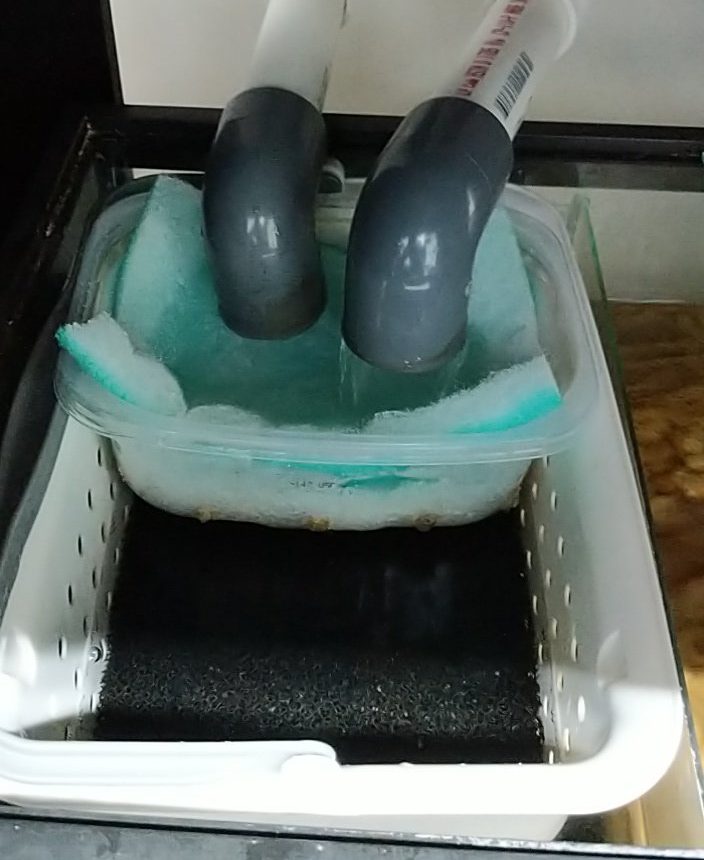
This mechanical media basket holds filter floss pads and Polyfil where water enters the sump on my 90 gallon rainbowfish aquarium. It is made from a plastic tupperware container that I up-cycled from a package of lunch meat (after washing thoroughly). I drilled about 30 holes into the bottom of the container using both a 1/8" and 1/4" bit to spread the flow evenly across the tray.

This is a modification to the original design for my DIY 20 gallon sump. The container fits perfectly into the larger basket that houses a coarse sponge and previously held my mechanical media. A smaller media tray keeps the flow of water concentrated into a reduced surface area, which allows me to use less mechanical media. It also facilitates changing the media, because it is easily removed and replaced, as shown in the video below.

The bottom of the basket is stuffed with Polyfil which is then covered by a piece of filter pad media that is cut slightly larger than the aperture of the container. The clear sides allow me to see when the media is dirty and needs to be changed. This is a dirt cheap DIY  mechanical filtration solution for a sump; I covered the use of Polyfil and some other cheap DIY filtration solutions here.


6

Completed Filtration Install

**Important note: I am not a licensed plumber and this plumbing configuration may not meet building codes in your area. Please check your local regulations before taking on a project like this**

Why Add a Whole House Water Filter

The city water in my area is somewhat hard and sometimes has a chemical odor out of the tap, so I installed a whole house filter system to bring down sediment levels. This means we no longer need to keep a brita filter in the fridge for our drinking water, and I know the water going into all of my aquariums has had the heavy sediment removed.

This system is installed in front of my house's water heater. Removing sediment before water reaches the hot water tank reduces buildup inside, which can extend the life of the appliance.

The installation was pretty simple and I'll go over everything I used for the project here.

Supplies

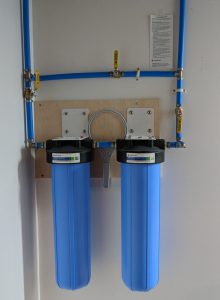
This system uses two Pentek big blue 20" filter housings with a dual stage 50 / 5 micron sediment filter cartridge in front of a radial flow carbon cartridge. All of the filter parts used are listed below:

Sharkbite fittings and PEX tubing made the plumbing really simple. The process was the same as my fish room sink plumbing project (I listed the tools out in that post). The only difference is here I am working with the water supply line before my water heater, so it is 3/4" pipe rather than 1/2".

Mounting the Filter Housings

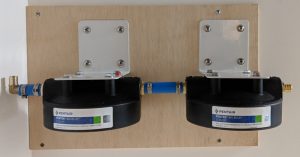
The first step was to secure a piece of plywood to the wall to support the weight of the lag screws that hold up the filter brackets. I used wood screws to attach the wood to the studs behind the drywall. Then I used 1/4" x 1" stainless lag screws and washers to attach the filter brackets to the wood. I tied the two housing tops together with a section of PEX before mounting them so that they would be level with each other on the wall.

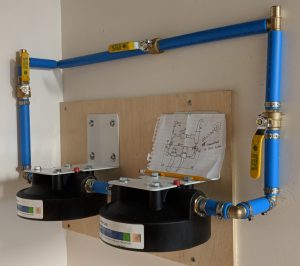
Filter housings mounted to wall

With the housings mounted, all I had to do was plumb the system into the cold water line coming into the fish room.

Plumbing

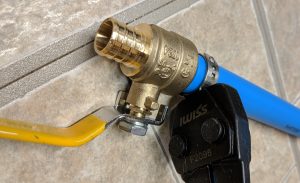
Its important to "dry fit" all of your connections before making the pinch clamp connections, in case you need to make changes. Once a piece of PEX is clamped onto a fitting, its difficult (though not impossible) to remove. A 10 foot stick of PEX tubing is cheaper than a brass fitting, so cutting a new piece while testing out your configuration isn't a big deal.

Making a pinch clamp connection

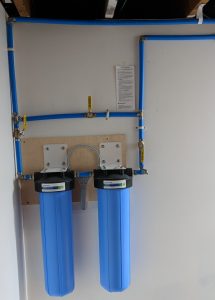
My system has a bypass line with a ball valve above the filter housings so that I can shut off the flow to the filters. Without a bypass, changing the filters would require shutting off the water to the entire house. There is also a ball valve on either side of the filters so that they can be entirely isolated. Water will still flow to all of the downstream fixtures while I change the cartridges.

Sketch out your fish room plumbing before you start
Sketch out your plumbing before you start

I recommend drawing out your plan on paper before you start making connections. This should include the direction of flow through the system. The handle of a ball valve in the open position should point in the direction of water flow. The picture above shows all 3 valves open, but the bypass valve at the top remains closed while the filters are in use.

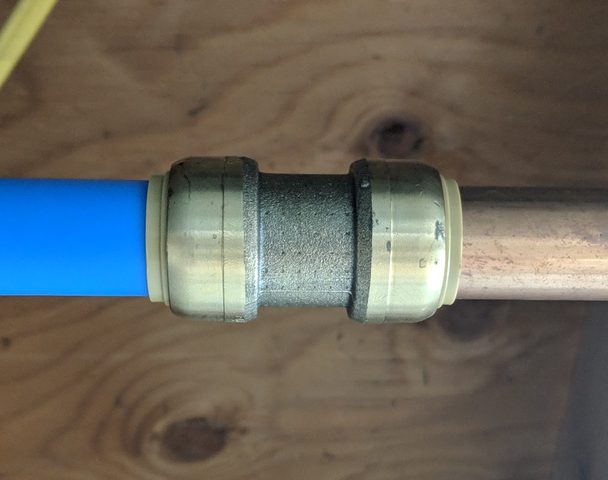
After I finished the bypass plumbing, I extended the PEX lines up to the ceiling to join with my cold water supply. I made the connection to the copper pipe using a 3/4" sharkbite fitting on both ends of the system.

3/4" Sharkbite Connection

This project took me a few days because I took my time figuring out where I wanted to tap into my existing pipes, but the actual plumbing could be completed in an afternoon if you have it planned out. Based on my usage the filter cartridges should last somewhere between 3-6 months. So I should only have to touch the system a few times a year.

Finished Plumbing
Finished Plumbing