Skip to content

Running a fishroom can be a lot of work, especially once your number of aquariums crosses into double digit territory. These gadgets are things I use at least weekly and consider an integral part of running my fish room.

Running a fish room can be a lot of work, especially once your number of aquariums crosses into double digit territory. These gadgets are things I use at least weekly and consider an integral part of running my fish room. Most of them are not sold for aquariums and may surprise you!

#1: Specimen Container

Specimen Container
Specimen Container

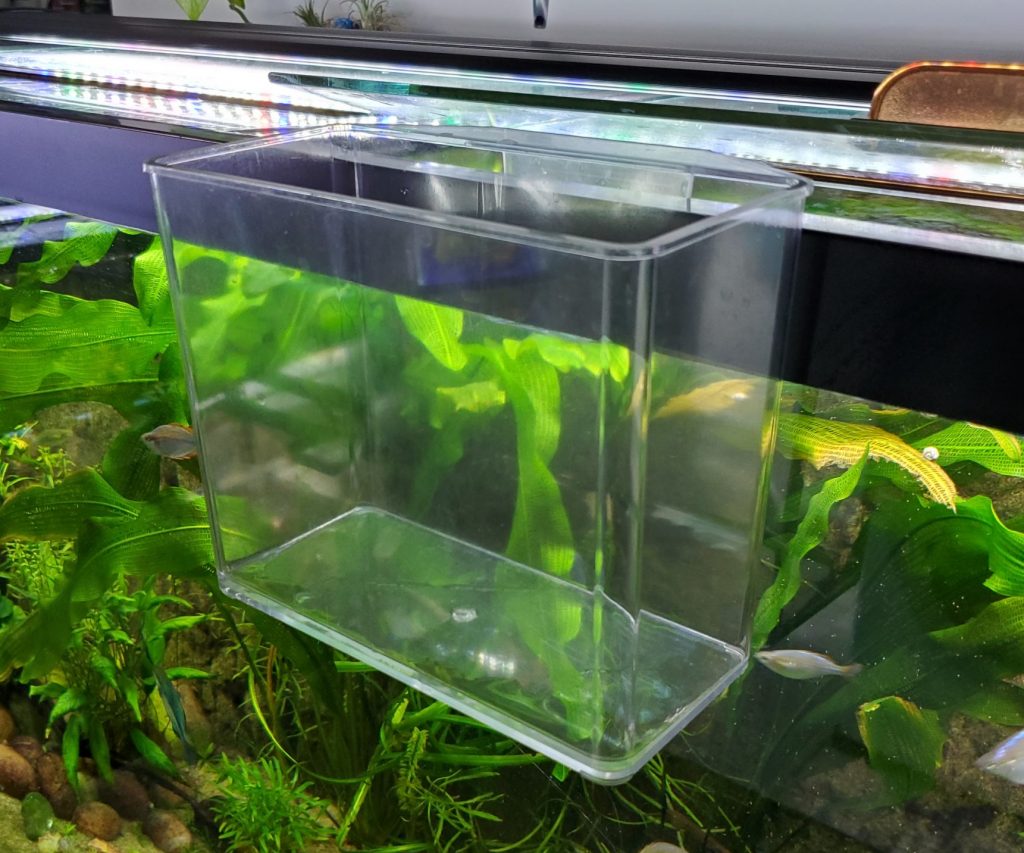
The clear specimen container might just look like a plastic box - and it is - but it is one of the most useful investments you can make for a fishroom. These containers are perfect for moving fish between tanks, bagging fish to sell, drip acclimating fish, and a lot more. Look for a design that hangs on the side of an aquarium - Lee's is the best widely available brand.

#2: Magnifying Glass

Magnifying Glass
Magnifying Glass

This may be a weird item to see on a fishroom list. I use a magnifying glass all the time in my fishroom. Some of the things you may want to get a closer look at: fish eggs and fry, sick fish, shrimp and snails, tiny organisms like infusoria, copepods, artemia, planaria, etc. If youre a fish nerd youll want to have one handy.

#3: Infrared Thermometer

Infrared Thermometer

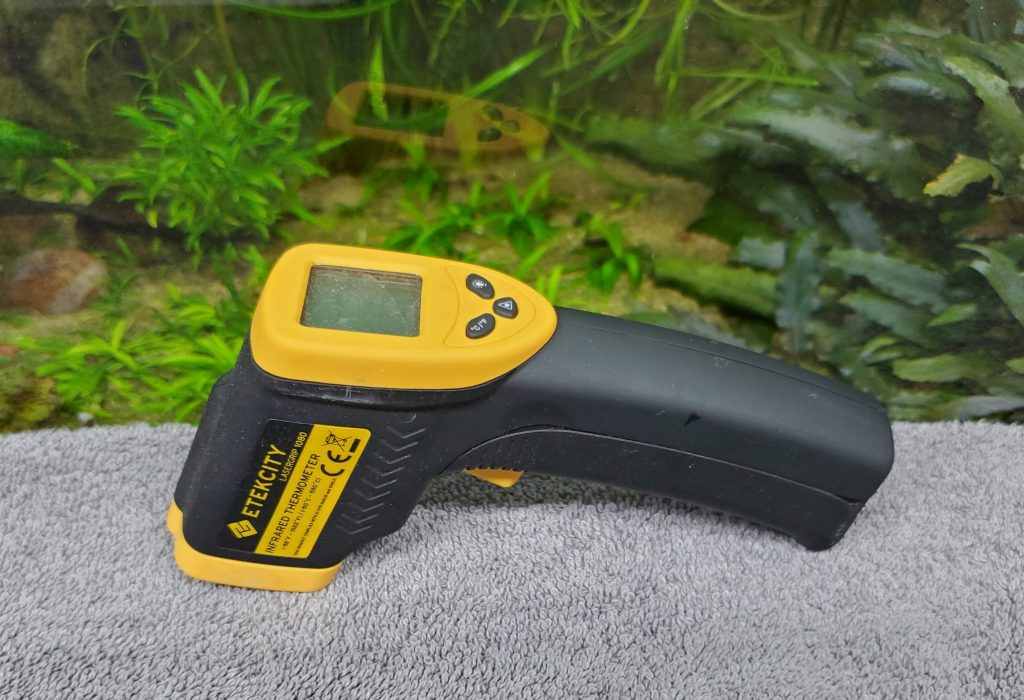
A handheld infrared thermometer is very useful for checking temperature on your aquariums. You should have a thermometer in each tank, but it is super helpful to be able to verify the readings. The handheld thermometer can also be used for a quick temp check on a brine shrimp hatchery, or a bag of fish you just brought home.
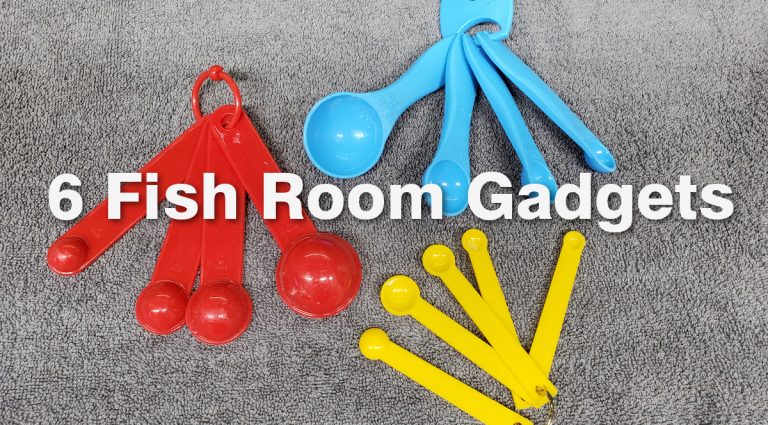
#4: Measuring Spoons

Measuring Spoons
Measuring Spoons

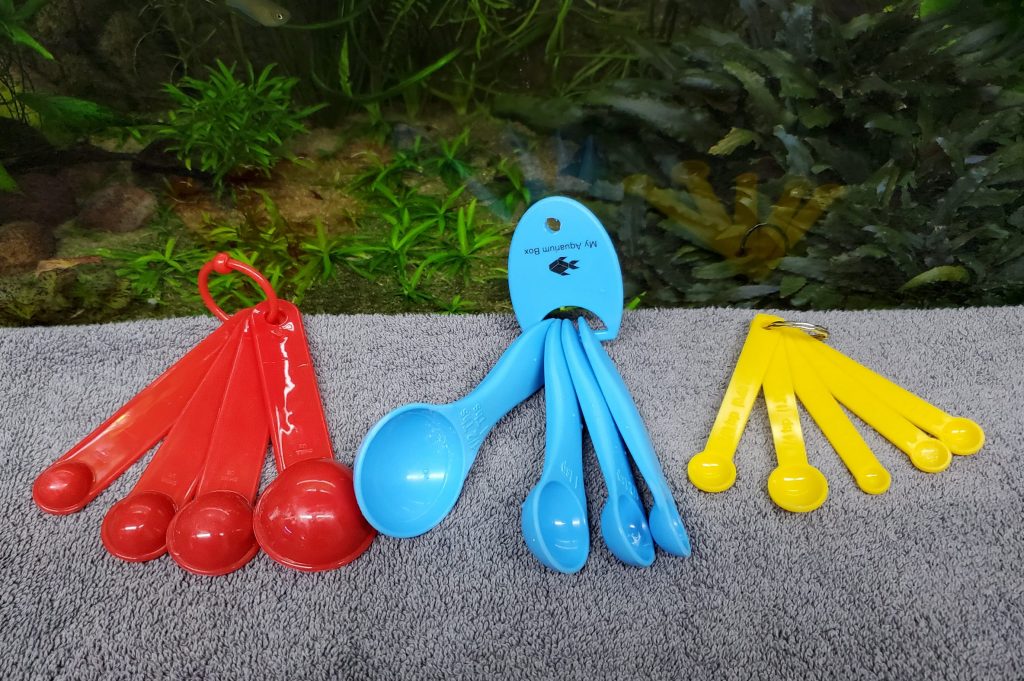
Yes, measuring spoons. In order to maintain "domestic tranquility", you'll want to have a dedicated set of measuring spoons for your fishroom. I use these to measure out seachem safe, brine shrimp eggs, aquarium salt, medications, powdered additives, etc. It's helpful to have a small set and a larger set so you can always do quick measurements (and avoid doing math).

#5: A flashlight

Flashlights
Flashlights

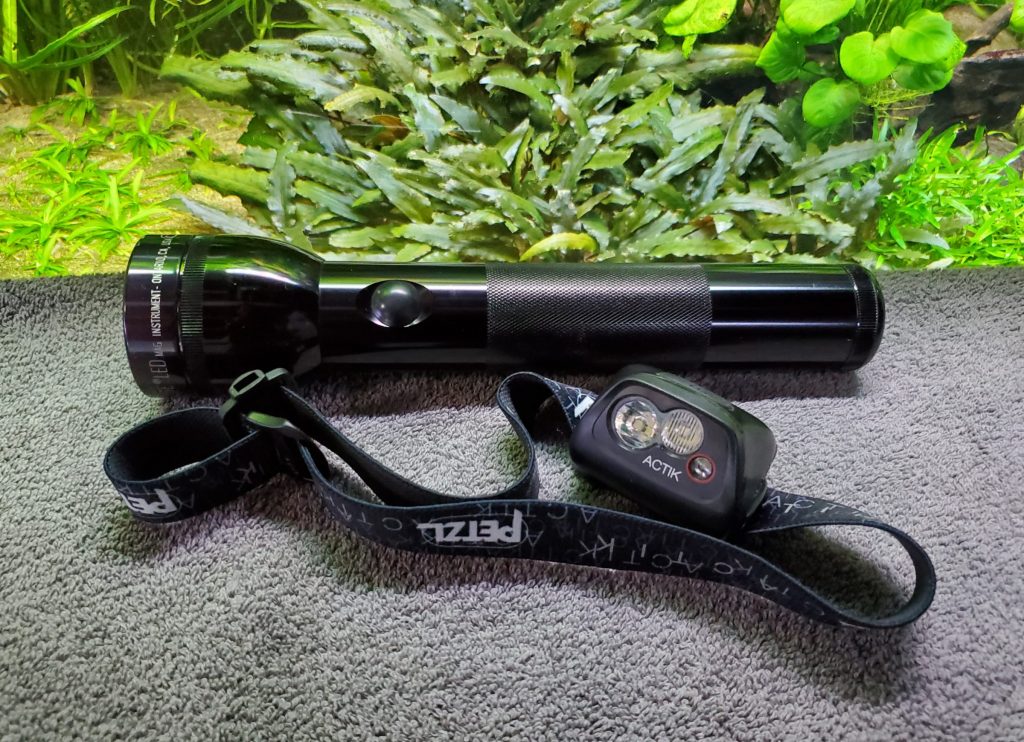
A good flashlight can be really helpful in the fishroom. You can use it to spot plecos hiding in their caves. You can check on fish after lights out without messing with timers. A flashlight is also an easy source of light for harvesting brine shrimp. If you watch a lot of fishroom tour videos, youve probably seen a breeder walk through his fishroom with a flashlight in hand.

#6: The Turkey Baster!

Turkey Baster
Turkey Baster

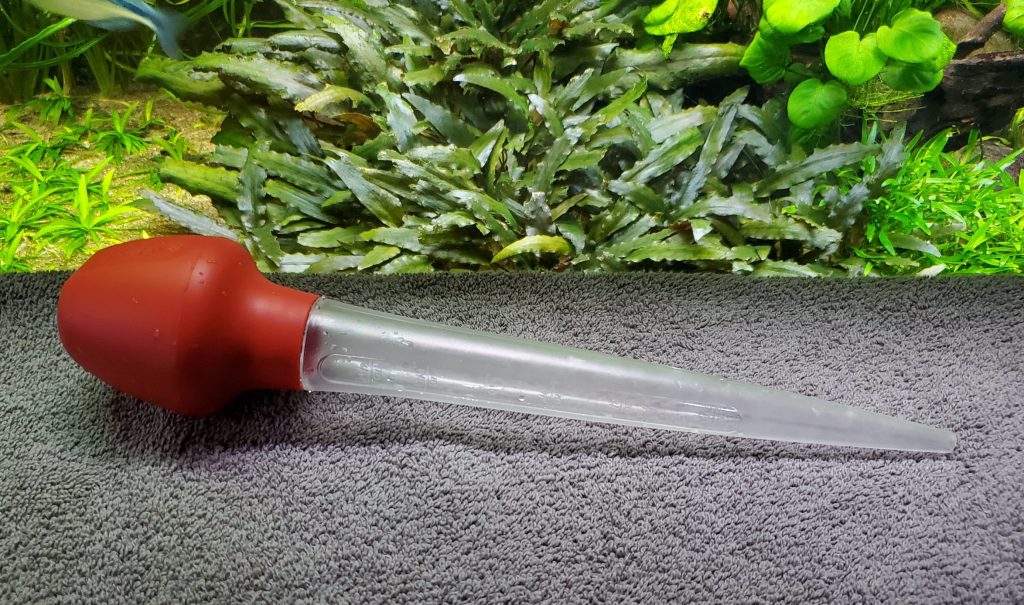
A turkey baster is another kitchen implement that is invaluable in the fishroom. Like the measuring spoons, its best to have one that is just used for fish stuff. I use a turkey baster every day for feeding live and frozen foods. They're also good for catching and moving very small fry. A trick that is popular among aquascapers is using the baster to "squirt" water into plants and gravel to stir up debris during maintenance.

3

Completed DIY Rack
Completed DIY Rack

This rack is designed to hold two 29 gallon aquariums. It was built using 2x4 pine studs, wood screws, and steel corner brackets. The total cost was less than $50, and the only tools required are a saw and a drill.

Design

I created a 3D model of this rack using SketchUp before I started building so I could check all of the dimensions. A 29 gallon tank measures 30 1/4" Long x 12 1/2" Wide x 18 3/4" High. Note that 20 gallon "long" tanks have the same footprint, but are 6" shorter in height, therefore this rack design also works for 20 longs. Its important to make sure you will have adequate space between tanks when designing a multi-level aquarium rack. This design allows roughly 7" of space between the lower tank and the top shelf.

Building

I cut the 2x4 studs to size using a Dewalt miter saw. The only lengths needed for this rack are 53", 31", and 11". The sketch above shows how they all fit together. I sanded all of the pieces at this stage so that every surface was smooth.

2x4 Cuts
2x4 Cuts

I assembled the shelves by placing the 11" sections on the inside edges of the 31" sections, and securing with 2.5" wood screws. I always drill pilot holes before driving a screw into a stud.

Assembled Shelf
Assembled Shelf

I  stained the shelves and the uprights before connecting them all together. Then I assembled the rack in its designated position in my fish room starting from the floor.

Testing the New Rack

To prevent the weight of the aquariums from putting too much stress on the wood screws, I added steel brackets under all 4 corners of both shelves. This design would probably not support a larger aquarium, but a filled 29 gallon weighs only 330-350 pounds. Each #8 wood screw has a shear strength of about 100 pounds. I used 8 to secure each shelf to the uprights, plus the additional supporting brackets, just to be safe.

**Disclaimer: Do your own math - I'm not responsible for any damage caused by this design failing in your application**

Steel Corner Support Brackets

These brackets were less than $2 a piece at a home improvement store. They are secured with 3/4" metal-to-wood lath screws.

Final Setup

Currently this rack holds a 20 gallon long fry tank and a 29 gallon planted tank. Although it was designed to hold two 29's, I already had the 20 and decided it would make a good growout for my Endler fry.

Filled Tanks on the Finished Rack

See my other DIY rack design here.


1

Design

Plumbing the Water Change System

There are a few different ways that fishkeepers with many tanks choose to setup their water change systems. The optimal design for any particular fish room depends on the incoming water source, space available, and volume of water that will need to be regularly changed.

If you are on a well, you probably don't have to worry about paying a water bill or treating your water for chlorine or chloramine. Many people who have well water choose to run a continuous drip system, where new water is constantly being added. Since I have city supplied water that needs to be dechlorinated, I have to treat all water going into my tanks. So a continuous drip was not an option in my case.

Another common design is to use a large reservoir to store treated water. I didn't want to go that route because my space is somewhat limited. I needed a system that could give me filtered, tempered water on demand. And I wanted to be able to control flow to each tank using manual valves, and have drilled overflows to prevent flooding in case I forget I'm filling a tank (this happens a lot).

Fill System

Water coming into my fish room first runs through a dual-stage whole house filter system. The temperature of the water going to the tanks is controlled by a Delta shower valve , and the flow is controlled by a Pentair gate valve. The first section of the system is plumbed with PEX, because it was easy to tap into my existing plumbing.

I added a threaded 25 psi pressure regulator made for sprinkler systems to reduce the pressure in the line going to the tanks. This prevents pressure from building up at the individual tank valves and allows me to use irrigation compression tubing in some sections.

25 psi pressure regulator

Each tank has its own fill line controlled by a Pentair gate valve with hose threading on the output side. I can screw on any hose attachment, including a Python hose adapter. My smaller tanks have a drip irrigation faucet fitting with irrigation tubing so I can do gradual water changes.

Fill Line Above 29 Gallon

My larger tanks are fed directly from the faucets, with flow controlled using a combination of the valve at the tank and the system's main gate valve.

Hose Valve Above 90 Gal

I can run slow, simultaneous water changes on several tanks at once with this system, or I can change out a lot of water on one tank very quickly. But the best feature is that I never have to fill and carry a bucket of water across the room! To quote the great rainbowfish keeper Gary Lange: "Gary don't carry", and neither do I.

Drain System

When it comes to draining water out of aquariums, there are obviously a few ways to go about it. You can use the old hose and bucket method. Or you can make the upgrade to a Python Clean and Fill System (which I use to perform water changes on my client's tanks). Or you can plumb the tank with a drain, either permanently by drilling a hole for a bulkhead, or temporarily using PVC. I prefer to drill aquariums whenever possible. A drilled overflow will never lose siphon the way an over-the-top PVC built one could. I wrote this post and this other post about drilling tanks if you are planning to try it.

3/4" Overflow Drain
3/4" Overflow Drain

Each drilled tank feeds a flexible braided hose that connects to a 1.5" PVC drain line which runs around the perimeter of the room. Below, you can see the PVC drain manifold underneath my 29 gallon rack.

1.5" Drain Manifold
1.5" Drain Manifold

There are a total of 4 sanitary tees spaced out along the drain line, and each can be expanded to handle multiple drains. The pipe starts about 12" off the floor, and runs about 20 feet around the room with a gradual decline to the floor drain.

1.5" Drain Line
1.5" Drain Line

You can see the 90 gallon sump overflow hose alongside the main drain pipe in these two photos .

Floor Drain
Floor Drain

This system took a couple months of planning and tinkering to implement, and I learned a lot about plumbing a fish room in the process. During that time I was constantly looking at examples of other people's systems to help influence my own. Hopefully seeing my design is helpful to someone else in the process of setting up a water change system.