Skip to content

15

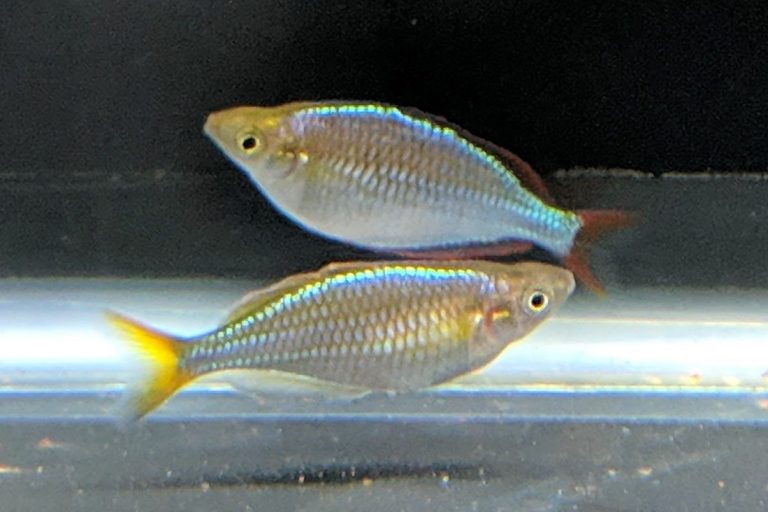
About Melanotaenia Praecox

Known commonly as the Neon Dwarf or Praecox Rainbowfish, Melanotaenia Praecox are a small, colorful rainbow fish from New Guinea. They are an interesting schooling species that is best kept in larger groups of 8-10+, with at least a 1:1 ratio of females to males. An excellent community fish, they do well in peaceful setups that are heavily planted.

I keep 20 dwarf neon rainbows - 10 males and 10 females - in my 90 gallon rainbowfish community tank. The neons share this aquarium with other larger rainbowfish species and they get along with everyone. Praecox are active swimmers and will go after most foods pretty aggressively once they're settled into the aquarium, which makes them fun to watch.

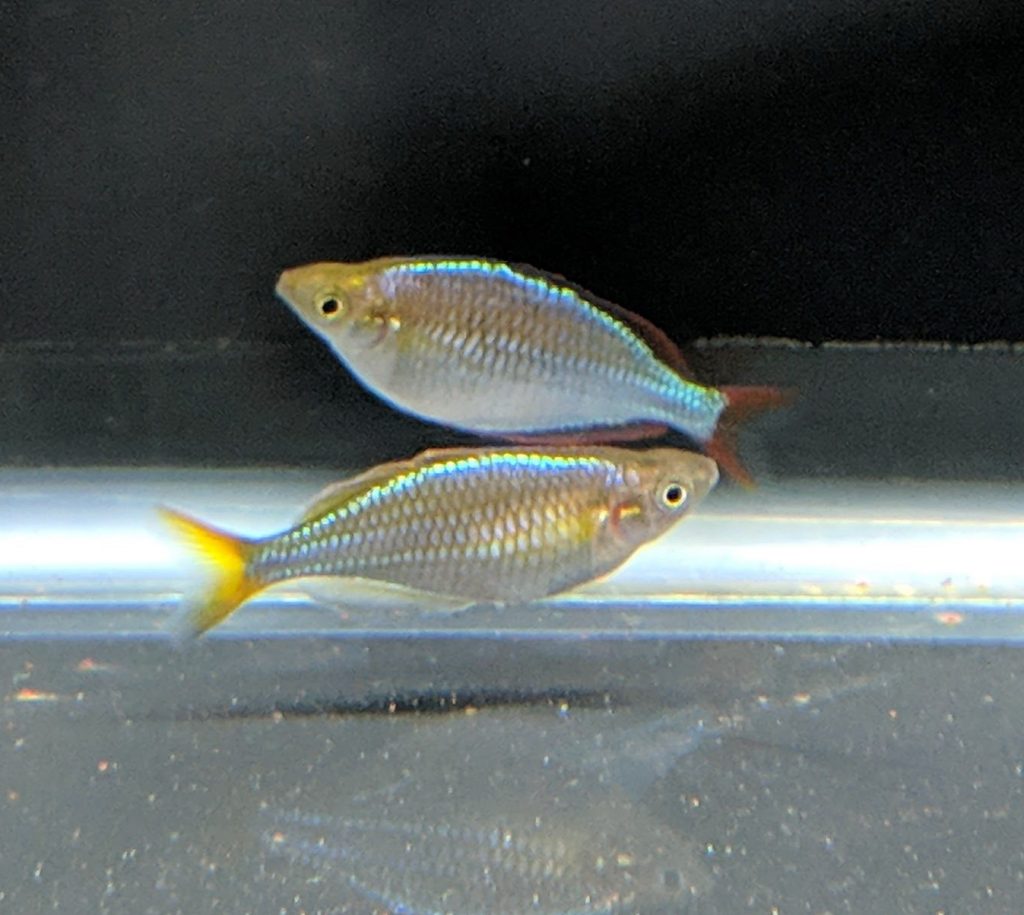
Sex can be easily determined based on size, body shape, and fin color when the fish reach adulthood. Both males and females will have shiny, iridescent blueish bodies. Adult male Praecox have red fins, while females have orange/yellow colored fins. Males will also have a larger, taller body shape with a more pointed head while healthy adult females will be smaller than the males.

Male and Female Dwarf Neon Rainbowfish

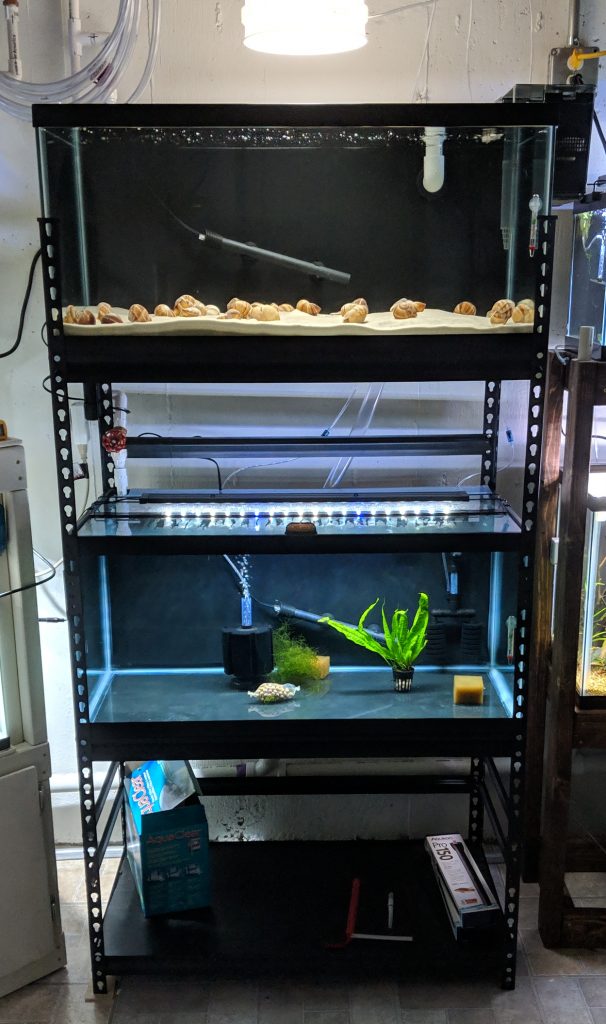
Setting up a Breeding Tank

Breeding Aquarium
Breeding Aquarium

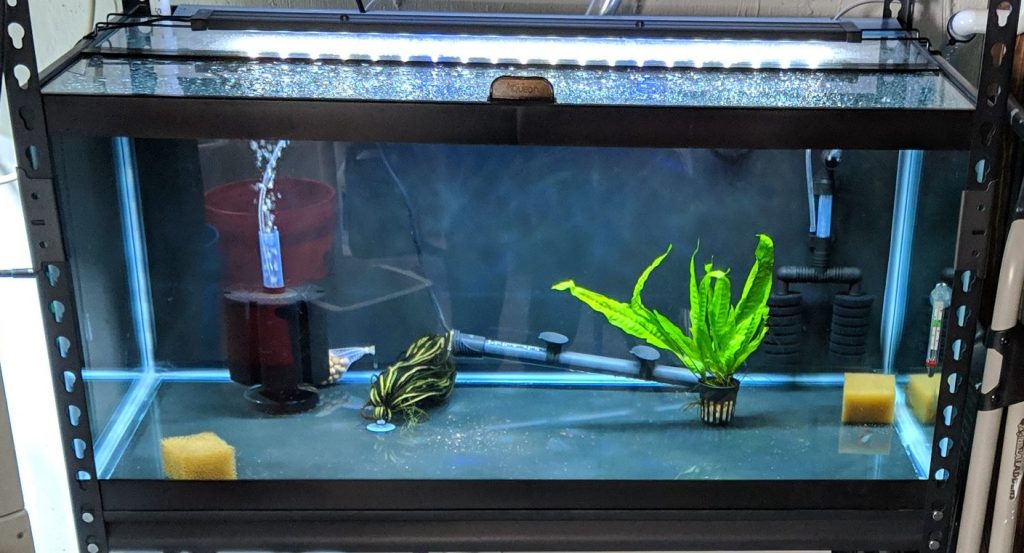
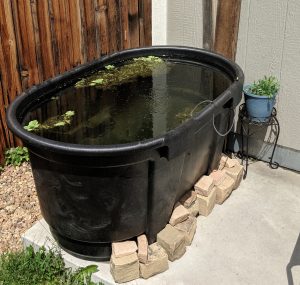
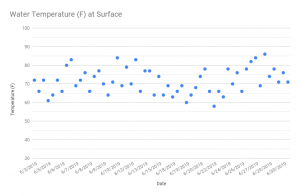
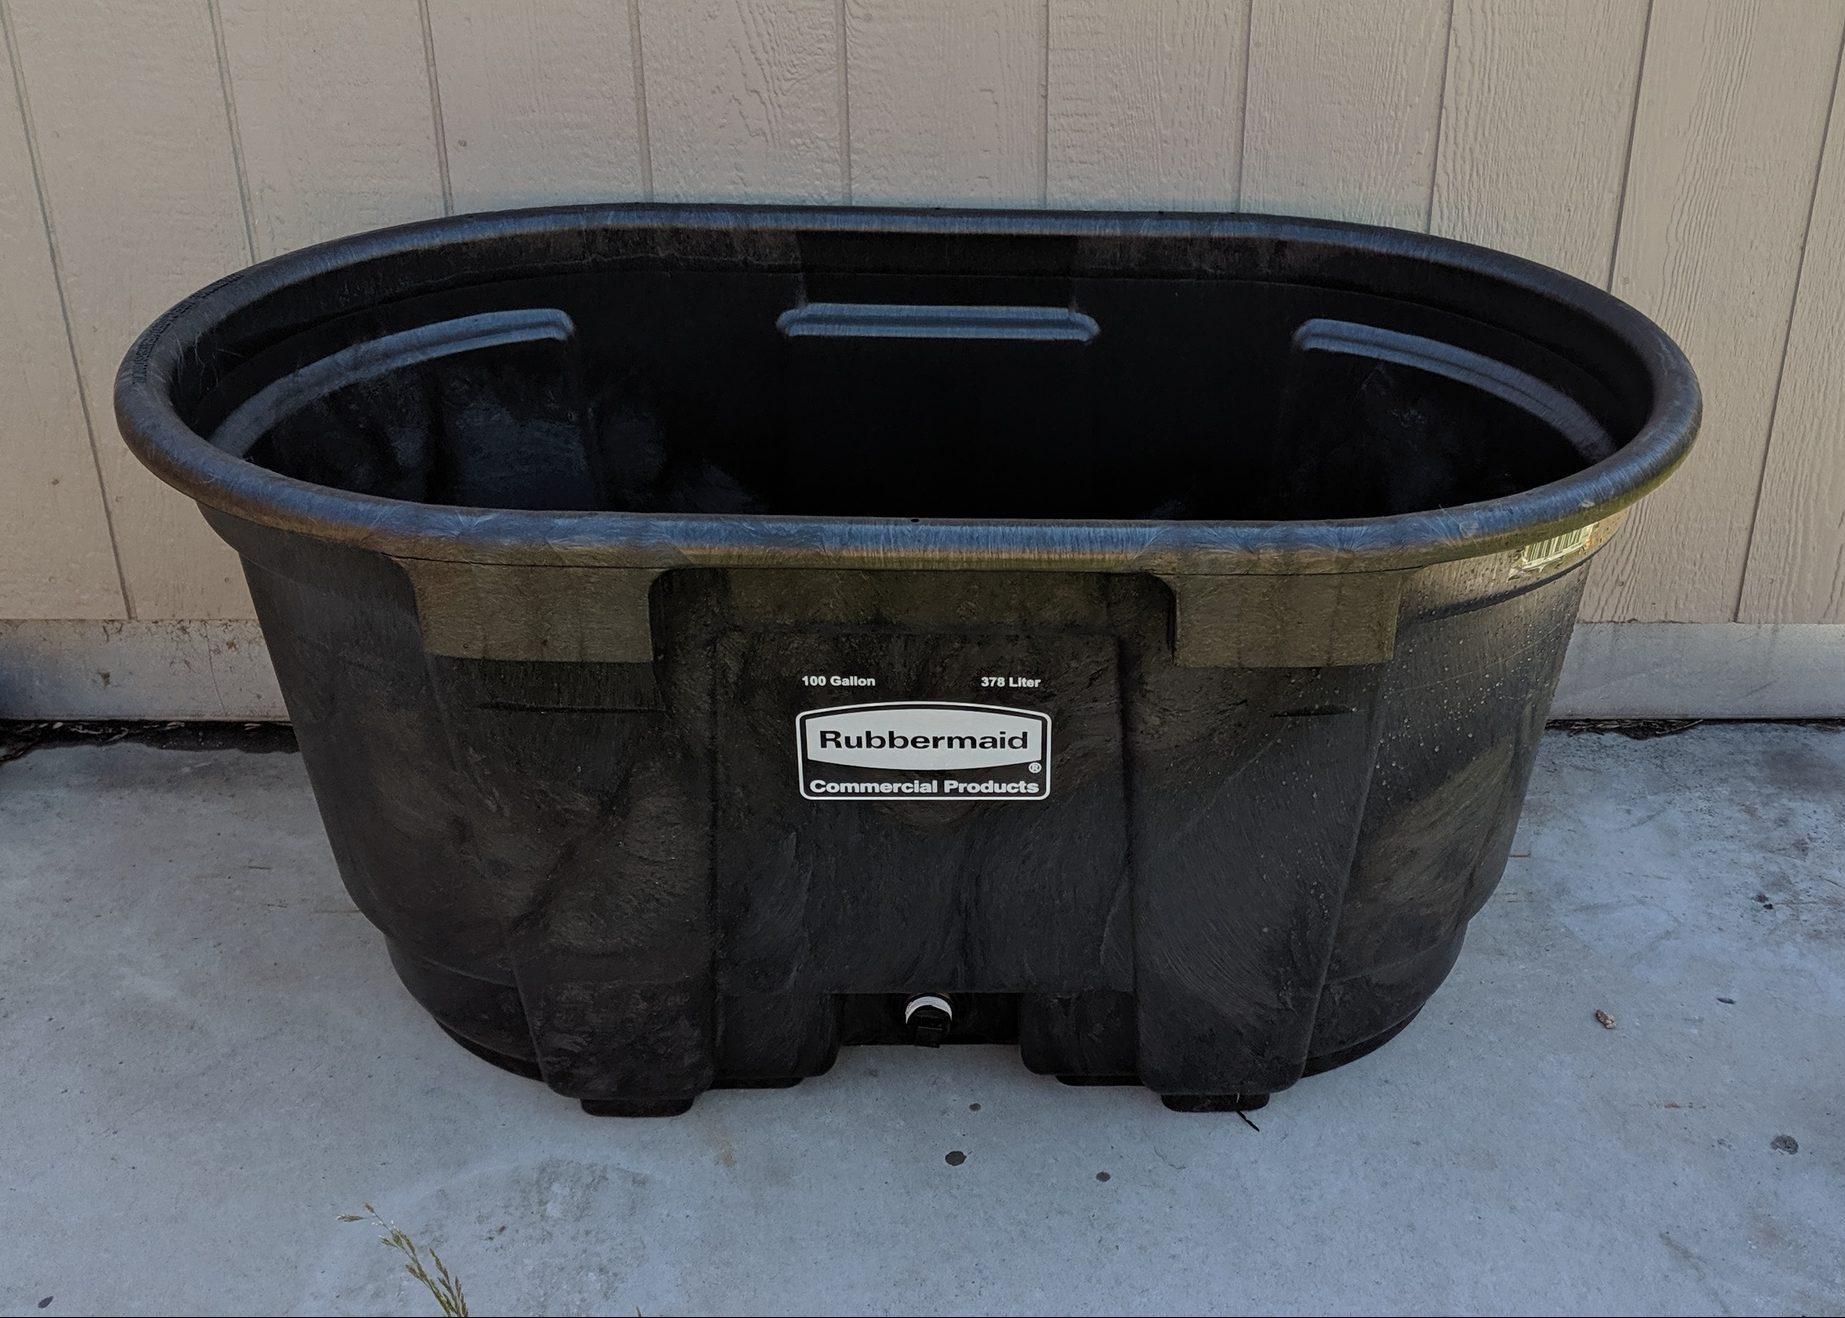
A breeding aquarium for Melanotaenia Praecox should be kept 73-82°F (23-28°C), and at a PH slightly above 7.0.  As in most cases, aiming for stable parameters is better than aiming for perfection. A tank with a sponge filter is ideal for this because the fry of this species are incredibly tiny at birth.

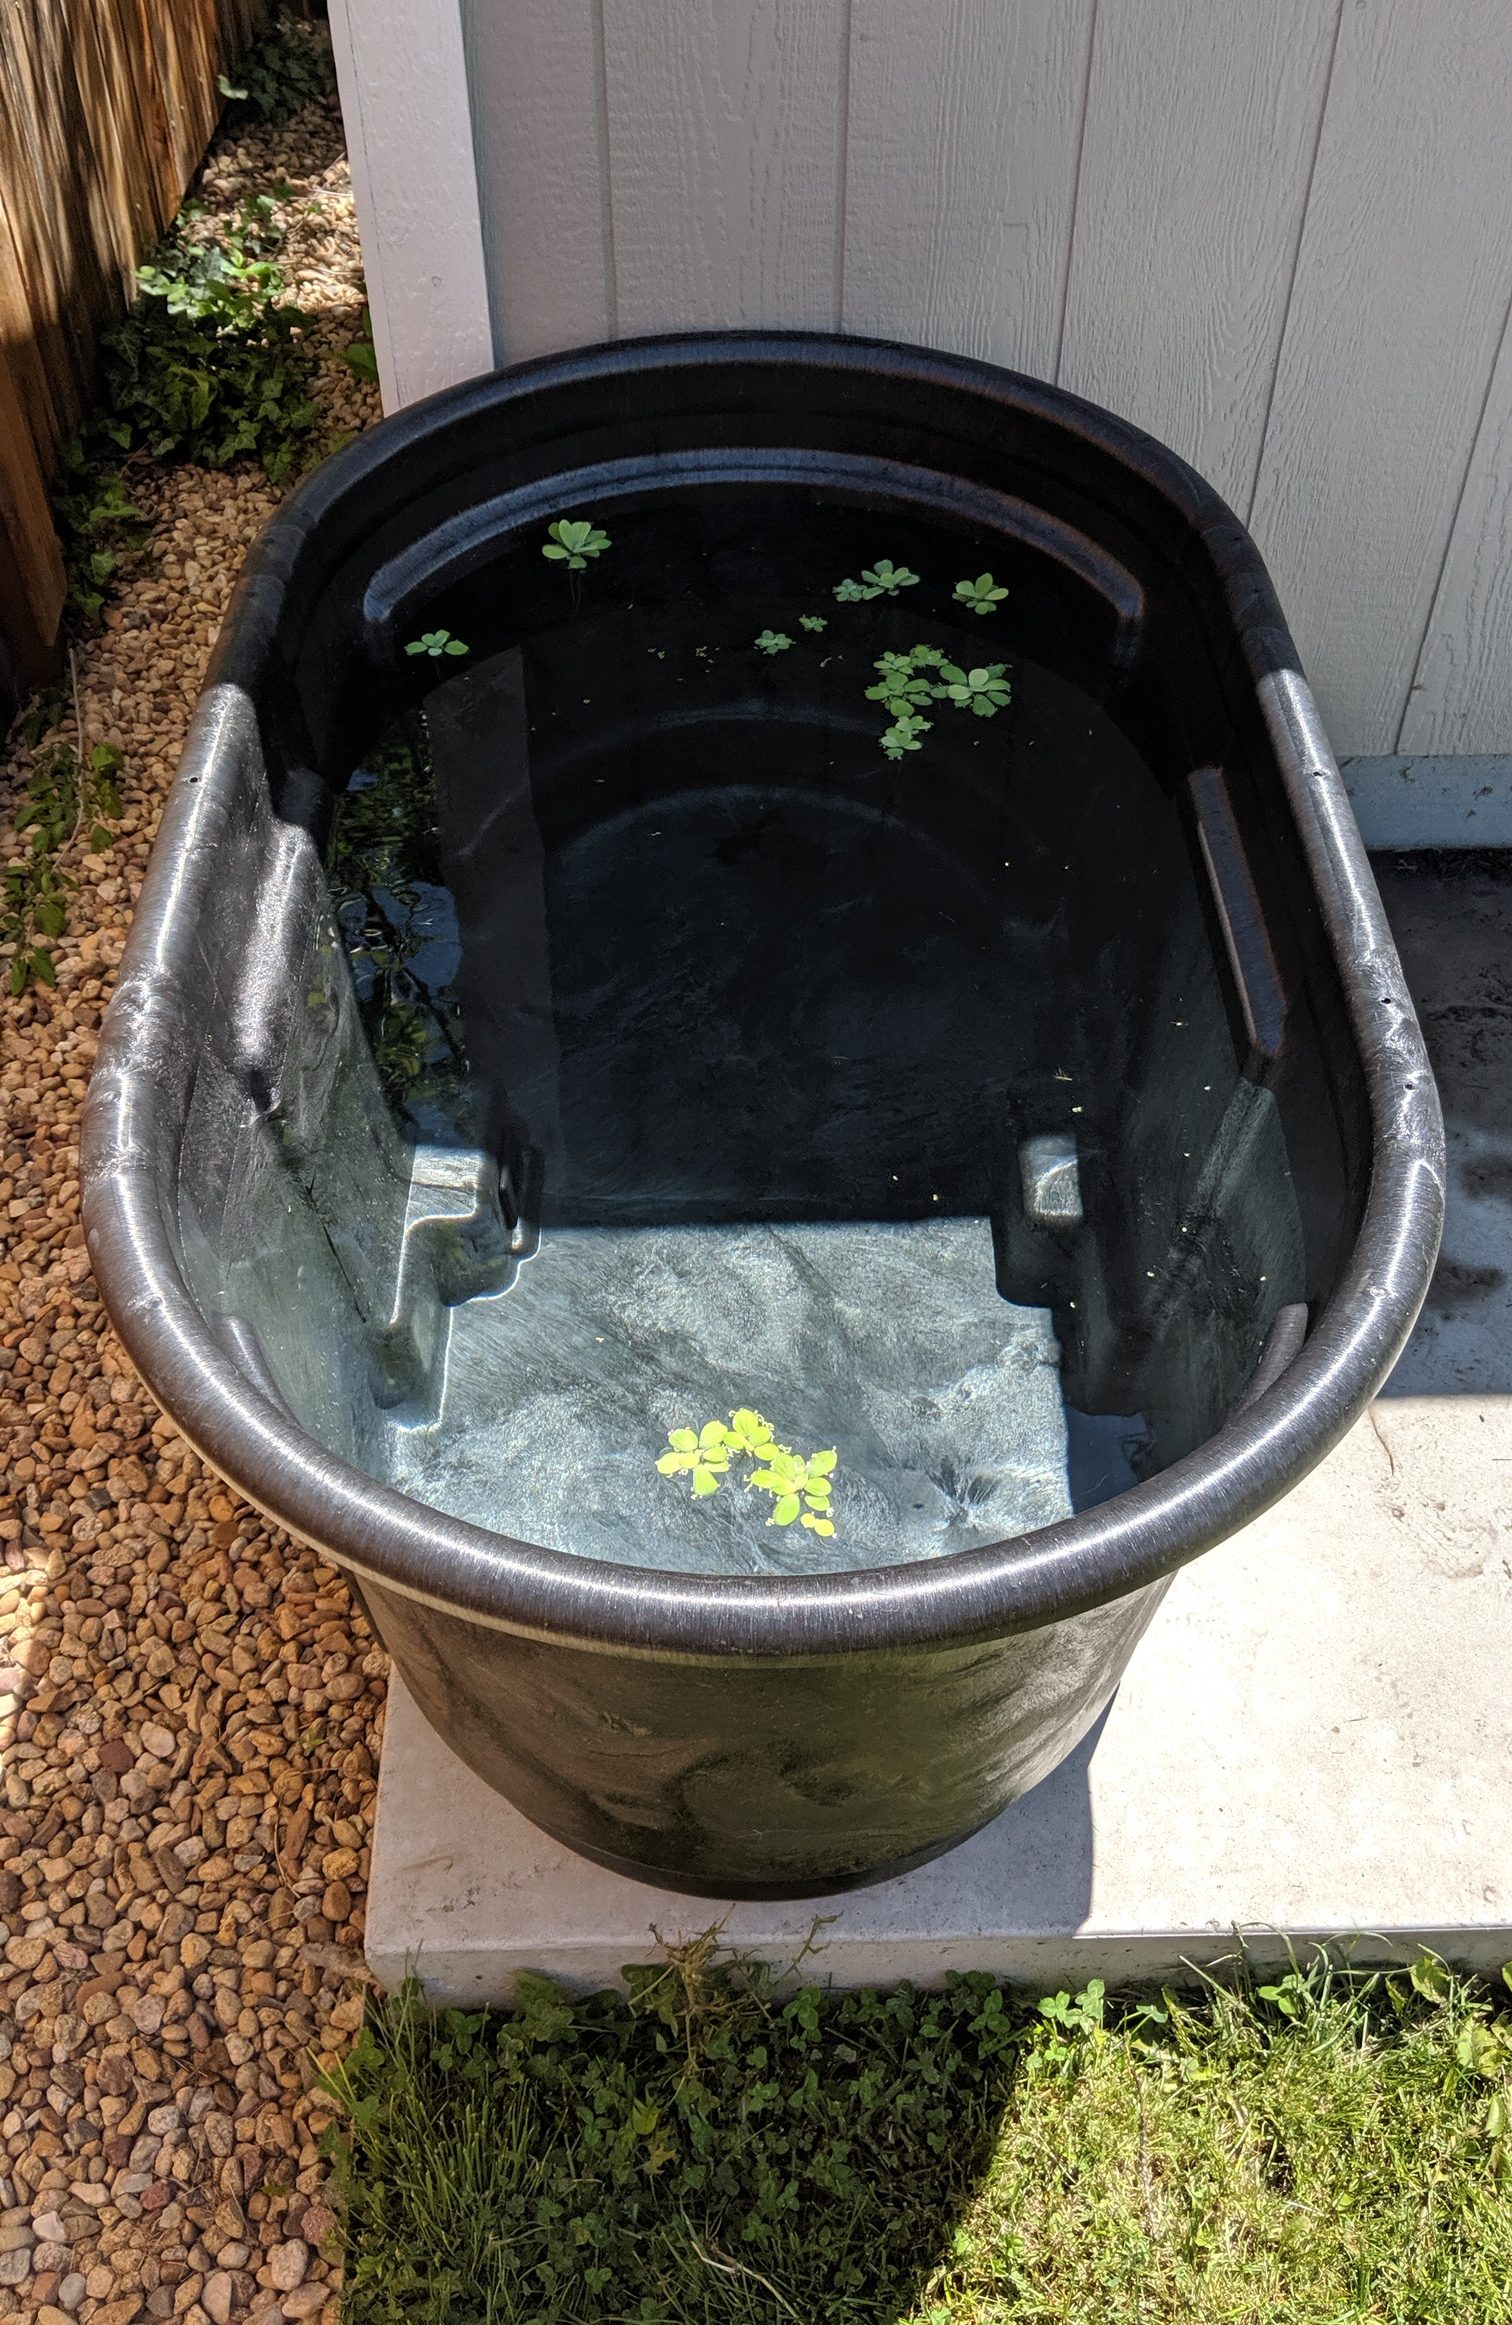
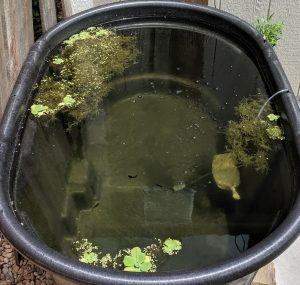
Dwarf neons are egg scatterrers, so the ideal setup is a bare bottom aquarium with a large portion of java moss or a spawning mop.  I have used both as egg laying substrates and the fish readily spawned in both the moss and the mop.

The purpose of the spawning mop is to give the eggs a safe place to stick to that can be removed and transferred to a rearing tank if desired. You can make your own spawning mop using wool string, or buy them pretty inexpensively.

Selecting and Preparing Breeding Stock

Before moving fish into a breeding tank you'll want to make sure you have a few healthy, well fed adult specimens ready to breed.  As with any fish, a high quality diet consisting of a good variety of live, frozen, and dried foods is ideal to get them ready to breed.  Females need to eat well to produce lots of eggs, and males will display their best colors and breeding activity when well fed.

Look for males with a nice tall body and colorful fins.  Females should be grown out and well fed before being selected for breeding.  I have had good success just selecting one pair and placing them in a breeding aquarium together. 

The pair may take a couple of days to settle into the tank before they start to show breeding behavior.  The male will display for the female and the two will swim through their chosen spawning site, which should be a spawning mop or moss portion.  Eggs will be deposited over the course of a few days, so dont pull the pair out as soon as you see eggs.

Praecox Eggs
Praecox Eggs

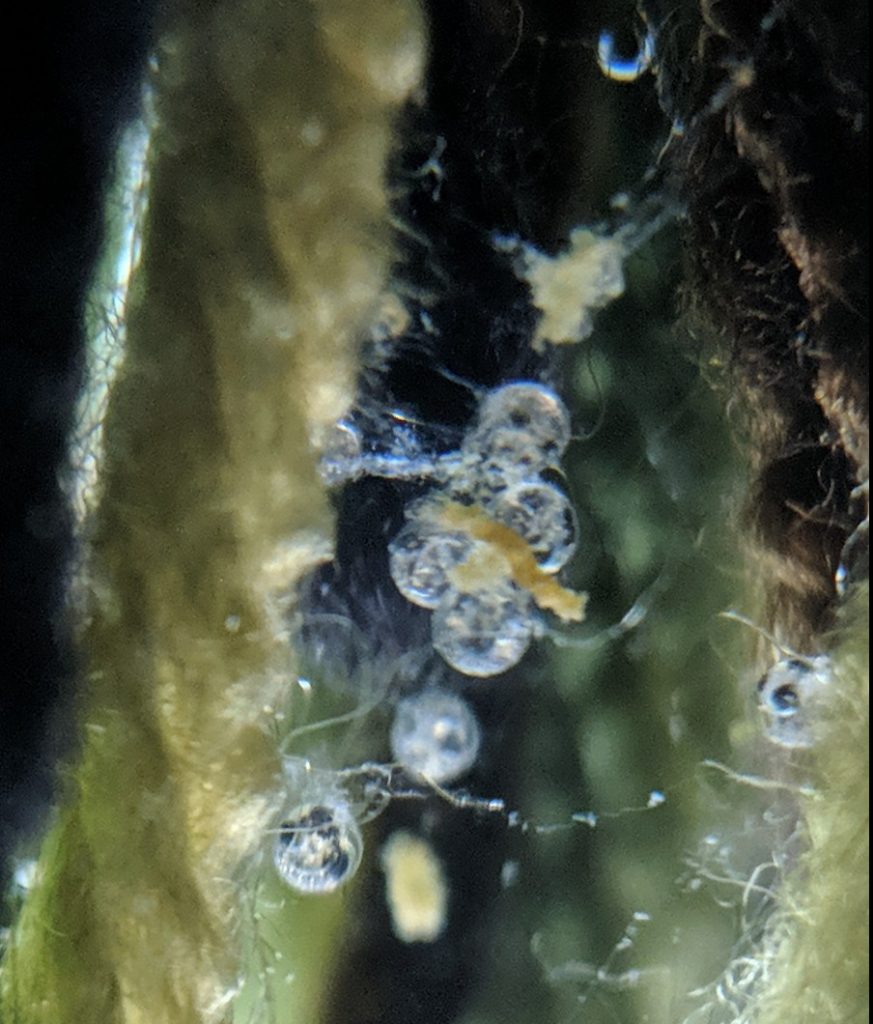
Praecox eggs are very small so they can be challenging to spot. Once the pair has spawned, they can be removed from the breeding tank and the eggs will hatch within a week. You can also carefully move the spawning mop or moss with the eggs on it into a fry growout tank with a sponge filter.

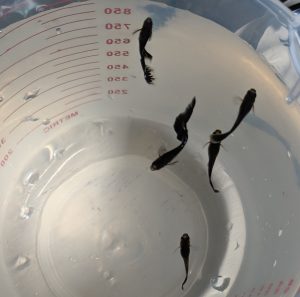
Caring for M. Praecox Fry

When dwarf neons hatch they are tiny.  Like, crazy small - less than half a centimeter.  Because they are so small these fry need very fine powdered fry foods, cultured infusoria, or live microworms to feed on.  I would recommend having a combination of very small foods ready before your fry hatch.  Even newly hatched baby brine shrimp will be too large for newborn M. praecox to swallow.

After a week or two on starter fry foods the young should be large enough to take baby brine shrimp, which you should know how to hatch yourself if you want to breed fish.  Baby fish should be fed multiple times a day for optimal survival.  They have very short digestive systems and no accumulated body mass to live on, so they need to eat frequently.

Young M. praecox

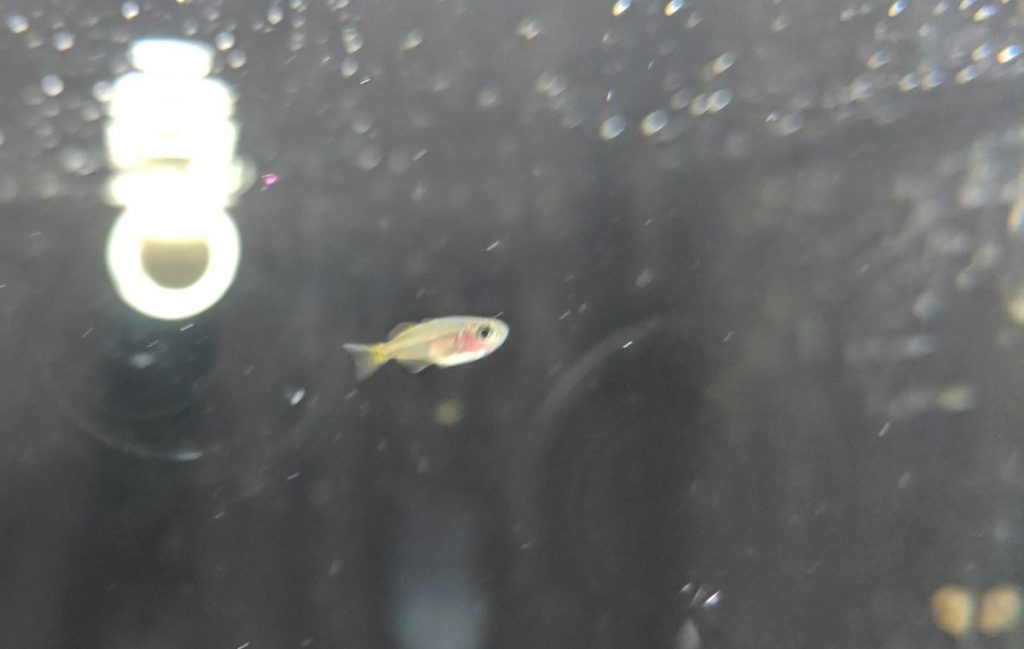
M. praecox fry should eat readily and will put on some decent size in just a few months if well fed.  These fish are amazing to watch in large schools, so successful breeding is very rewarding.

2

Outdoor Guppy Tub
Outdoor Guppy Tub

Outdoor Fish "Tubbing"

Keeping fish in small, temporary outdoor ponds or tubs is often referred to as "tubbing" among fishkeepers. The most popular fish to keep in tubs are probably live-bearers. This includes guppies, Endlers, mollies, platys, and many other species. These tubs are unfiltered and in many cases go an entire season without a water change. This summer I'm keeping guppies in a 100 gallon container in my back yard.

What Temperatures Can Guppies Survive Outside?

Unlike goldfish and koi, guppies can't survive outdoors in cold weather. While most sources will list the minimum acceptable temperature for guppies anywhere from 65°F - 72°F, they can tolerate water as cold as 60°F for short periods of time.

Where I live in Colorado, there is only about a 3 month window every year when temperatures are consistently warm enough for a guppy tub. The chart below shows daily average high and low temperatures specific to my area.

Colorado Average Monthly Temp

Water doesn't heat or cool as quickly as the surrounding air. This means the water in an outdoor tub usually won't reach the daily high or low temperature on a given day, it will drift gradually between them. The average water temperature should be near the center of the daily range. There will also be a temperature gradient between the water's surface and the bottom of the tub, assuming it is sufficiently large.

Actual Guppy Tub Temperature Observations

During the month of June I took temperature readings of my guppy tub at least once every day, up to 3 observations per day, for a total of 55 observations. The data I collected is shown in the chart below. You can see that on very hot days the water temperature (measured using a floating thermometer at the surface) reached as high as 86 degrees. This only lasted a few hours until the sun set, but I am planning on setting up some afternoon shade for the tub going into the hottest part of the year. As you might expect from historical weather data, the average water temp observed in June was 71.5°F.

Note: All of these temperature observations were made at various times throughout the day between 7:00 AM and 7:30 PM.  The highest temperatures were observed in the late afternoon after several hours of direct sun.

Water Temperature of the Guppy Tub Throughout June 2019

High 86
Low 58
Average 71.5

I kept the guppies in an unheated aquarium indoors at 68°F - 70°F for several months in preparation for this project, during which time they continued to breed and grow. I did not observe any deaths during the month shown here, and saw new fry after about 3 weeks of the guppies being in the tub. Based on my observations, guppies are able to tolerate relatively large daily swings in temperature, as long as the extremes are not too hot (above 90ºF) or too cold (below 60ºF).

Outdoor Guppy Tub Container

I chose a 100 gallon Rubbermaid stock tank for this guppy tub project.

100 Gallon Rubbermaid Stock Tank

I've seen others use rain barrels, kiddie pools, pond liners, etc. I wouldn't use anything that holds less than 40-50 gallons, because water parameters are going to be more stable in a larger volume of water. You should also avoid any container that is too tall and skinny, as this will make viewing and catching the fish difficult. Stock tanks (horse troughs) are the ideal shape for a garden pond.

Guppy Tub on Day 1
Guppy Tub on Day 1

Outdoor Guppy Tub Plants

Floating Plants
Floating Plants

Plants are an essential requirement for outdoor fish tubbing. Since you won't be performing many water changes, plants will help to remove excess nitrogen. They also compete with algae for nutrients. A pond without any plants will quickly turn green after a few days of sunlight. Any aquatic or marginal plant could be used in an outdoor guppy tub project. Some common pond plants include water lilies and water lettuce.

Shop Pond Plants on Amazon

I set up this pond with some duckweed & water lettuce from my Endler breeding aquarium.  I also added a large portion of najas/guppy grass. Guppy grass can be grown either rooted or as a floater, and is often used in breeding live-bearers. Floating plants are a good choice for an outdoor tub because the roots provide shade and cover for the fish, and they don't require any substrate.

Adding Fish to an Outdoor Tub

Ideally you'd want to have an outdoor tub filled and planted for several days before introducing fish. This gives the water an opportunity to age in the sun, as algae grows and infusoria begin to develop. I added water from established aquariums to my 100 gallon stock tank, and let it sit for 3 days before adding any fish. As mentioned above, I also prepared my guppies by keeping them in an unheated aquarium all spring before they moved into the tub.

Guppies
Guppies

Maintaining Water Quality in an Outdoor Tub

Water Changes

In a perfect world, all water that evaporated out of a tub would be replaced by rainwater, and all wastes would be absorbed by the plants. Of course that's not the world we live in. You should check the nitrates in an outdoor tub just like you would with an aquarium, and do a water change if they rise over 20 ppm. I've found that a 30% water change every 2 weeks is adequate in my pond. This probably wouldn't be necessary if I had enough plants to entirely cover the surface.

Aeration

I use a solar powered air pump to oxygenate the water. More on that in this post, but you can get the solar panel I'm using here on Amazon. You'll also need an air pump that can run off USB power, which I got from Aquarium Coop (https://www.aquariumcoop.com/). You can also buy them on Amazon. This pump runs about 10-11 hours per day (you know, solar) and does a good job keeping the water from getting stagnant.

14

This store-bought shelving unit is the perfect size for supporting a pair of 40 gallon breeder aquariums.
40 Breeder Rack
40 Breeder Rack

I've built a few DIY aquarium racks, but I wanted to go with a steel frame for my two 40 breeders to save space. Unlike a wooden frame, these steel supports lay flat against the sides of the aquariums. Steel shelving can also support a lot of weight - 800 lbs per shelf in this case. Water weighs roughly 8 lbs per gallon, so 40 gallons of water alone is 320 lbs. When you add the weight of the glass aquarium (58 lbs for a 40 breeder), substrate, heater, filters, etc. the total weight of one 40 gallon aquarium can be over 400 lbs.

Where to Get a Steel Aquarium Rack

Edsal Storage Unit
Edsal Storage Unit

These heavy duty storage units have been recommended by several people over the past few years as an affordable store-bought option for holding one or two 40 gallon tanks. This video by Aquarium Co-op from 2014 referenced a very similar rack that may or may not still be available from Lowe's. I purchased mine at Home Depot. Similar units are available from a variety of retailers, including this Muscle Rack on amazon. Fortunately 36" x 18" seems to be a fairly common shelving size, so it should not be too difficult for most people to find.

Aquarium Rack Assembly

The cool thing about these 5-shelf steel units is that they are really two units that stack. The kit comes with eight upright posts that are 3 feet long, which makes the unit 6 feet tall when stacked. If you didn't want one tank on top of the other, you could place both sets of uprights on the floor and have two separate aquarium stands.

First Aquarium in Place

For my application I only used 3 of the 5 shelves that came with the unit. It has to be assembled from the floor up, so the bottom shelf goes on first, followed by the first aquarium shelf. Because the dimensions are so similar to those of a 40 breeder aquarium, the tank has to be lowered into the posts from the top. This gets tricky when you get to the top aquarium.

Hacksaw
Hacksaw

In order to be able to lift the top aquarium above the tops of the posts, I cut about 6 inches off the front two uprights using a hacksaw. Cutting through the steel was actually easier than it looks because its not very thick. Once the cuts were made, I was able to lift the top tank up (with help) and slide it down into place.

40 breeder rack
40 breeder rack

Although two of the shelves were not used on this rack, I added their steel support sections to the sides and back of the unit to add stability. Without the extra bracing, the whole rack was somewhat wobbly. In the photo above you can see two extra 36" braces positioned a few inches below each aquarium. This keeps the rack from bowing or shifting under the weight of two full aquariums.

After both tanks were on the shelves I moved the unit into its place along the wall and finished the overflow plumbing before filling with water. I also painted the bottom shelf black to match the rest of the rack. The space underneath the tanks adds a lot of extra storage to the fish room. I keep my folding step ladder tucked next to the rack so that it's easy to access when I need to work on the top tank.

Bottom Shelf Storage