I've built a few DIY aquarium racks, but I wanted to go with a steel frame for my two 40 breeders to save space. Unlike a wooden frame, these steel supports lay flat against the sides of the aquariums. Steel shelving can also support a lot of weight - 800 lbs per shelf in this case. Water weighs roughly 8 lbs per gallon, so 40 gallons of water alone is 320 lbs. When you add the weight of the glass aquarium (58 lbs for a 40 breeder), substrate, heater, filters, etc. the total weight of one 40 gallon aquarium can be over 400 lbs.
Where to Get a Steel Aquarium Rack
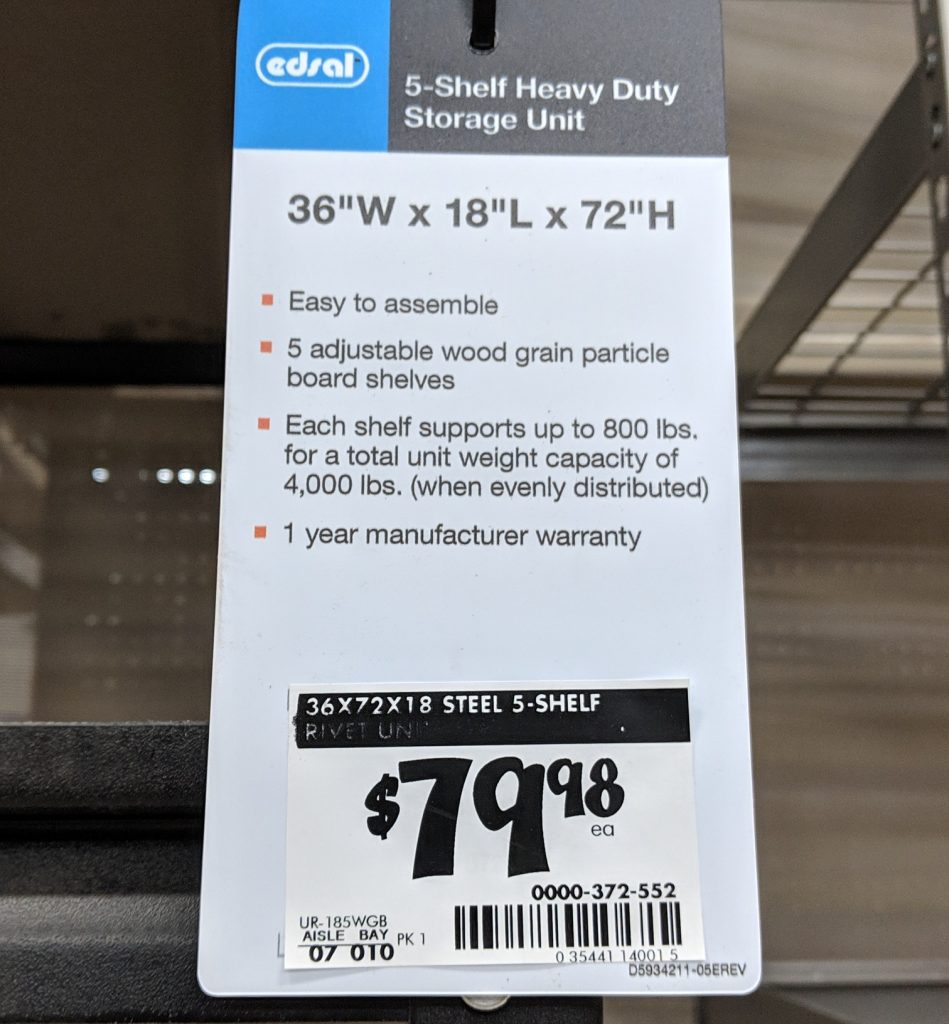
These heavy duty storage units have been recommended by several people over the past few years as an affordable store-bought option for holding one or two 40 gallon tanks. This video by Aquarium Co-op from 2014 referenced a very similar rack that may or may not still be available from Lowe's. I purchased mine at Home Depot. Similar units are available from a variety of retailers, including this Muscle Rack on amazon. Fortunately 36" x 18" seems to be a fairly common shelving size, so it should not be too difficult for most people to find.
Aquarium Rack Assembly
The cool thing about these 5-shelf steel units is that they are really two units that stack. The kit comes with eight upright posts that are 3 feet long, which makes the unit 6 feet tall when stacked. If you didn't want one tank on top of the other, you could place both sets of uprights on the floor and have two separate aquarium stands.
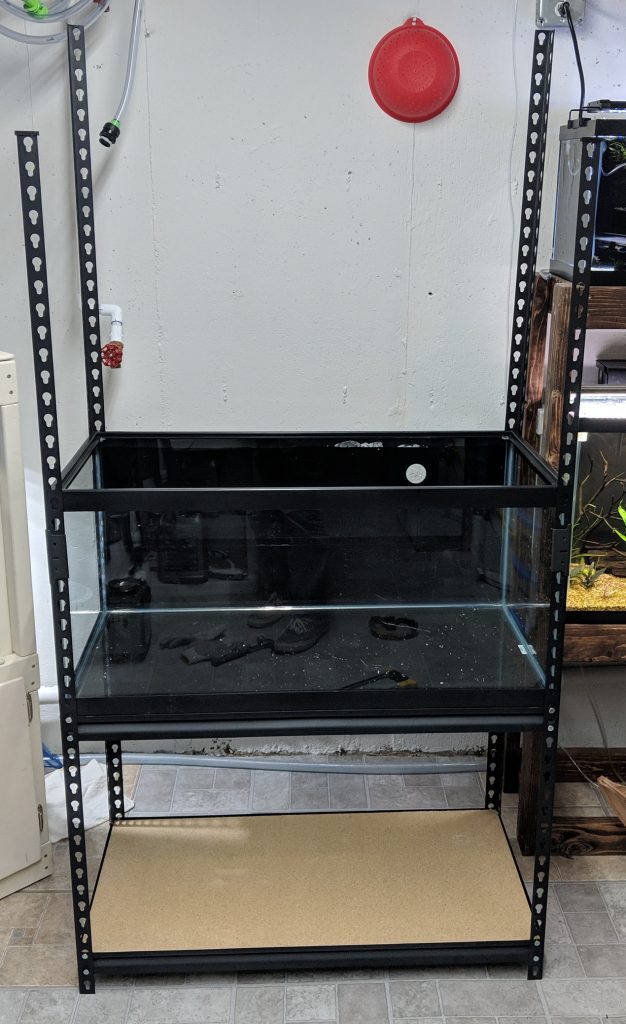
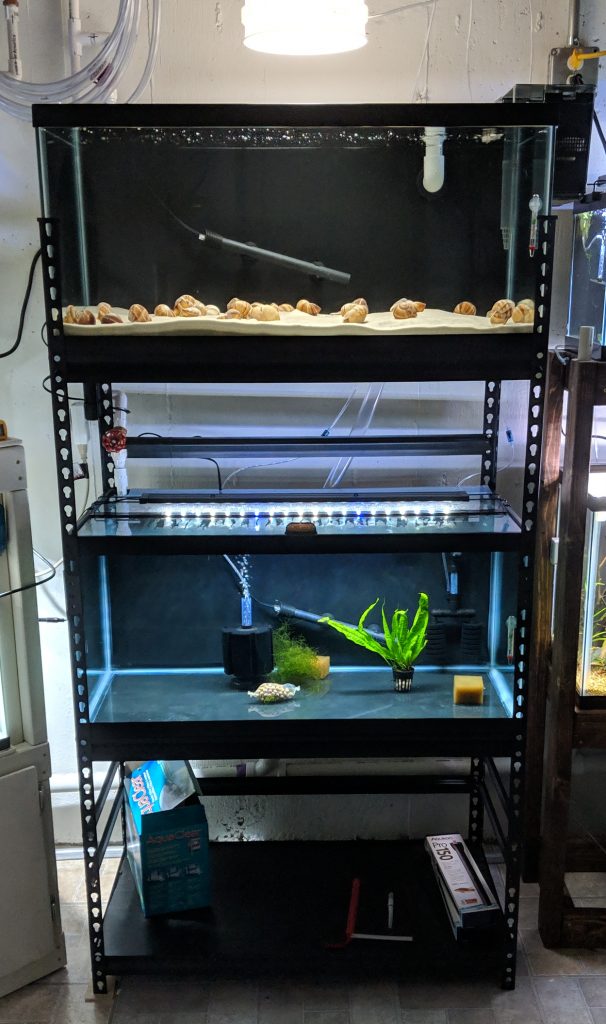
For my application I only used 3 of the 5 shelves that came with the unit. It has to be assembled from the floor up, so the bottom shelf goes on first, followed by the first aquarium shelf. Because the dimensions are so similar to those of a 40 breeder aquarium, the tank has to be lowered into the posts from the top. This gets tricky when you get to the top aquarium.
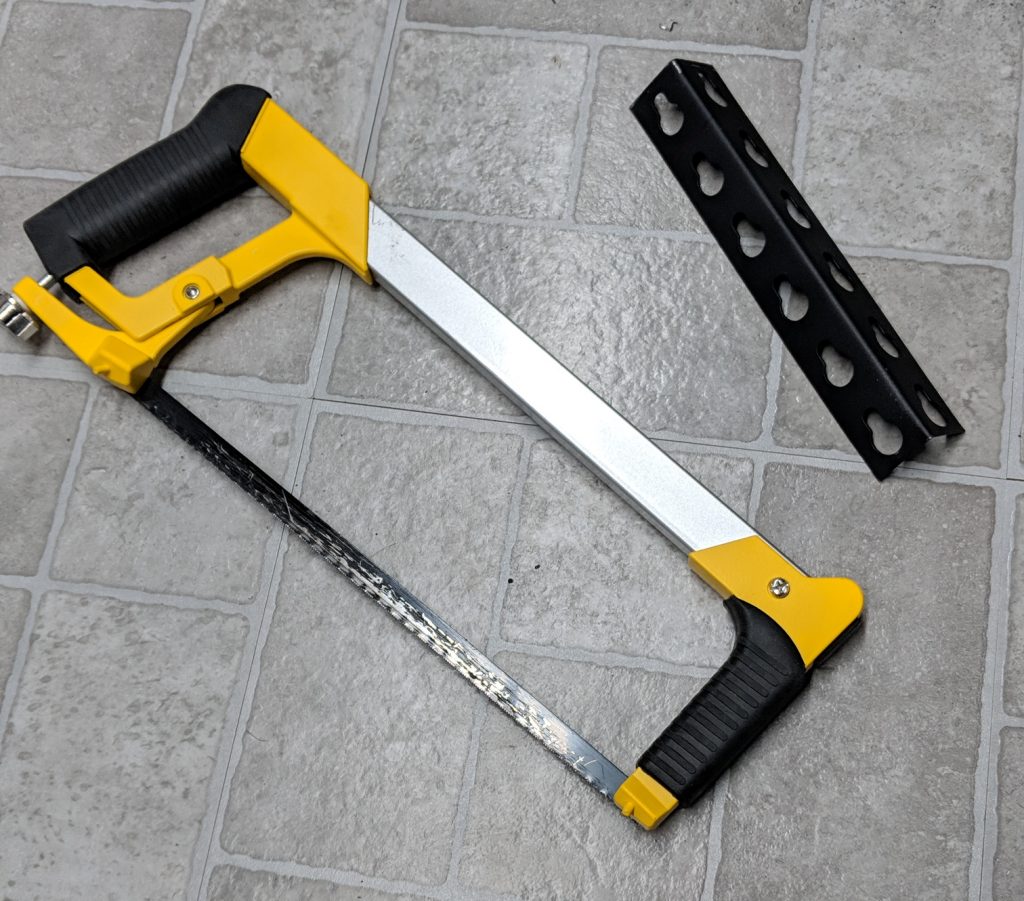
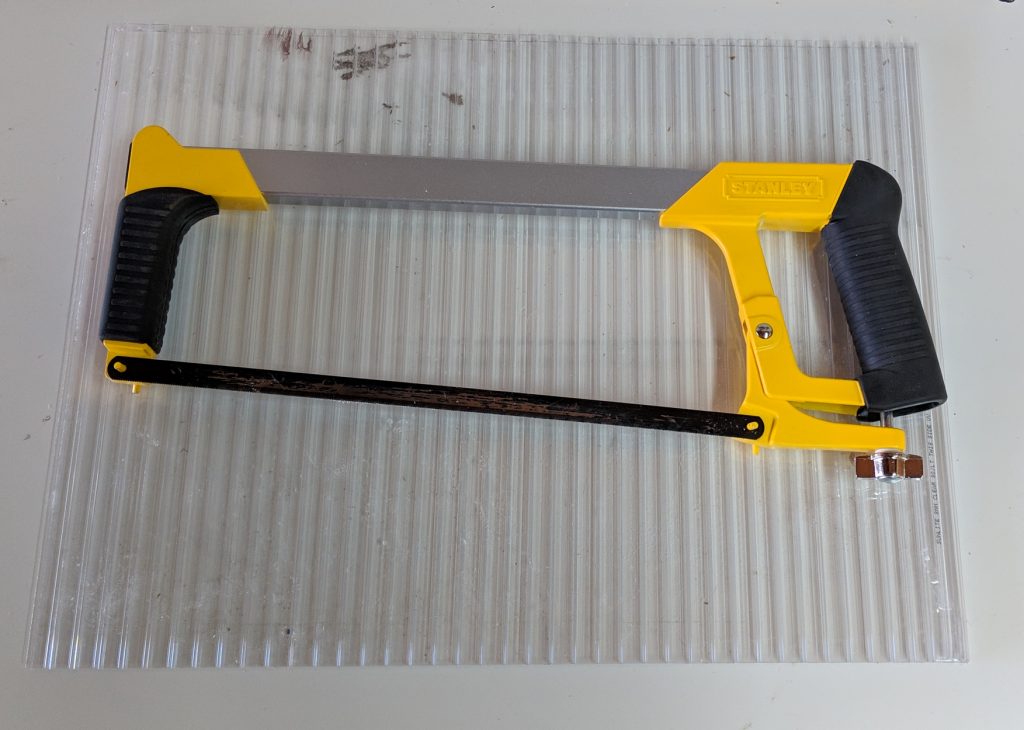
In order to be able to lift the top aquarium above the tops of the posts, I cut about 6 inches off the front two uprights using a hacksaw. Cutting through the steel was actually easier than it looks because its not very thick. Once the cuts were made, I was able to lift the top tank up (with help) and slide it down into place.
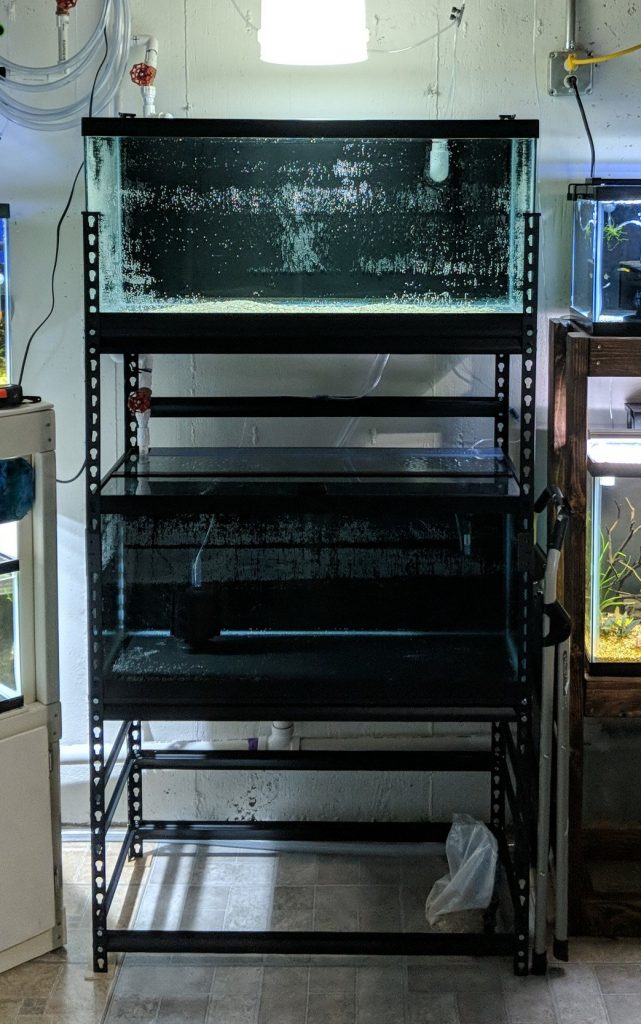
Although two of the shelves were not used on this rack, I added their steel support sections to the sides and back of the unit to add stability. Without the extra bracing, the whole rack was somewhat wobbly. In the photo above you can see two extra 36" braces positioned a few inches below each aquarium. This keeps the rack from bowing or shifting under the weight of two full aquariums.
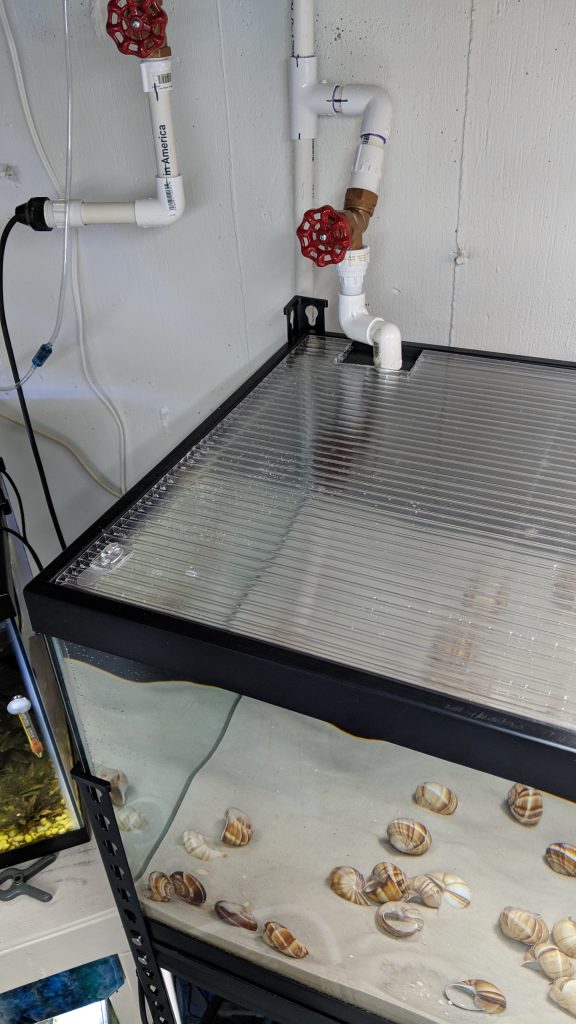
After both tanks were on the shelves I moved the unit into its place along the wall and finished the overflow plumbing before filling with water. I also painted the bottom shelf black to match the rest of the rack. The space underneath the tanks adds a lot of extra storage to the fish room. I keep my folding step ladder tucked next to the rack so that it's easy to access when I need to work on the top tank.