Skip to content

14

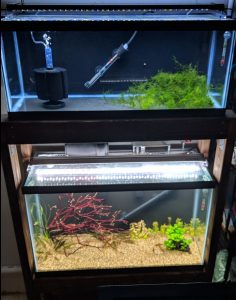
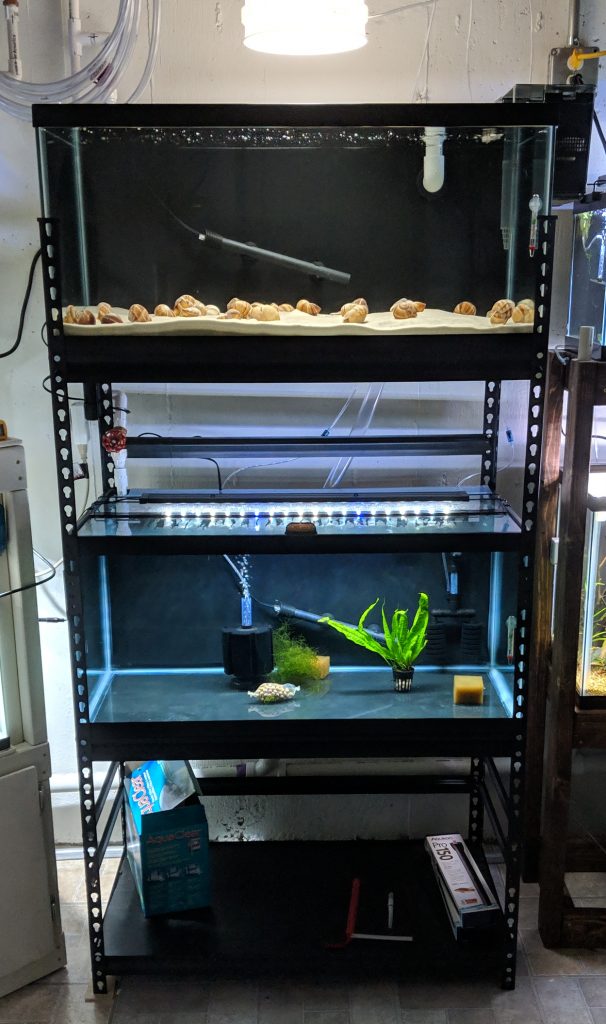
This store-bought shelving unit is the perfect size for supporting a pair of 40 gallon breeder aquariums.
40 Breeder Rack
40 Breeder Rack

I've built a few DIY aquarium racks, but I wanted to go with a steel frame for my two 40 breeders to save space. Unlike a wooden frame, these steel supports lay flat against the sides of the aquariums. Steel shelving can also support a lot of weight - 800 lbs per shelf in this case. Water weighs roughly 8 lbs per gallon, so 40 gallons of water alone is 320 lbs. When you add the weight of the glass aquarium (58 lbs for a 40 breeder), substrate, heater, filters, etc. the total weight of one 40 gallon aquarium can be over 400 lbs.

Where to Get a Steel Aquarium Rack
Edsal Storage Unit
Edsal Storage Unit

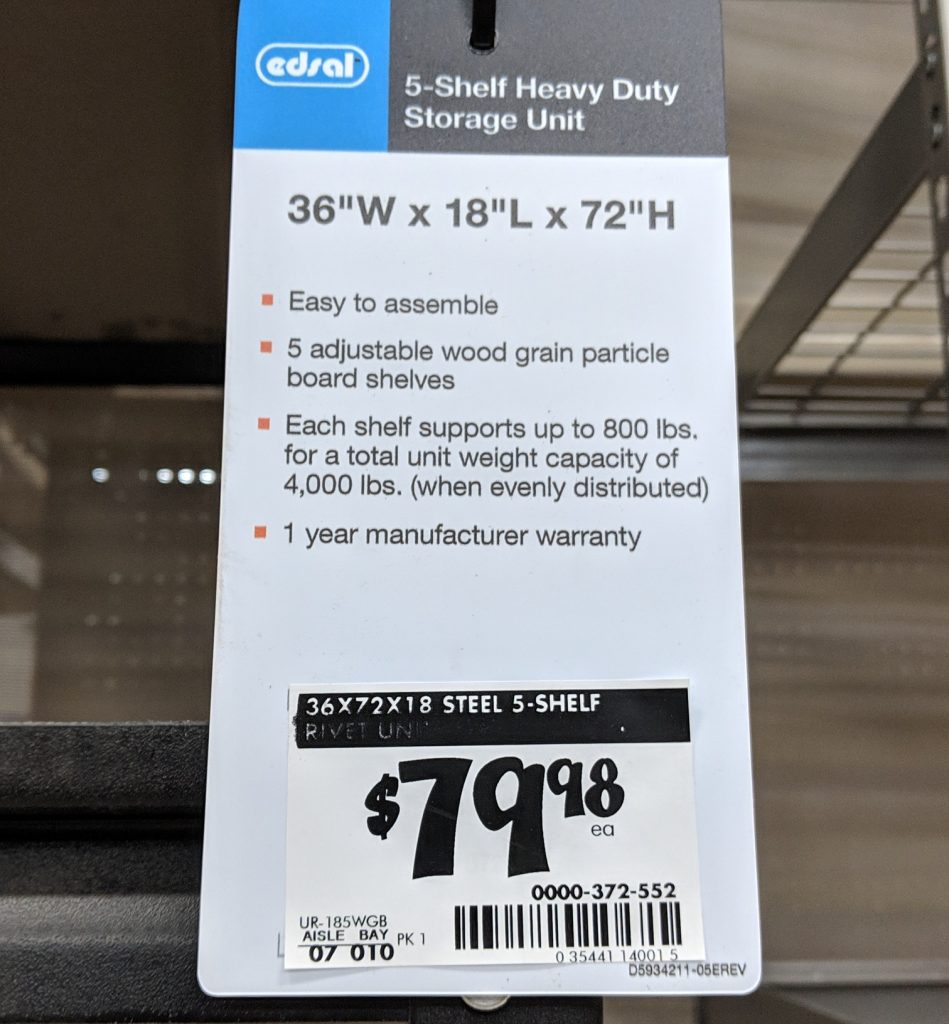
These heavy duty storage units have been recommended by several people over the past few years as an affordable store-bought option for holding one or two 40 gallon tanks. This video by Aquarium Co-op from 2014 referenced a very similar rack that may or may not still be available from Lowe's. I purchased mine at Home Depot. Similar units are available from a variety of retailers, including this Muscle Rack on amazon. Fortunately 36" x 18" seems to be a fairly common shelving size, so it should not be too difficult for most people to find.

Aquarium Rack Assembly

The cool thing about these 5-shelf steel units is that they are really two units that stack. The kit comes with eight upright posts that are 3 feet long, which makes the unit 6 feet tall when stacked. If you didn't want one tank on top of the other, you could place both sets of uprights on the floor and have two separate aquarium stands.
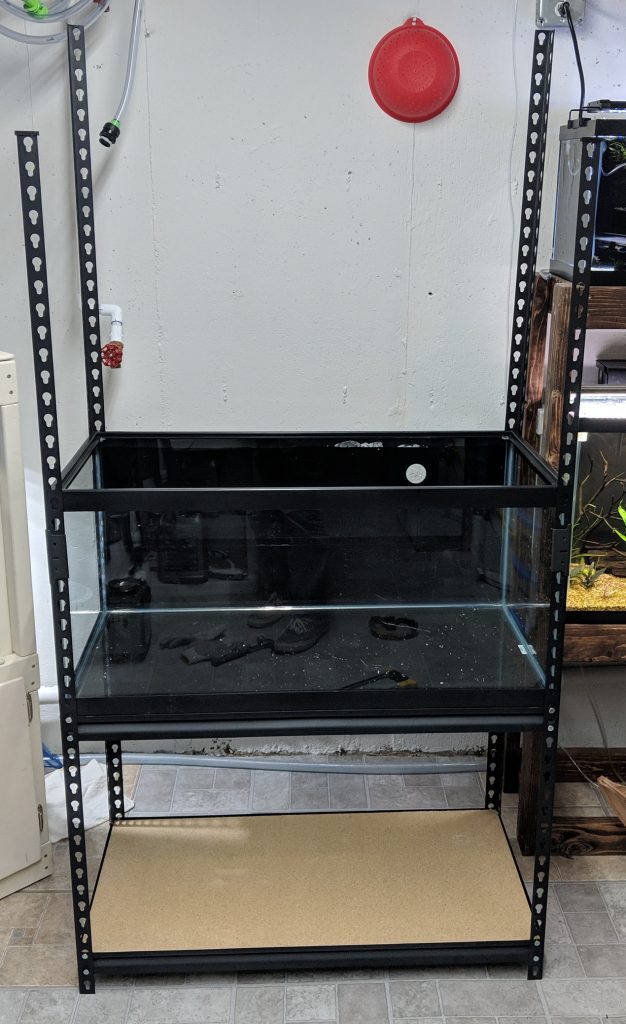
First Aquarium in Place

For my application I only used 3 of the 5 shelves that came with the unit. It has to be assembled from the floor up, so the bottom shelf goes on first, followed by the first aquarium shelf. Because the dimensions are so similar to those of a 40 breeder aquarium, the tank has to be lowered into the posts from the top. This gets tricky when you get to the top aquarium.
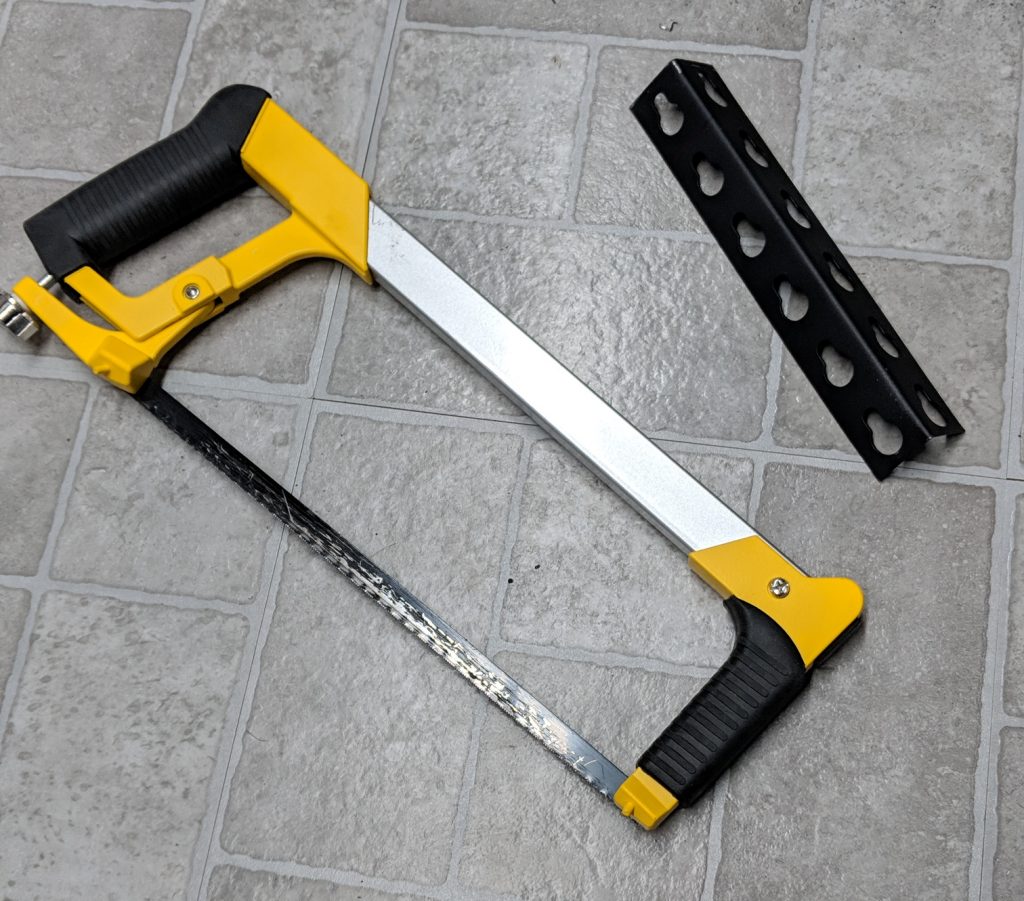
Hacksaw
Hacksaw

In order to be able to lift the top aquarium above the tops of the posts, I cut about 6 inches off the front two uprights using a hacksaw. Cutting through the steel was actually easier than it looks because its not very thick. Once the cuts were made, I was able to lift the top tank up (with help) and slide it down into place.
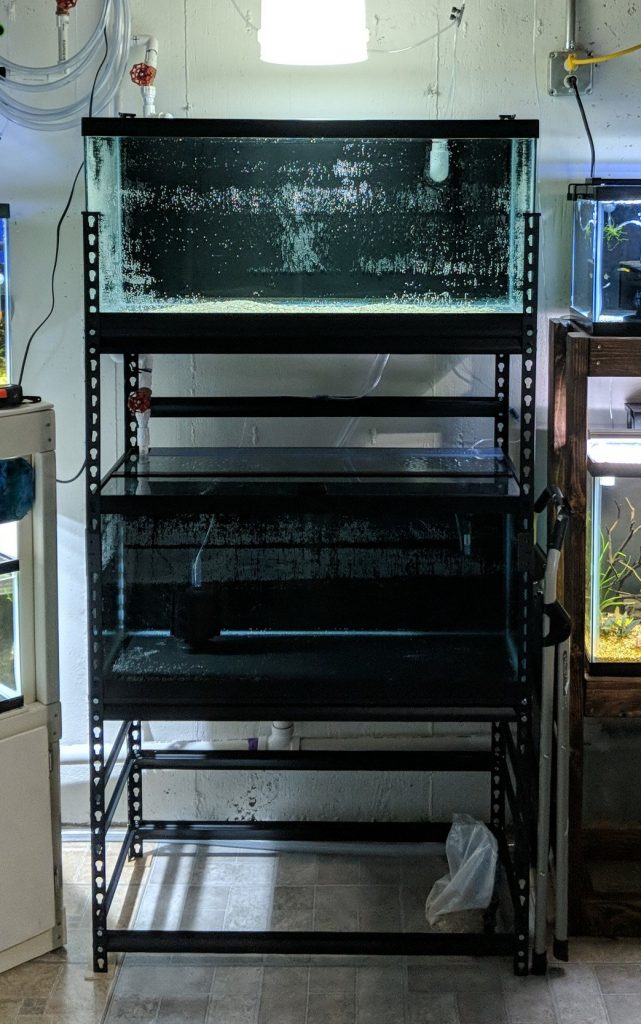
40 breeder rack
40 breeder rack

Although two of the shelves were not used on this rack, I added their steel support sections to the sides and back of the unit to add stability. Without the extra bracing, the whole rack was somewhat wobbly. In the photo above you can see two extra 36" braces positioned a few inches below each aquarium. This keeps the rack from bowing or shifting under the weight of two full aquariums.

After both tanks were on the shelves I moved the unit into its place along the wall and finished the overflow plumbing before filling with water. I also painted the bottom shelf black to match the rest of the rack. The space underneath the tanks adds a lot of extra storage to the fish room. I keep my folding step ladder tucked next to the rack so that it's easy to access when I need to work on the top tank.
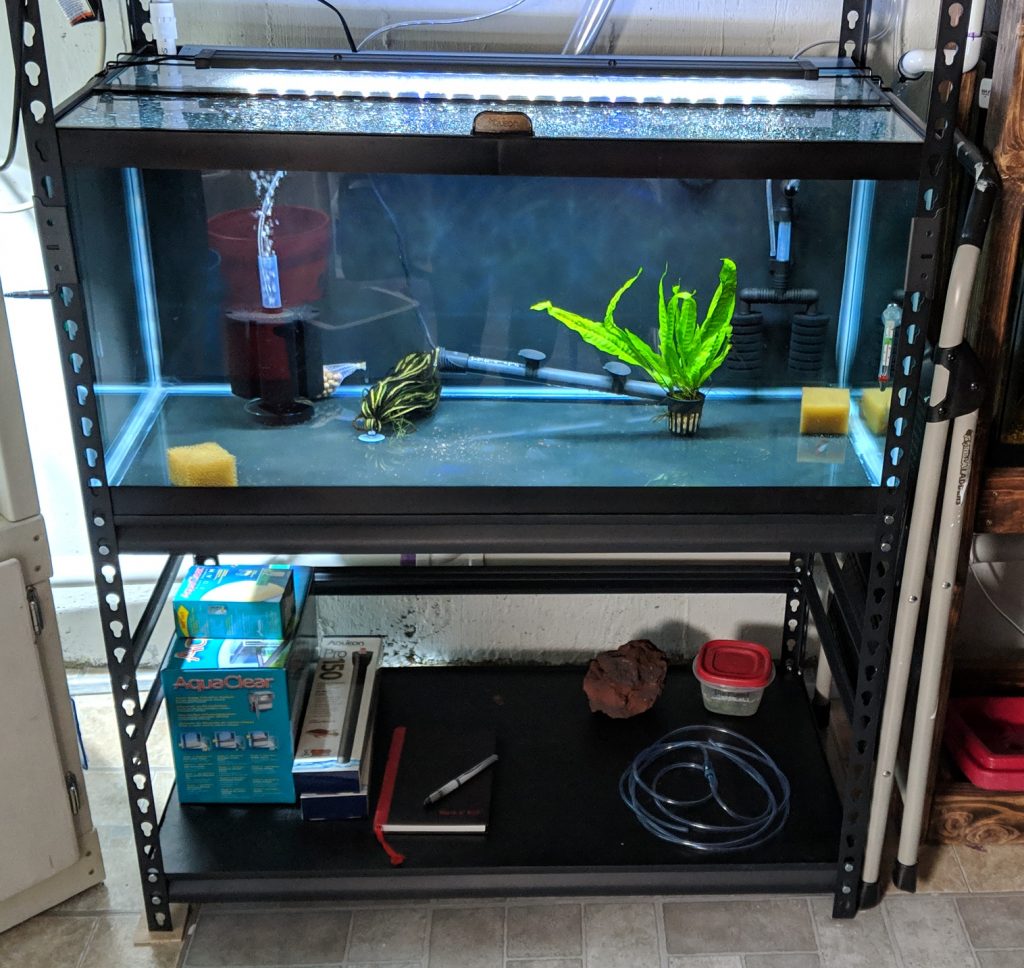

Bottom Shelf Storage

3

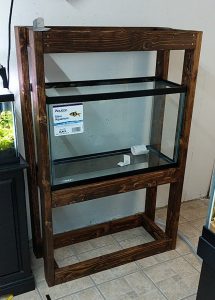
Completed DIY Rack
Completed DIY Rack

This rack is designed to hold two 29 gallon aquariums. It was built using 2x4 pine studs, wood screws, and steel corner brackets. The total cost was less than $50, and the only tools required are a saw and a drill.

Design

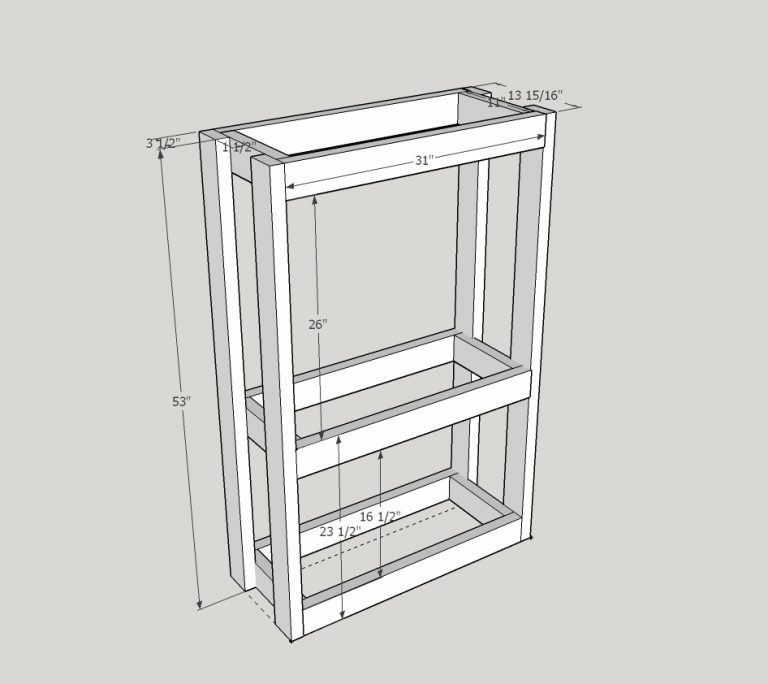
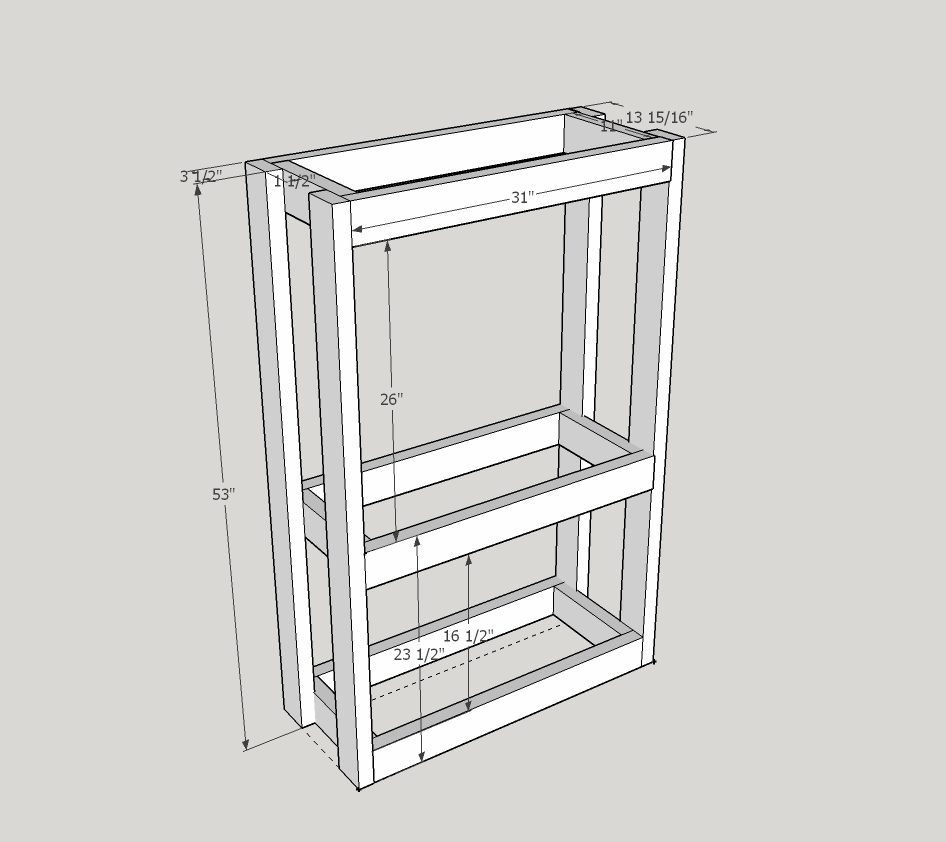
I created a 3D model of this rack using SketchUp before I started building so I could check all of the dimensions. A 29 gallon tank measures 30 1/4" Long x 12 1/2" Wide x 18 3/4" High. Note that 20 gallon "long" tanks have the same footprint, but are 6" shorter in height, therefore this rack design also works for 20 longs. Its important to make sure you will have adequate space between tanks when designing a multi-level aquarium rack. This design allows roughly 7" of space between the lower tank and the top shelf.

Building

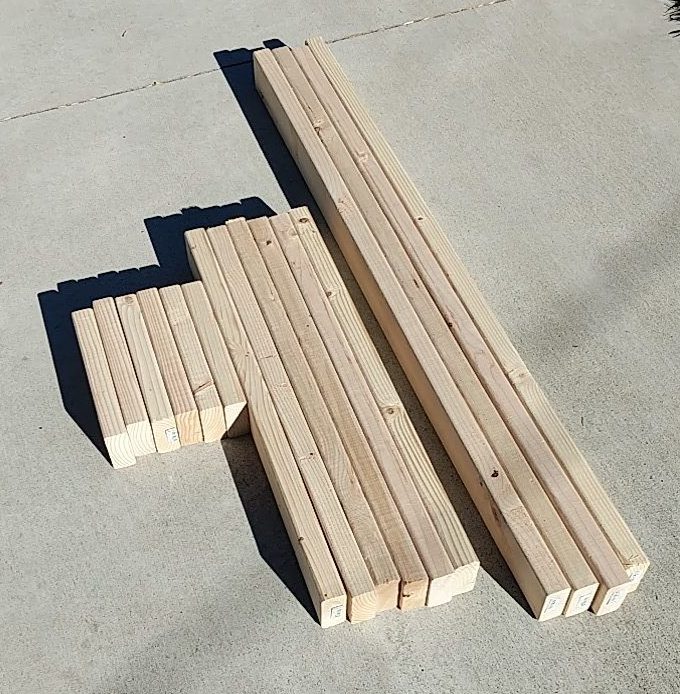
I cut the 2x4 studs to size using a Dewalt miter saw. The only lengths needed for this rack are 53", 31", and 11". The sketch above shows how they all fit together. I sanded all of the pieces at this stage so that every surface was smooth.

2x4 Cuts
2x4 Cuts

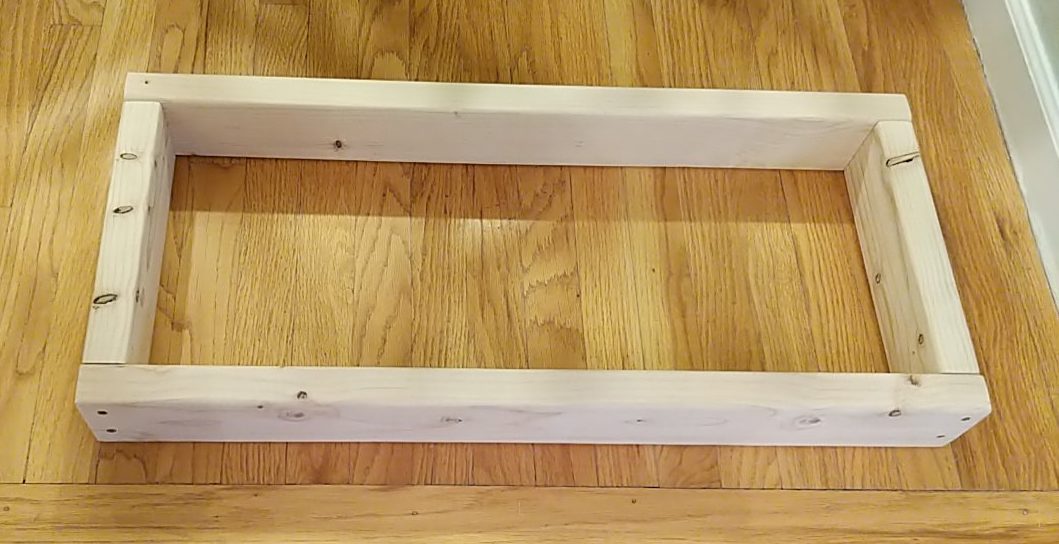
I assembled the shelves by placing the 11" sections on the inside edges of the 31" sections, and securing with 2.5" wood screws. I always drill pilot holes before driving a screw into a stud.

Assembled Shelf
Assembled Shelf

I  stained the shelves and the uprights before connecting them all together. Then I assembled the rack in its designated position in my fish room starting from the floor.

Testing the New Rack

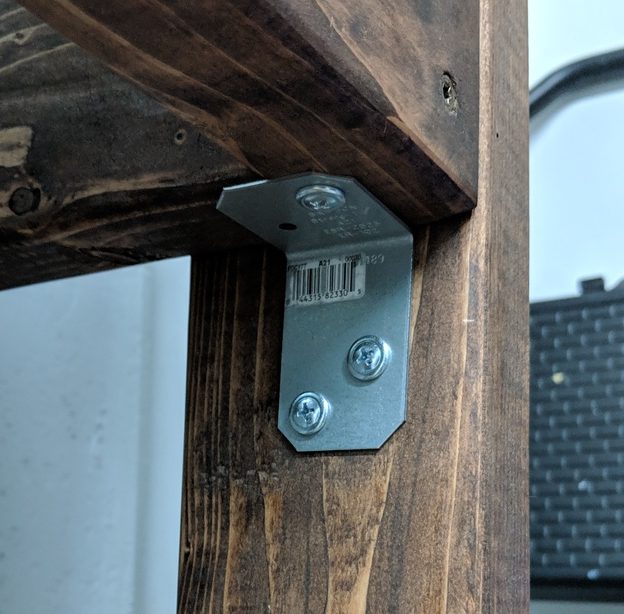
To prevent the weight of the aquariums from putting too much stress on the wood screws, I added steel brackets under all 4 corners of both shelves. This design would probably not support a larger aquarium, but a filled 29 gallon weighs only 330-350 pounds. Each #8 wood screw has a shear strength of about 100 pounds. I used 8 to secure each shelf to the uprights, plus the additional supporting brackets, just to be safe.

**Disclaimer: Do your own math - I'm not responsible for any damage caused by this design failing in your application**

Steel Corner Support Brackets

These brackets were less than $2 a piece at a home improvement store. They are secured with 3/4" metal-to-wood lath screws.

Final Setup

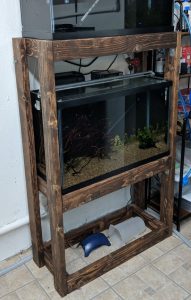
Currently this rack holds a 20 gallon long fry tank and a 29 gallon planted tank. Although it was designed to hold two 29's, I already had the 20 and decided it would make a good growout for my Endler fry.

Filled Tanks on the Finished Rack

See my other DIY rack design here.


two planted 10 gallons

These two tanks sit on the bottom shelf of my DIY aquarium rack. They are standard aqueon 10 gallon aquariums, but they are positioned with the short sides in the front and back. I've never set up aquariums in this configuration, but I knew it would work really well with how I wanted to drill them. It's also an interesting layout to try to aquascape.

Plumbing

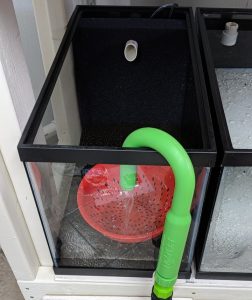
These tanks are drilled with an overflow in the back, which flows out to the main drain stack for the room. See this post for info on how I drilled the glass and this post for the drain system build.

The overflow allows water changes to be done by just adding new water to the tank. Eventually this will be accomplished through an automated drip system operating on a timer. For now I'm doing water changes using my python hook, which makes filling tanks really easy.

filling with python hook

Filtration

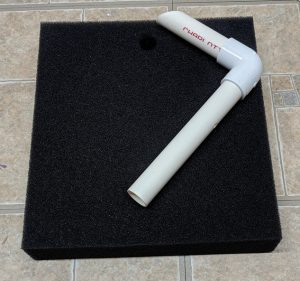
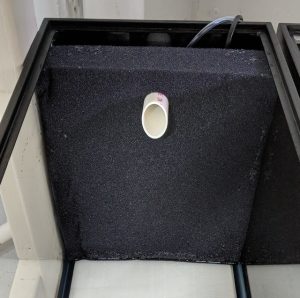
hamburg matten filter

I used hamburg matten filters in these aquariums to hide the overflows and heater at the back of the tank. Matten filters provide a ton of surface area for biological filtration and are excellent for keeping shrimp and small fish away from an overflow. The filter is a thick foam sponge cut to the dimensions of the aquarium, with a hole for a PVC lift tube to fit through.

matten filter installed

The lift tube uses air to pull water up from the bottom of the tank behind the sponge and out the tube in the front. This pulls water through the sponge to the back, trapping debris in the sponge and feeding the beneficial bacteria. The foam sponge also provides a great surface for shrimp to graze on biofilm. I got these matten filters from Flip Aquatics.

Lighting

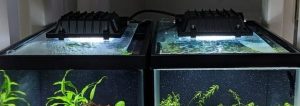
The lights for these aquariums are 20 watt LED floodlights. I am keeping mostly anubias in these tanks so I went with a cheap lighting option since I only need low light. The lights currently sit directly on top of my DIY glass lids. Two of these LED lights only cost me $22.

LED flood lights
LED flood lights

Stocking

Shrimp Tank

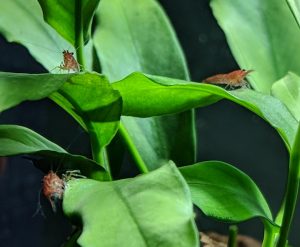
cherry shrimp on anubias

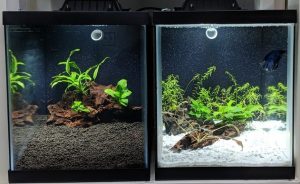
The tank on the left is home to a colony of red cherry shrimp I've had breeding for a long time. I may add a small group of nano fish like celestial pearl danios or white cloud mountain minnows later, probably after the auto water change system is complete.

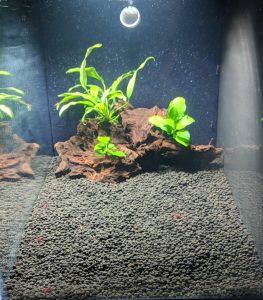
cherry shrimp tank
cherry shrimp tank

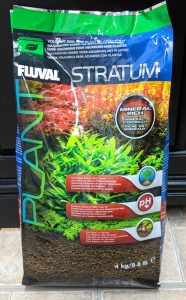
I set this tank up with Fluval Stratum because it is marketed as a shrimp friendly substrate. So far I have been happy with it, although it does require a thorough rinse before you dump into an aquarium. I do like that it has a nice uniform grain size and shape. The substrate is larger than sand but smaller and lighter than most types of gravel.

fluval stratum
fluval stratum

Betta Tank

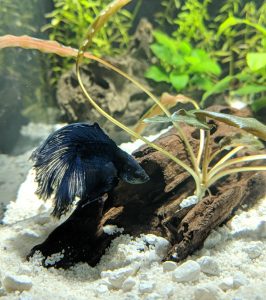
The other tank is home to my male betta. He is alone except for some ramshorn snails. I tried adding some cherry shrimp to his tank, but he hunted them all down and ate them within a day. In the betta tank I used a combination of white sand and white gravel. I like the combination better than using either sand or gravel alone.

betta tank
betta tank

Plants

Both tanks were scaped with easy low light plants.

Shrimp Tank

driftwood with anubias

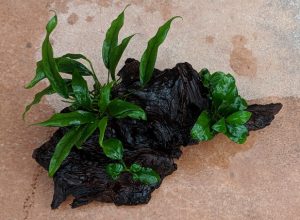
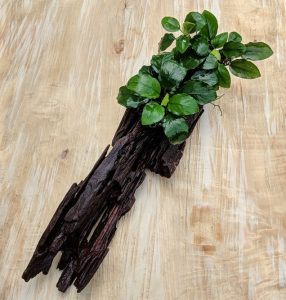
In the shrimp tank I used a single large piece of malaysian driftwood as the only hardscape. I attached to that two anubias nana rhyzomes and another large anubias that I've had for a long time. I used zipties for the larger two rhyzomes, and the smallest one is tucked into an opening in the driftwood. Once the roots attach themselves to the wood, the ties can be removed.

driftwood in shrimp tank

Betta Tank

betta tank layout
betta tank layout

In the back of the betta's tank there's a wall of rotala rotundifolia, which is a stem plant that should grow thick if its trimmed regularly. This plant will grow quickly under high light, especially with CO2, but it does fine in a low tech setup.

large anubias rhyzome

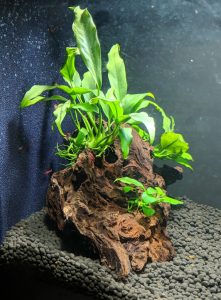
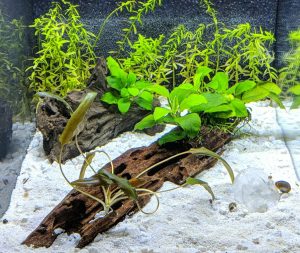
I also included two large anubias rhizomes attached to pieces of malaysian driftwood. The anubias plant in the back has been growing on the same piece of wood for several months. The one toward the front is over a year old, and was ziptied to the driftwood. Zip ties were easier than super glue and can be easily snipped off later if I want to make a change.

Finally I have a small cryptocoryne wendtii in the foreground. This plant has some nice red shades in its leaves and grows differently under different lighting conditions. If it does well here I will probably add more crypts to both of these 10 gallon tanks.