Skip to content

4

I recently bought a used 100 gallon aquarium on craigslist. But before I can fill it with water, I'm going to have to clean and reseal it.

I recently bought a used 100 gallon aquarium on craigslist. This tank is drilled with an overflow for a sump, and was previously used as a saltwater reef tank. I like running a sump on my larger freshwater aquariums, so this tank will be a planted freshwater rainbowfish display. But before I can fill it with water, I'm going to have to clean and reseal it.

Dirty Used Tank
Dirty Used Tank

Why reseal an aquarium?

You would want to reseal your aquarium if either: 1) it leaks or 2) you suspect it may leak

When buying a used aquarium, you can't be sure how long the aquarium has been in use, or how it was stored. Even if a pre-owned aquarium does hold water, silicone seals don't last forever. After 10+ years, silicone will harden and shrink. Eventually, the tank will leak. Storing an aquarium outside or in a garage where it is subject to a wide range of temperatures will also weaken the silicone. Unless you're getting a gently used aquarium from a hobbyist you know, its wise to assume you'll need to reseal large secondhand tanks.

Can I just reseal one edge of my aquarium?

No. New silicone won't adhere to old silicone. The only way to properly reseal a tank is to remove all of the old seal and replace it.

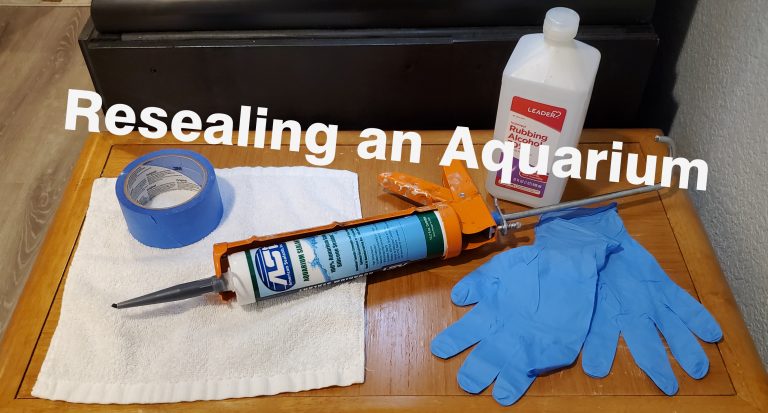
Resealing an Aquarium

The process of resealing a used aquarium is simple, though it is very labor intensive. Expect this whole process to take you several hours. The supplies you'll need are:

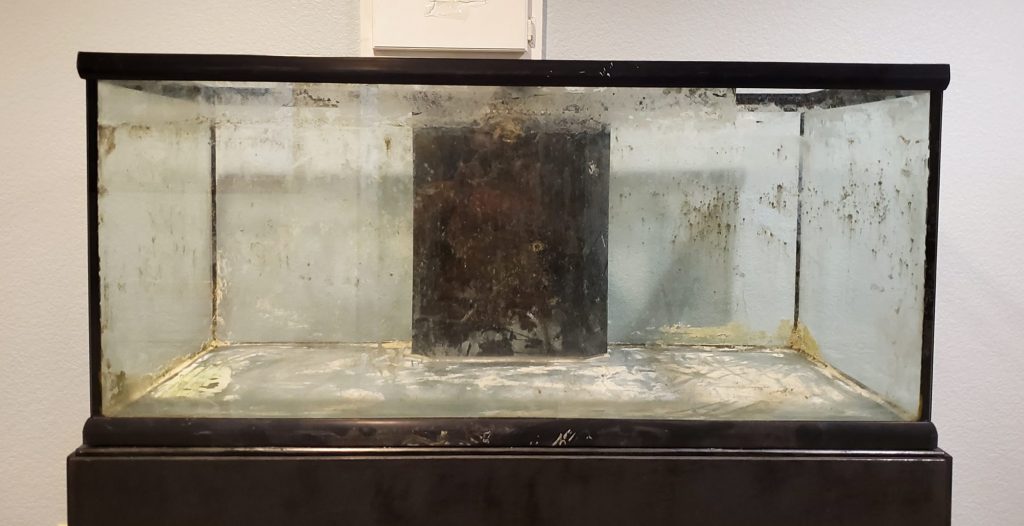
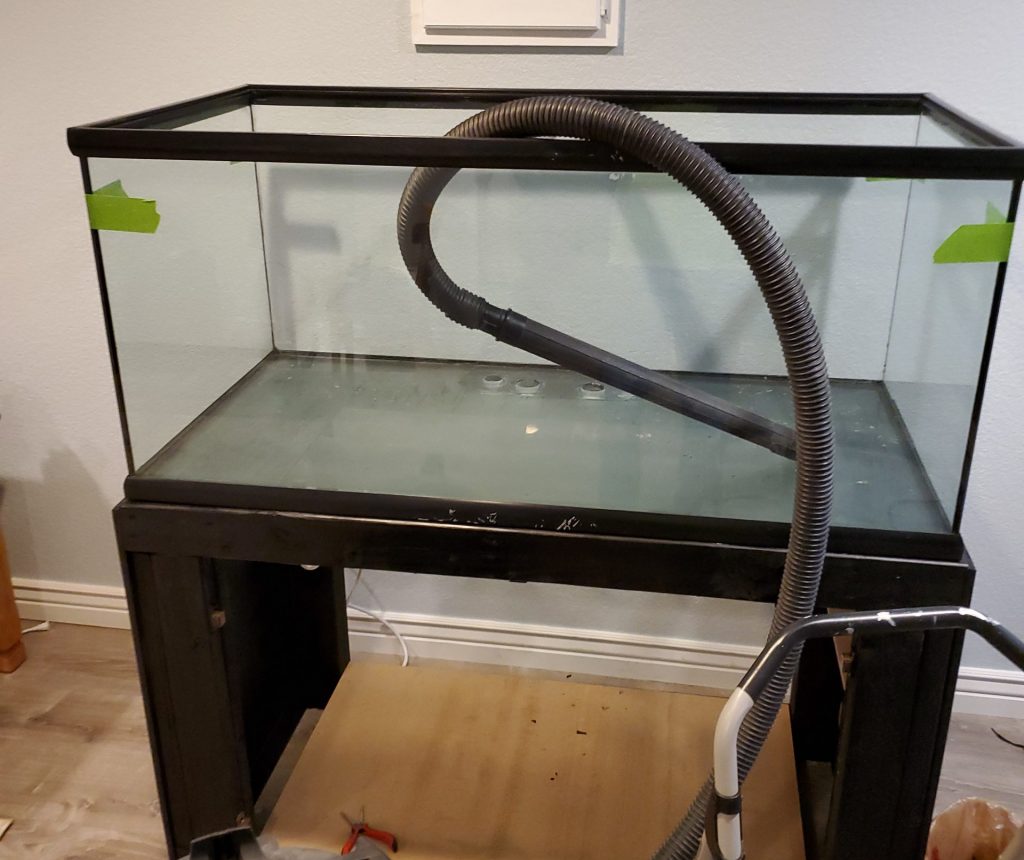
1. Clean the aquarium and remove the old silicone

You need the aquarium to be completely clean to ensure a good seal. Vacuum it out, wipe all the gunk off the glass, and then start scraping off the old silicone. Be careful when scraping not to cut the silicone bead that holds the panes of glass together. You are just removing the seal on the inside of the tank, not cutting the panes of glass apart. In the photo below, the old seal has been completely removed.

Cleaned Out Tank
Cleaned Out Tank

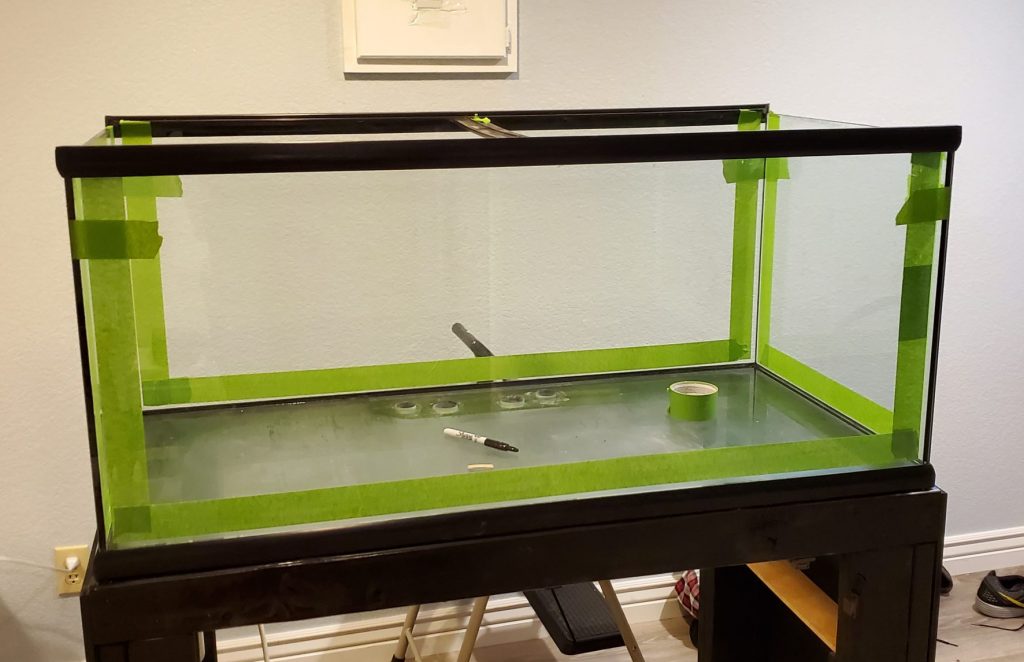
2. Tape off the seams

After all the old silicone is removed, wipe the glass clean with some rubbing alcohol. Once it dries, apply tape around all of the seams. This will determine the outcome of your new seal, so take your time applying the tape. You should leave enough space so that your silicone bead will be at least as wide as the thickness of the glass. Use a razor blade to cut the tape at the corners so you get clean lines.
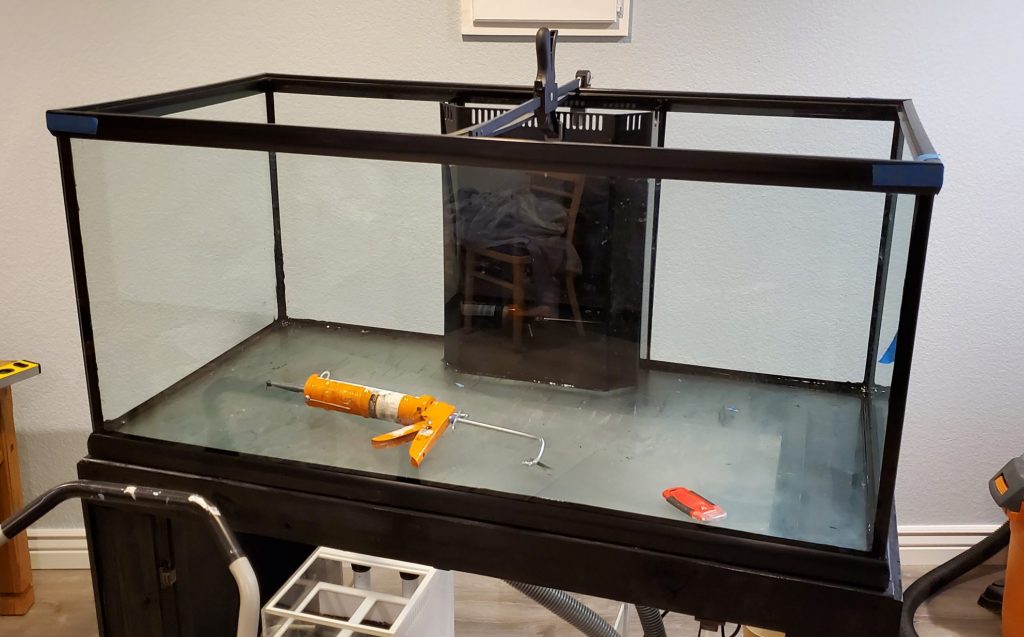
Taped Off Tank
Taped Off Tank

3. Apply silicone

Once the tape is applied, prepare your silicone and have rags ready. The silicone will begin to "skin" in about 10 minutes, so timing is important. Once you apply a bead of silicone, smooth it out using your finger or a tool for smoothing caulk. Then remove the tape before the silicone begins to set. In my case I worked my way across the tank in sections. I did one side panel, then removed the tape from that section before continuing. I recommend this approach on larger aquariums. The whole tank must be resealed in one shot. Once silicone dries, new silicone will not adhere to it.

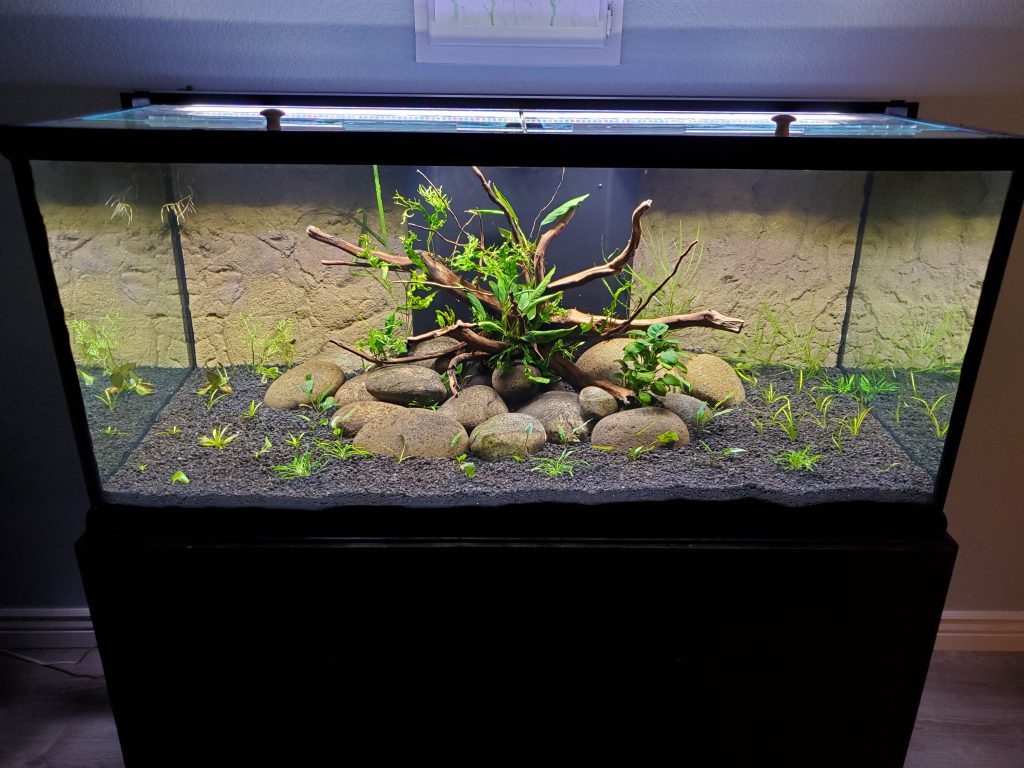
In my case, this was a 2 step process. I resealed the aquarium itself, allowed the seal to cure, then added in the overflow. The photo below shows the finished tank.

Resealed tank
Resealed tank

Things to keep in mind when resealing an aquarium:

  • Silicone has a strong vinegar smell - make sure you work in a ventilated area
  • Wear gloves to keep the silicone off your skin, have rags handy to wipe excess off your hands
  • Don't worry about stray drops of silicone that get on the glass where you don't want them - these can be easily scraped off later, just let it dry

4. Allow the new seal to cure

Follow the instructions on the tube of silicone you're using. I recommend waiting at least 48 hours before attempting to fill the aquarium with water. You have nothing to lose by giving the silicone an extra day to cure. If it still smells like vinegar, its probably not cured yet.

5. Enjoy

Once the silicone is fully cured you can start the fun part: setting up your tank!

Newly scaped aquarium

6

Multies live in large colonies in the shell beds left by the lake's native Neothauma snails. This natural shell bed habitat is what the aquarist should be aiming to replicate when setting up an aquarium for Neolamprologus multifasciatus.

Neolamprologus multifasciatus

N. multifasciatus male

Several species of dwarf African cichlids make their homes in shells. Collectively, they are known as Shell Dwellers. The species that I keep is Neolamprologus multifasciatus, often referred to as "Multies". These fish come from the sandy, rocky bottom near the shores of Lake Tanganyika in Africa. Multies live in large colonies in the shell beds left by the lake's native Neothauma snails. This natural shell bed habitat is what the aquarist should be aiming to replicate when setting up an aquarium for Neolamprologus multifasciatus.

Lake Tanganyika

Lake Tanganyika from Space - NASA Image

Lake Tanganyika is fascinating for a variety of reasons. It is the largest of Africa's rift lakes, the second deepest lake in the world, and it holds about 16% of the world's available fresh water. Tanganyika is home to at least 250 species of cichlids, plus other fish that are not part of the cichlid family. It is also home to dozens of species of freshwater snails and bivalves. The water in Lake Tanganyika is notoriously hard and alkaline. The PH is about 9.0, and the water is very high in calcium. Temperatures at the surface range from 75 to 84 degrees (F).

Setting up a Tanganyikan Shell Dweller Aquarium

Multi tank
40 gallon Multi tank

Aquarium Size for Shell Dwellers

N. multifasciatus are small cichlids: the largest males may reach 5 centimeters, while females usually top out at 2.5 cm. This diminutive size makes them a good choice for a smaller aquarium. The minimum tank size I would recommend is 10 gallons. Anything smaller will be subject to rapid fluctuations in water parameters. A 10 gallon tank could hold 1 or 2 breeding groups (6-12 fish). Use a 20 gallon long or similar high surface area format tank to show off their colony breeding behavior. Personally I keep them as the only species in a 40 gallon breeder. The large surface area provides space for about 60 shells.

Substrate for Shell Dwellers

To see Multies at their best, the aquarist should aim to recreate the conditions of their ancestral lake. Start with a relatively deep sand substrate, mixing in crushed coral or aragonite to ensure there is plenty of calcium present to keep the water buffered and the PH high. N. multifasciatus are diggers. They pick up sand in their mouths and spit it out, building hills and burrying their shells so that only the entrance is visible. I recommend a substrate depth of 2-3 inches to give them plenty of space to dig.

Snail Shells for Shell Dwellers

Neothauma Mollusks
Neothauma Mollusks

Of course, one of the most important additions for shell dwellers is the shells! In the lake they live in the discarded shells of Neothauma snails. But these snails are only endemic to Africa and the export of their shells is tightly controlled. If you are able to find legitimate Neothauma shells, expect to pay a high price. Instead, most Multi keepers use escargot shells that are commonly sold for cooking. They are very close in size to the Neothauma shells and very affordable. You will want 1 shell per adult fish, keeping in mind that these fish live in colonies, with each male guarding a small territory of 5-7 shells and their resident females.

Don't worry about aquascaping the aquarium before adding your shell dwellers, as they will move the shells and the substrate as soon as they move in. Just toss the shells in and spread them across the bottom. The fish will move and bury the shells very quickly.

N. multis over shell bed

Water Parameters for Tanganyikan Shell Dwellers

In order to keep the water appropriately hard and alkaline I like to use the Seachem line of Cichlid Lake Salts and Tanganyika Buffer. These products should only be added to new water during water changes, as they do not evaporate out over time. You will need to do some testing to determine the hardness and alkalinity of your water in order to dose correctly.

Although N. multifasciatus come from a lake with a 9.0 PH, don't put too much effort into chasing that PH value. Unless you find wild caught specimens, most fish will be able to adapt to a PH closer to 8.0. Stability and consistency are more important than precision. Always be careful when adjusting PH and test the water before and after you add buffering products to prevent large swings.

Temperature for Tanganyikan Shell Dwellers

Temperature should be at the lower end of the lake's range (below 80 degrees F), as N. multifasciatus actually live at depths of 50-100 feet below the surface. I keep mine at 77 degrees F and they do very well at that temperature. Anything between 75 - 80 degrees fahrenheit should be acceptable.

Filtration for Shell Dwellers

I run an Aquaclear hang on back filter on my Multi tank. I recommend using an intake sponge to prevent fry from being sucked into the filer. A canister filter or sponge filter would both be viable options as well. Any form of filtration will work, as long as you are performing regular water changes. Your preferred maintenance routine should determine the filter you use.

Breeding Neolamprologus Multifasciatus

N. multifasciatus over shell bed

Shell dwellers are one of the easier fish to breed as long as you are providing them with clean water and the right conditions. Males will compete for control of a harem of several females. Breeding takes place in the shells and the fry will be born inside of a shell. Feeding a good variety of quality frozen and live foods will usually stimulate breeding. I like to offer live or frozen baby brine shrimp, microworms, krill flake, and spirulina flake. Live daphnia, frozen cyclops, or any similar food will also work.

The first sign of breeding activity is usually a group of small fry poking their heads out of a shell. The fry will be able to eat microworms, crushed flake, and live baby brine as soon as they are big enough to leave the shell. They will remain within a couple inches of their home shell for the first few weeks of their life.

Eventually you will end up with more fish than shells, which is the limiting factor on the size of the colony. At this point some fish should be removed and rehomed to avoid over crowding. Fortunately Multies are typically an easy fish to get rid of due to their small size and amazing behavior.