
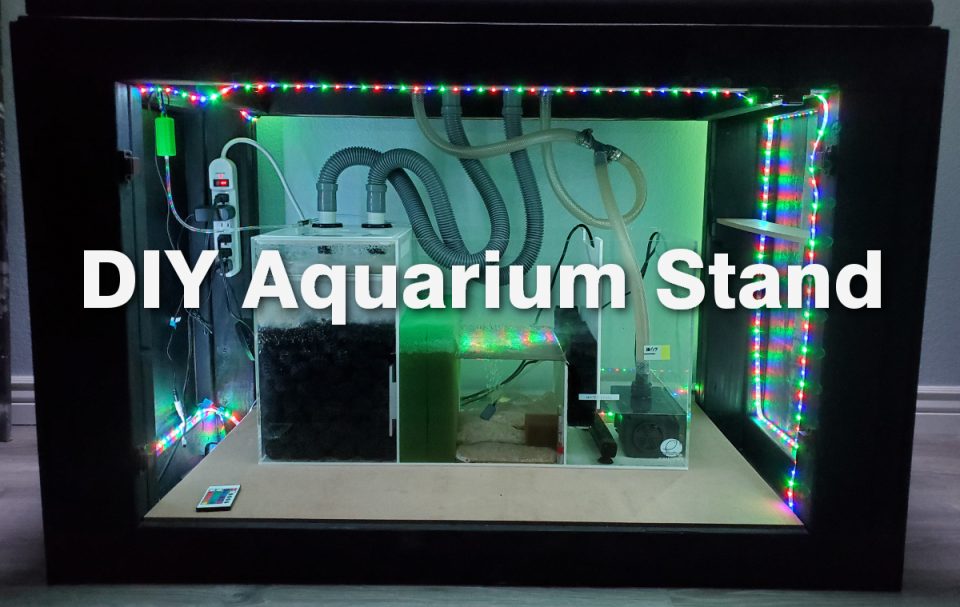

I built this DIY aquarium stand for a 100 gallon aquarium I bought used and resealed. (You can read my post about how I resealed this aquarium here.) This was a really simple build that just used 2x4s and a sheet of plywood. I'm not much of a carpenter, so I didn't use a router or employ any fancy joinery. My main focus is always the fish and my ability to service the aquarium, so this stand is built with those things in mind.
Tools and Materials for this DIY Aquarium Stand
Tools:
- Power drill
- Measuring tape
- Table saw
- Miter saw
- Sand paper
- Level
Materials:
- 1 - 2 8ft 2x4s
- 1 - 4ft x 8ft sheet of 1/2 inch plywood
- 2 - wood knobs
- 1 - box of 2.5 inch screws
- 2 - cans of black spray paint
- 6 - magnetic cabinet catches
Building the Aquarium Stand
Step 1: Cut the 2x4s
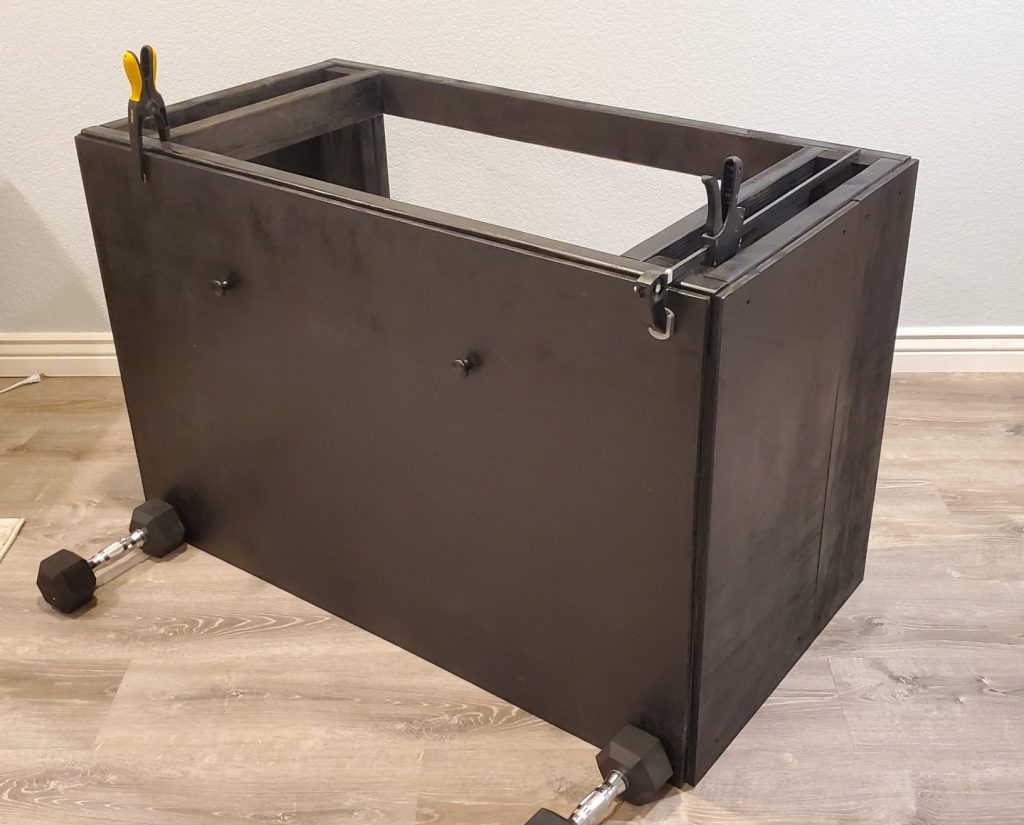
First I cut the 2x4s to make all of the pieces for the frame of the stand. This design uses two rectangles just slightly larger than the dimensions of the aquarium. My aquarium is 48" long x 24" wide, so the frame is about 49" x 25". One of these rectangles is the base of the stand and the other is the surface the tank sits on.
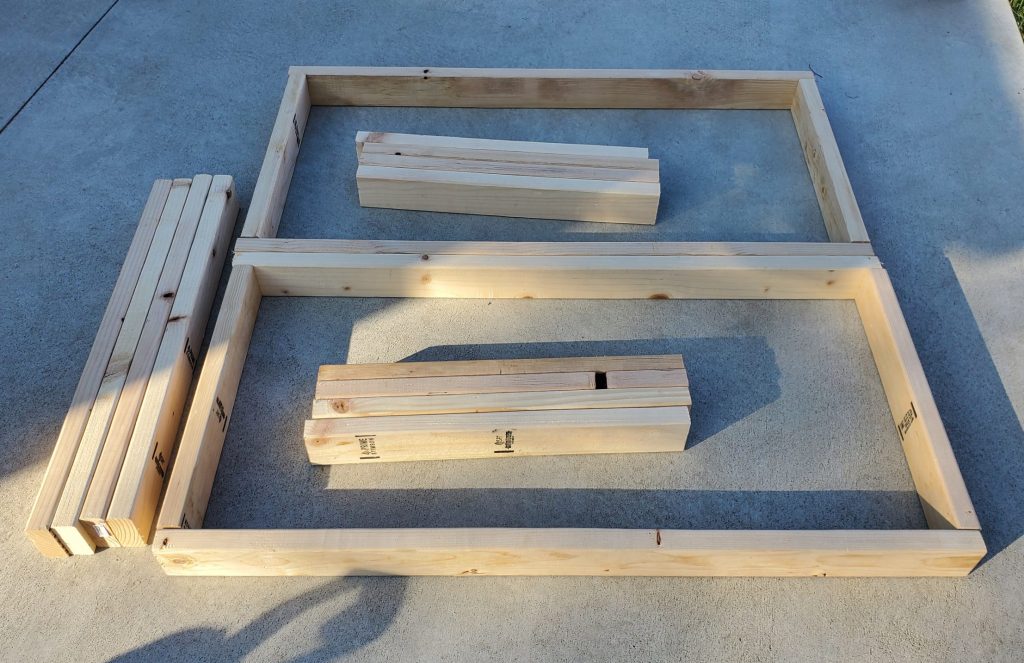
Four 32" vertical "guide" pieces determine the height of the stand. Eight 25" upright supports hold the weight of the aquarium. There are two of these vertical supports on each corner. This is important because 100 gallons of water weighs 800 lbs. Add 100 lbs for the aquarium itself, plus 100 lbs of substrate and rocks, the full weight is around 1,000 pounds. Screws alone would not hold that much weight, so vertical 2x4s are needed to support it.
Not pictured above are the four horizontal brace pieces that go across the width of the stand front-to-back. These are the same ~23.5" length as the short ends of the frame. The assembled stand is shown below, which should give you a good idea of how everything fits together.
Step 2: Assemble the frame
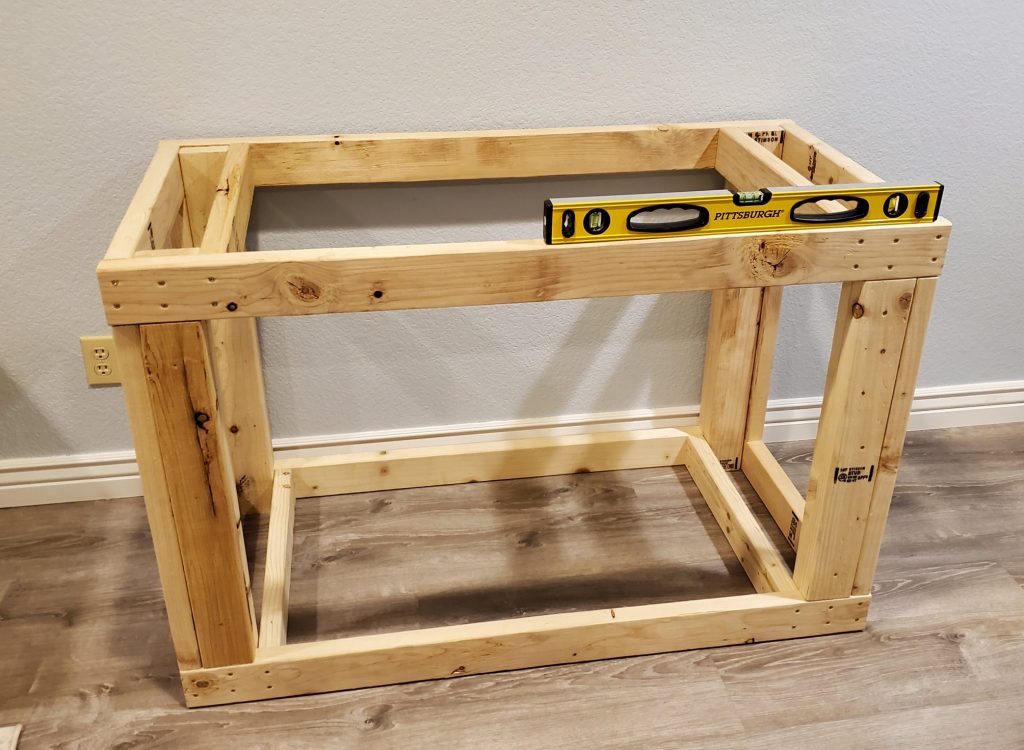
The frame is screwed together with 2.5" construction screws. I pre-drilled all of the holes to avoid splitting the wood. There are two screws at each joint. This should be done using a level on a flat surface so the stand ends up level. Wood glue can be added for extra strength, but I didn't use it on this project.

Step 3: Wrap the stand

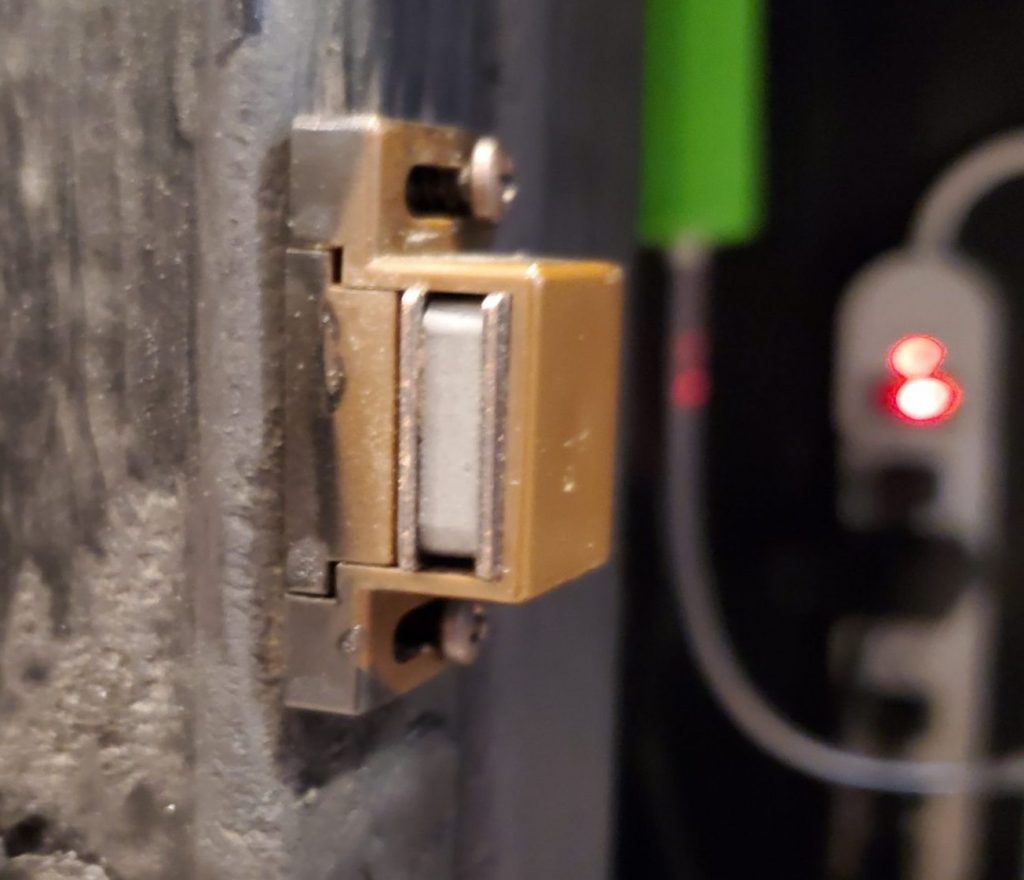
I cut down one 4x8 sheet of plywood on a table saw to wrap three sides of the stand. I decided to leave the back open since it sits against a wall. The side panels are screwed into the frame. The front panel is secured by magnetic cabinet catches, so it pops off for maintenance.
I added two wooden knobs to the front panel to make it easier to remove. This stand could be built using normal cabinet doors and hinges. But I wanted to be able to pull the whole sump out easily for maintenance. Consider your filtration and maintenance needs when designing and building an aquarium stand.
Step 4: Sand and paint
I sanded down and spray painted the stand after assembling it. I used black spray paint to match the trim of the aquarium.
Completed DIY Aquarium Stand
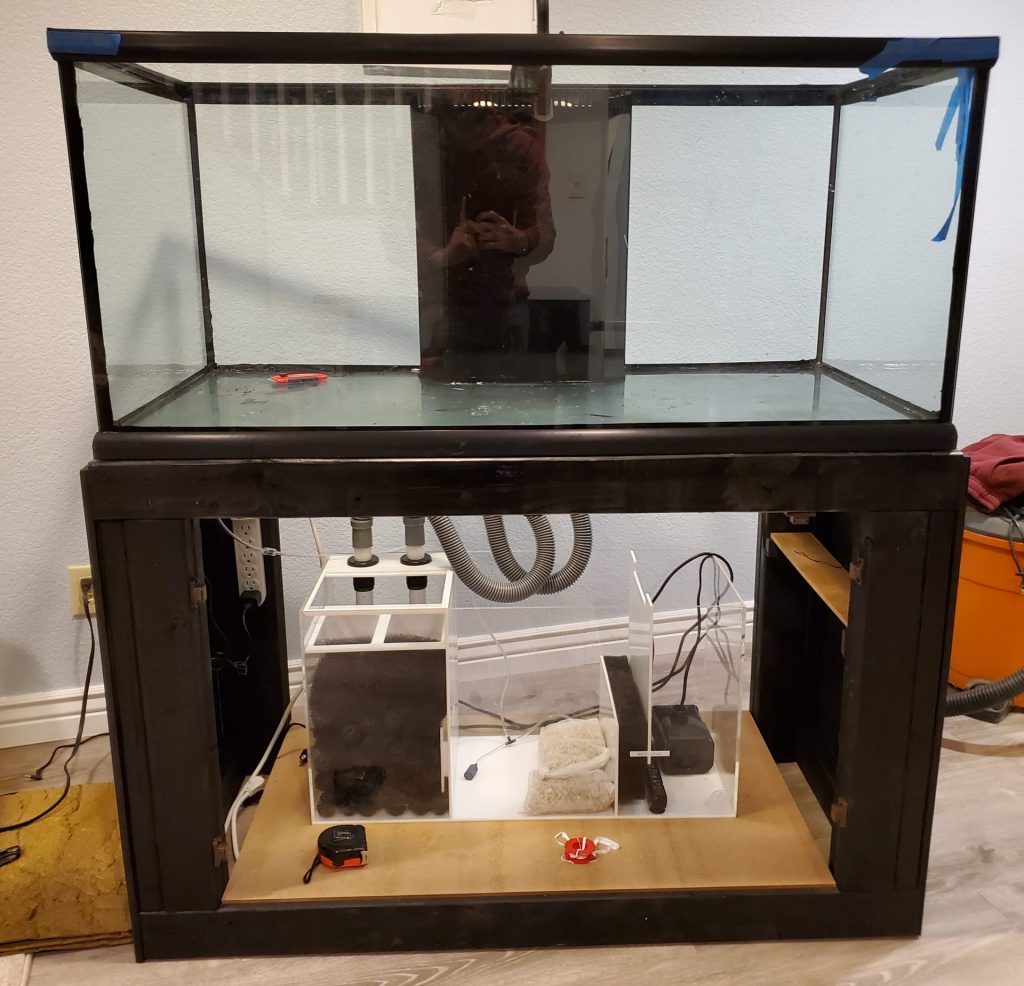
After painting, I added a wooden bottom inside the stand so the sump doesn't sit on the floor. This is an optional step. I probably wouldn't have added it if I were using a canister filter. Then I hung the power strip on the left and put a small storage shelf on the right side. Below you can see what the stand looks like with the front panel removed.
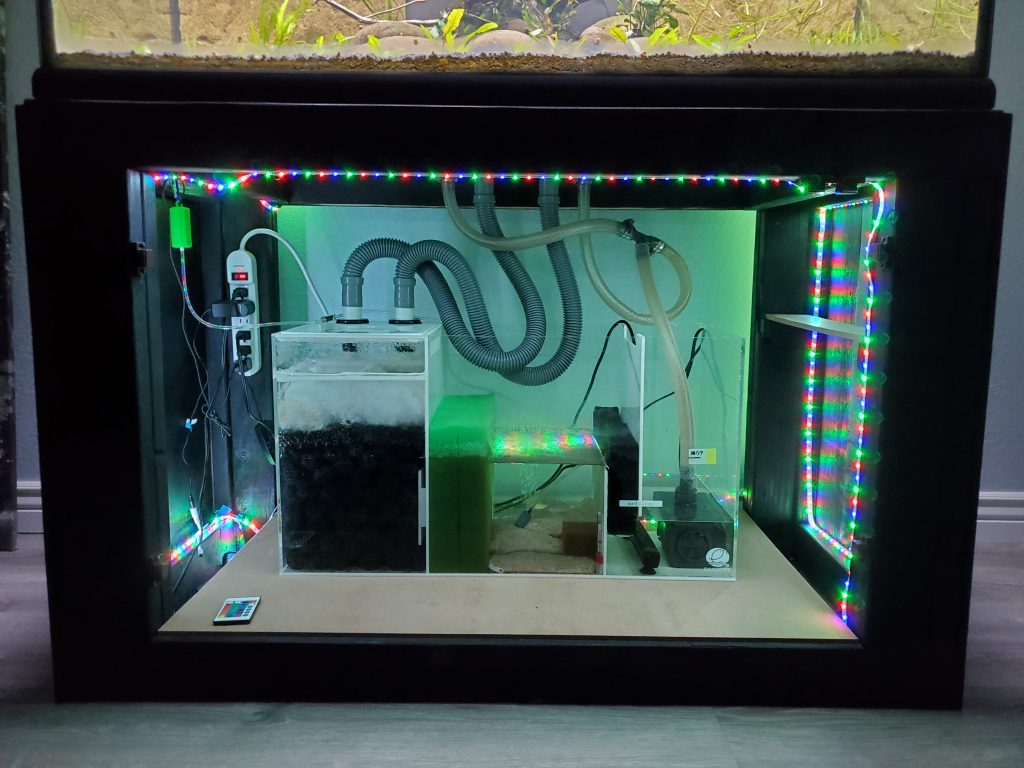
After a couple weeks I added an LED strip light to the inside of the stand. The lights also wrap up the back side of the aquarium. This lets me see inside the sump when I clean the tank. It also adds a cool back lighting when turned on.
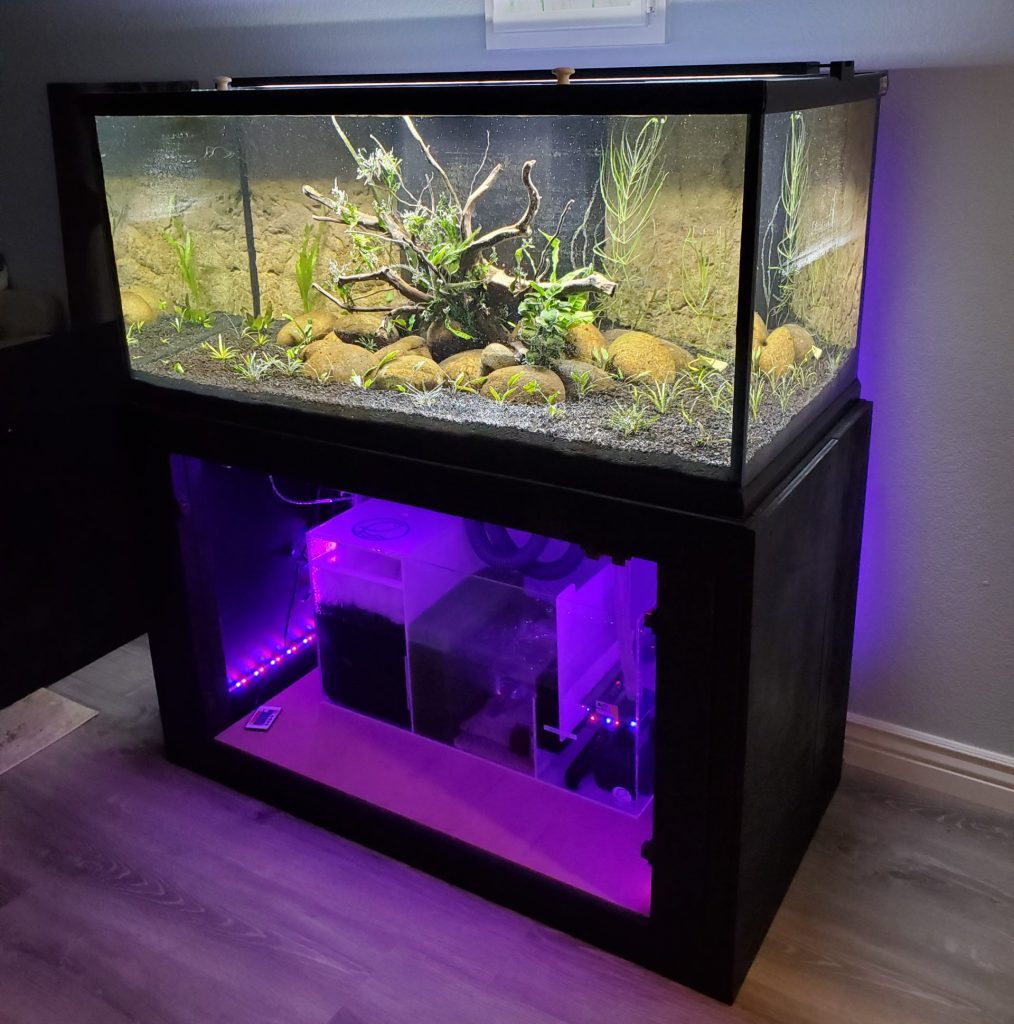
Altogether this DIY aquarium stand cost me less than $200 to build. I think custom built wooden stands are the way to go for larger aquariums. You can make a custom stand for your aquarium that will cost less and hold up better than most stands you can buy.
Great job with this how to! The stand looka great and is very similar to what I am looking to build as I want to do a display refugium for my 100g salt water tank I’ll be setting up soon. How has this stand held up over the past year? I’ve always wondered if middle vertical supports would be needed or not for a 4ft 100g tank.
It is holding up super strong, you can easily do a 4ft span with no middle supports if you are using 2x4s. Most of the stands they sell at Petco/Petsmart are practically cardboard. 2x4 studs can hold up a house's roof when it gets 5 inches of snow, they can support 100 gallons of water easily when used correctly.
Thanks for that reply!