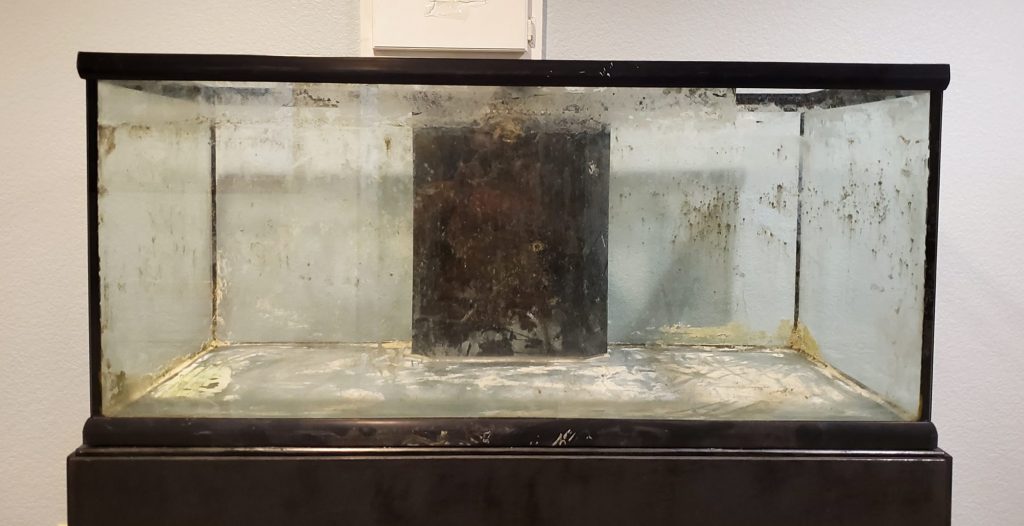
I recently bought a used 100 gallon aquarium on craigslist. This tank is drilled with an overflow for a sump, and was previously used as a saltwater reef tank. I like running a sump on my larger freshwater aquariums, so this tank will be a planted freshwater rainbowfish display. But before I can fill it with water, I'm going to have to clean and reseal it.
Why reseal an aquarium?
You would want to reseal your aquarium if either: 1) it leaks or 2) you suspect it may leak
When buying a used aquarium, you can't be sure how long the aquarium has been in use, or how it was stored. Even if a pre-owned aquarium does hold water, silicone seals don't last forever. After 10+ years, silicone will harden and shrink. Eventually, the tank will leak. Storing an aquarium outside or in a garage where it is subject to a wide range of temperatures will also weaken the silicone. Unless you're getting a gently used aquarium from a hobbyist you know, its wise to assume you'll need to reseal large secondhand tanks.
Can I just reseal one edge of my aquarium?
No. New silicone won't adhere to old silicone. The only way to properly reseal a tank is to remove all of the old seal and replace it.
Resealing an Aquarium
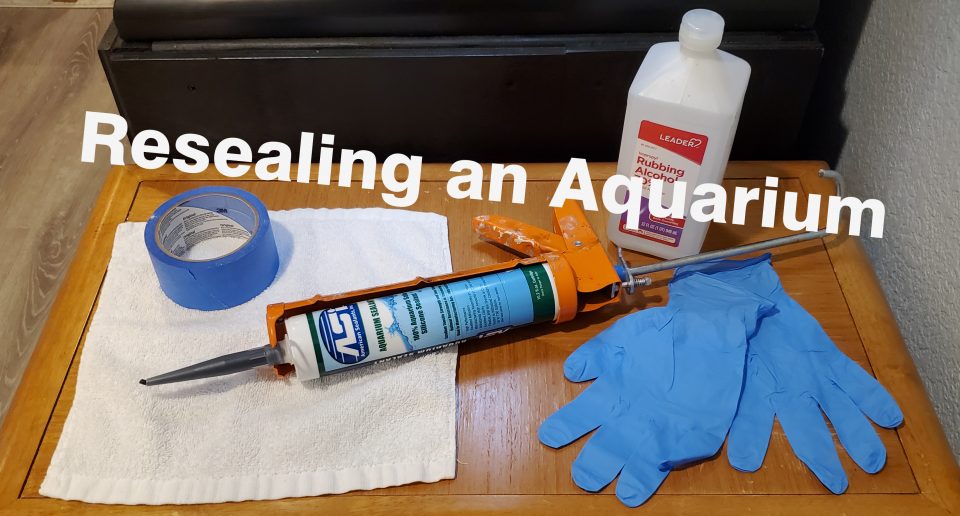
The process of resealing a used aquarium is simple, though it is very labor intensive. Expect this whole process to take you several hours. The supplies you'll need are:
- Razor blades / scraper
- Rubbing alcohol
- Rags / paper towels
- Painter's tape
- Aquarium-safe silicone
- Latex gloves
1. Clean the aquarium and remove the old silicone
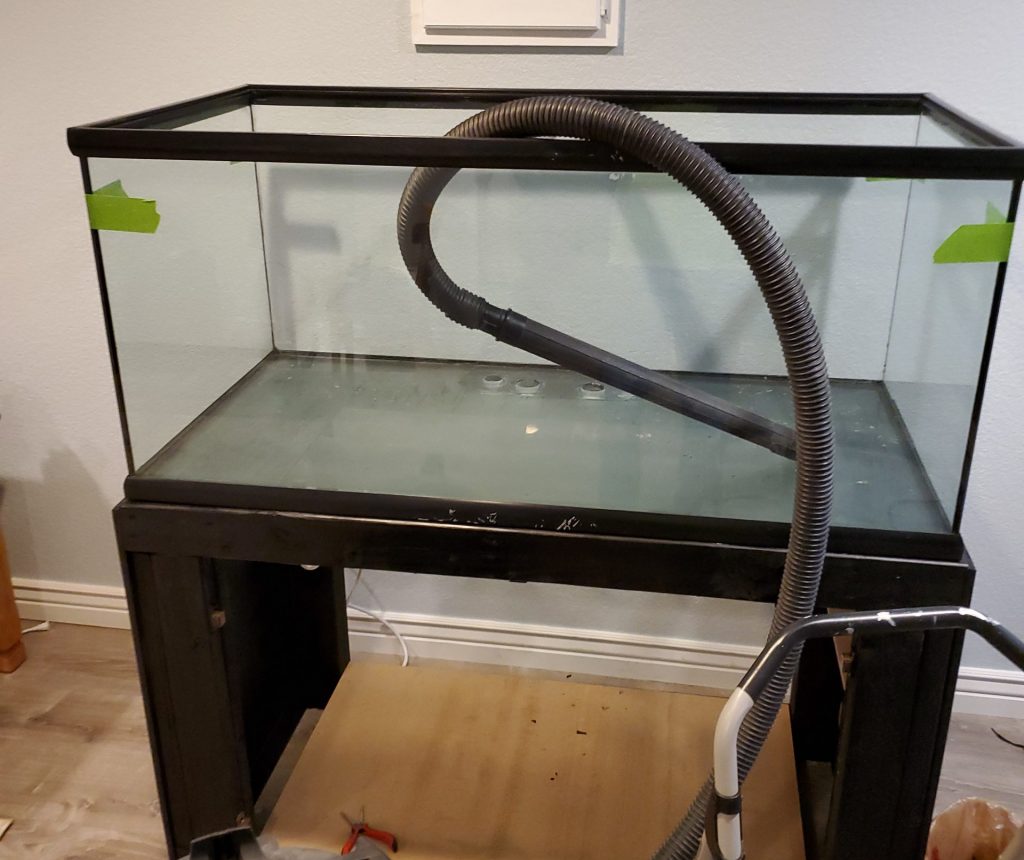
You need the aquarium to be completely clean to ensure a good seal. Vacuum it out, wipe all the gunk off the glass, and then start scraping off the old silicone. Be careful when scraping not to cut the silicone bead that holds the panes of glass together. You are just removing the seal on the inside of the tank, not cutting the panes of glass apart. In the photo below, the old seal has been completely removed.
2. Tape off the seams
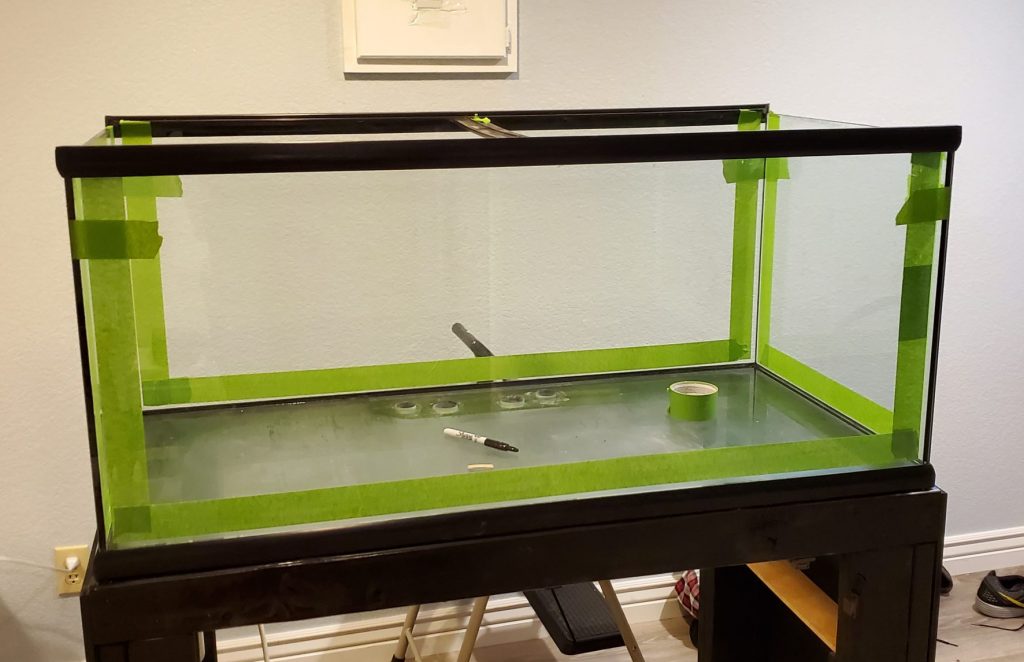
After all the old silicone is removed, wipe the glass clean with some rubbing alcohol. Once it dries, apply tape around all of the seams. This will determine the outcome of your new seal, so take your time applying the tape. You should leave enough space so that your silicone bead will be at least as wide as the thickness of the glass. Use a razor blade to cut the tape at the corners so you get clean lines.
3. Apply silicone
Once the tape is applied, prepare your silicone and have rags ready. The silicone will begin to "skin" in about 10 minutes, so timing is important. Once you apply a bead of silicone, smooth it out using your finger or a tool for smoothing caulk. Then remove the tape before the silicone begins to set. In my case I worked my way across the tank in sections. I did one side panel, then removed the tape from that section before continuing. I recommend this approach on larger aquariums. The whole tank must be resealed in one shot. Once silicone dries, new silicone will not adhere to it.
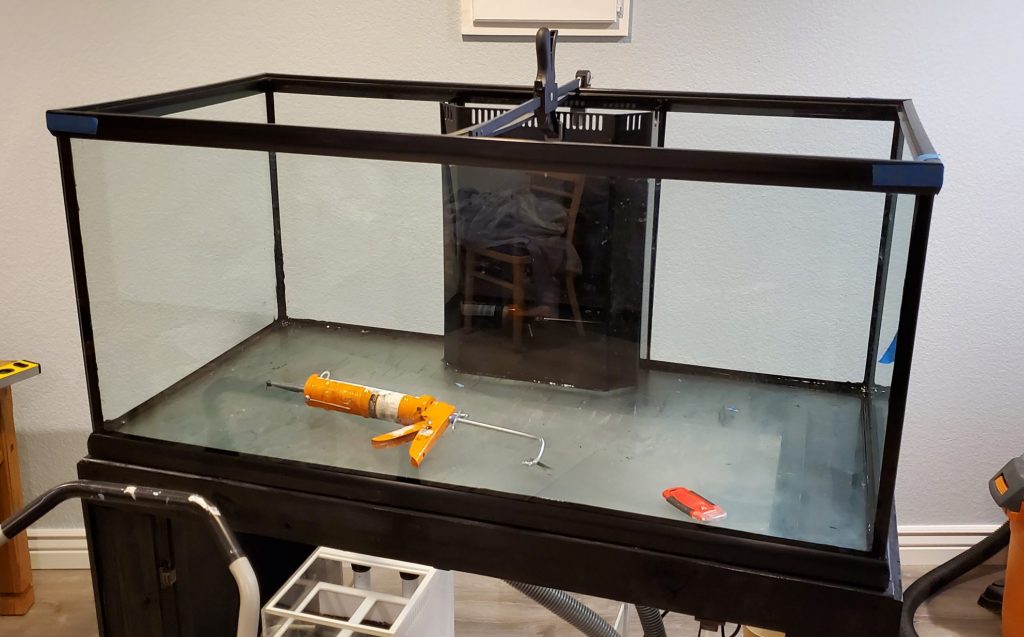
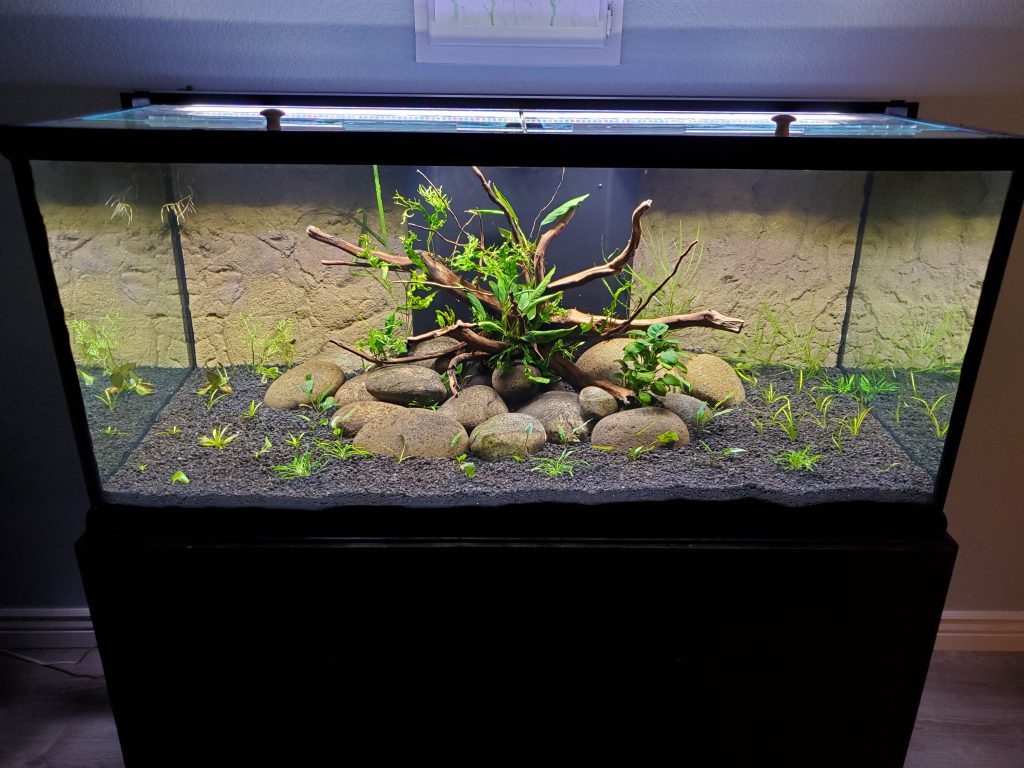
In my case, this was a 2 step process. I resealed the aquarium itself, allowed the seal to cure, then added in the overflow. The photo below shows the finished tank.
Things to keep in mind when resealing an aquarium:
- Silicone has a strong vinegar smell - make sure you work in a ventilated area
- Wear gloves to keep the silicone off your skin, have rags handy to wipe excess off your hands
- Don't worry about stray drops of silicone that get on the glass where you don't want them - these can be easily scraped off later, just let it dry
4. Allow the new seal to cure
Follow the instructions on the tube of silicone you're using. I recommend waiting at least 48 hours before attempting to fill the aquarium with water. You have nothing to lose by giving the silicone an extra day to cure. If it still smells like vinegar, its probably not cured yet.
5. Enjoy
Once the silicone is fully cured you can start the fun part: setting up your tank!

Pingback: DIY Aquarium Stand for a 100 Gallon Tank - Odin Aquatics
Pingback: Top 20+ How To Re Seal A Fish Tank - GA Pet Sitters
Pingback: Top 25 How To Seal Aquarium - GA Pet Sitters
Pingback: List 20+ How To Seal An Aquarium - GA Pet Sitters